Limiting access to documents
This topic describes how to specify that certain types of documents can be displayed and processed only on certain computers ("protected work areas") for security reasons.
Other ways of limiting access and protecting documents:
Assign rights to a document type.
Assign privileges to perform specific actions.
Prerequisites for restricting documents to protected work areas
Setting up protected work areas
First you must define at least one group consisting of one or more specific computers where the protected documents can be displayed and/or processed.
Using the XBOUND Management Center, open a console containing the Security Manager.
At the bottom of the pane, click .
Type a name for the group and press .
At the bottom of the pane, click .
Type the name of a computer to add and press .
Important: XBOUND does not check the computer name. You must type it correctly.
Tip: If needed, change the domain name by clicking it and then pressing on your keyboard.
Add additional computers as needed.
Tip: Press twice to specify the next computer name.
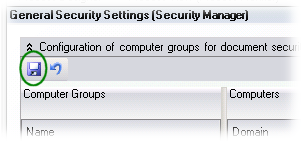
Save your changes:
Specifying protected documents
The next step is to specify which document types are to be displayed or processed by which computer groups.
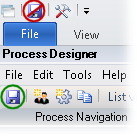
Using the XBOUND Management Center, open a console containing the Process Designer.
Under , select the process in which the protected documents will occur.
In the area, click :

Right-click the document type to be protected and select . The dialog is displayed.
Under , select to show which computer groups are allowed to view or process that type of document.
Click .
Save the process by clicking the button: