Creating a log view
When you start the Log Explorer for the first time, you must create a log view in order to display log messages.
Note: You must set up logging before any log messages can be displayed. Use the Log Explorer to view log messages that were saved to the logging database, as well as audit trail messages. Messages saved to the file system or Windows Event Log are viewed using external programs.
Use this procedure to create a log view
Using the XBOUND Management Center, open a console containing the Log Explorer.
Click (
 ).
).
In the dialog, type a name for the log view, a description (optional), and a refresh interval (optional). (The description is displayed as a tooltip when you point to the log view under .)
To open this log view whenever the Log Explorer starts, select .
Click .
To retrieve the log messages, click the link that says .
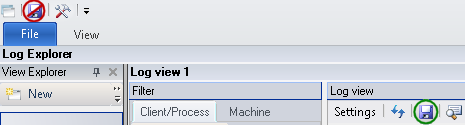
To save a log view permanently, click the button:
To delete a log view, right-click its symbol (![]() )
in the and select .
)
in the and select .