Use AP Essentials Connect
After following the procedures above to set up AP Essentials Connect, you are ready to use it in production.
Upload documents using AP Essentials Connect
You can upload documents to AP Essentials in these supported file formats using AP Essentials Connect.
Automatic uploading
If you selected Upload documents automatically when configuring AP Essentials Connect for uploading documents, no interaction is required. When files are moved to the subfolder(s) of the location you specified in the configuration, they are automatically uploaded.
AP Essentials Connect runs continuously in the background as a Windows service and periodically checks (every 15 minutes by default) for new files to upload. When new files are found, they are uploaded automatically. Even if you restart the computer, AP Essentials Connect runs automatically in the background with no need for interaction. If a problem occurs during the upload, the upload operation will timeout after 10 minutes.
Most users use automatic uploading, and set up their scanners to save files directly in the appropriate subfolders that are created during the configuration.
If you have more than one document type, but you place files in the parent folder of the document type folders, the files are uploaded and processed using the Default document type specified in the Extraction service settings.
Likewise, if you use automatic document subtype classification, place documents in the root upload folder of the buyer or customer, rather than a document type subfolder, to use automatic document classification.
Manually upload documents
If you did not select Upload documents automatically when configuring AP Essentials Connect, you can upload files manually at your convenience:
-
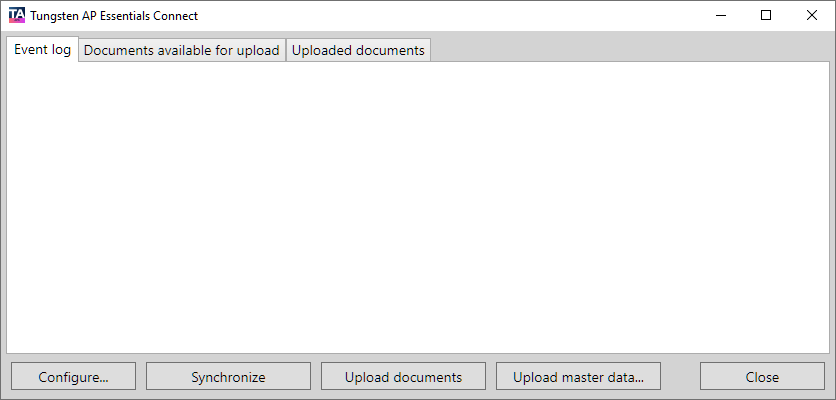
Start AP Essentials Connect from the Windows Start menu.
-
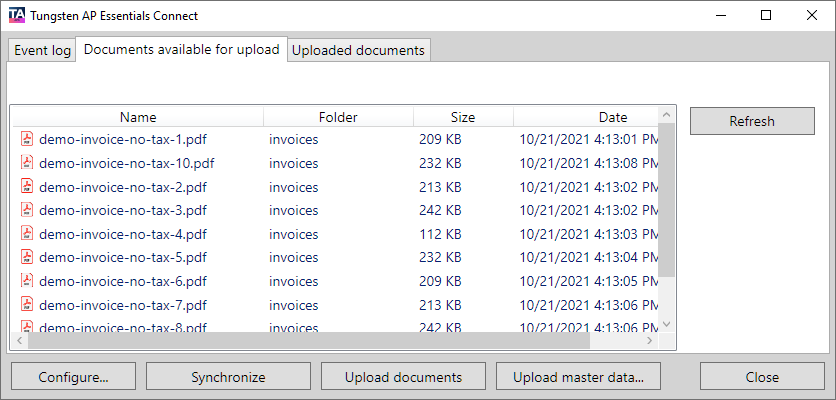
Move or scan document image files to an appropriate subfolder of the
location you specified in the configuration, and select Refresh so you can see the files in
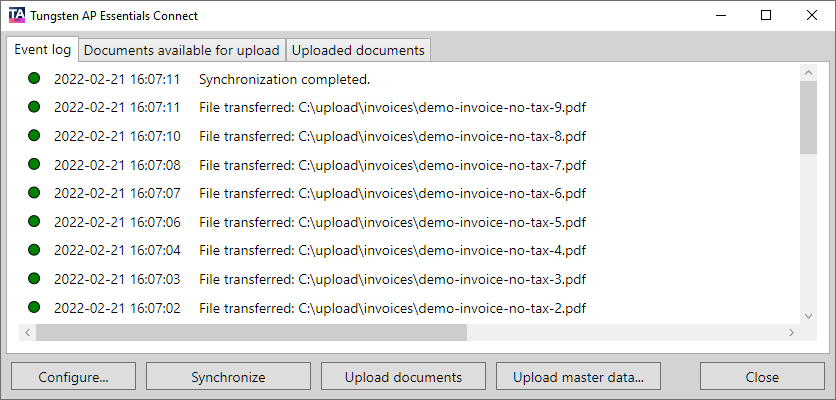
the list. You can also select the Event
log tab to check for errors.
If you do not see files in the list, ensure you place the files in a subfolder that corresponds to an organization or buyer in AP Essentials.
-
Select Upload documents.
You can select Refresh to
see that the images have uploaded or use the Event log to monitor the
progress of your uploads.
Upload master data using AP Essentials Connect
Master data can be uploaded manually or automatically through a Windows service that runs in the background.
Automatically upload master data
If you selected Upload automatically when configuring AP Essentials Connect for master data, no interaction is required to upload master data. When master-data files are moved to the folder of the location you specified in the configuration, they are automatically uploaded.
AP Essentials Connect runs continuously in the background as a Windows service and checks every 12 hours for new master-data files. When new master-data files are found, they are uploaded automatically. Even if you restart the computer, AP Essentials Connect runs automatically in the background with no need for interaction. Depending on the amount of master data uploaded, it can take a moment before the data is available for use.
Upload master data manually
If you did not select Upload automatically when configuring AP Essentials Connect for master data, you can upload master-data files manually at your convenience. There are two methods for manually uploading master data:
- Selecting the Synchronize button synchronizes the master data according to the master data settings you specified in the configuration wizard. This option initializes the action that occurs when master data is uploaded automatically.
- Selecting the Upload master data button displays a dialog that you can use to upload a single file containing master data. This is useful for one-time uploads, such as currency master data.
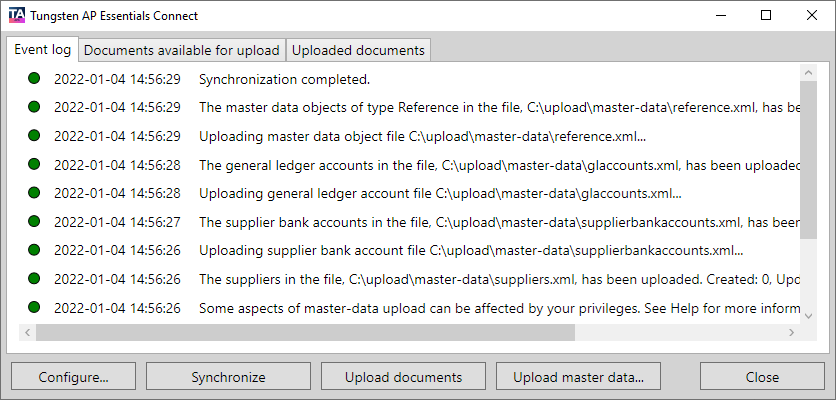
When master data is uploaded or synchronized, it is noted in the Audit trail view along with a description of whether or not the operation succeeded.
Select the Synchronize button
- Start AP Essentials Connect from the Windows Start menu.
- Move master-data files to an appropriate folder (or subfolder if you are a partner) of the location you specified in the configuration.
-
Select Synchronize to
upload the master-data files.
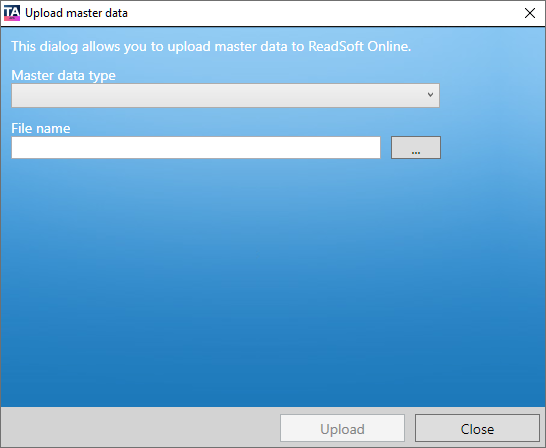
Select the Upload master data button
- Start AP Essentials Connect from the Windows Start menu.
- Select Upload master data.
-
In the dialog that appears, specify the Master data type, and use the browse button to select
the file that contains the master data you want to upload.
 When uploading customer master data through the Upload master data button, all existing customer master data is deleted before importing the new customer master data.The customer master data upload can be up to 200 MB. Other master-data files cannot exceed 200 MB in size.
 -
Select Upload.
The progress is displayed in the Event log tab, and an additional dialog is displayed after the master data uploads successfully.
Download output data using AP Essentials Connect
If you selected Save output from AP Essentials locally in the AP Essentials Connect configuration, processed document data from AP Essentials is automatically downloaded to the folder you specified in the configuration. If you are a partner, a subfolder is created for each customer account. Subfolders are also created for each buyer, if any exist, and for each document type.
Downloading begins immediately after you complete the setup. AP Essentials Connect checks for new data continuously every two minutes and downloads up to 5,000 documents at a time. After AP Essentials Connect downloads the documents, it continues checking every two minutes for more documents. Each downloaded document consists of one XML file (UTF-8) containing the processed data and one multi-TIFF image or PDF of the document. The files are named using a unique ID (GUID).