Create a data source
Create a new data source to connect it to the imported database that comes with the sample project. For details, see Install the Sample project . When connected, get tables to use data for further processing.
To add a new data source and get the tables, complete the following steps.
- Log in to Studio. By default, the Guide is displayed on the screen.
-
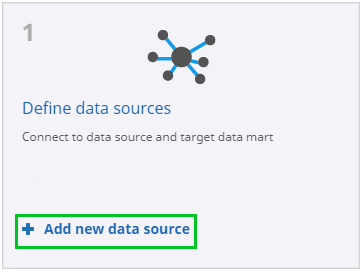
On the
Guide screen, select
Add new data source.
-
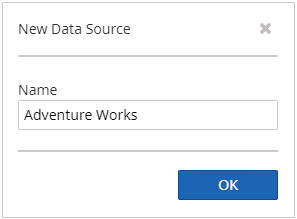
Type the name of a new data source such as Adventure Works in the
text box. Click
OK to proceed to the configuration
screen.
-
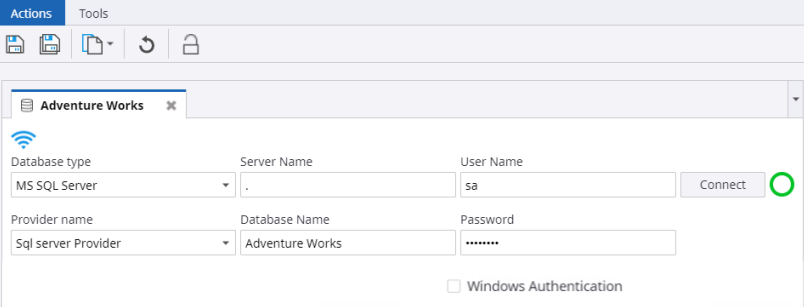
After a new data source is created, you can connect to the
imported database. In the window, enter the server name, database name, user
name, and password. Click
Connect. The green circle indicates a
successful connection.
-
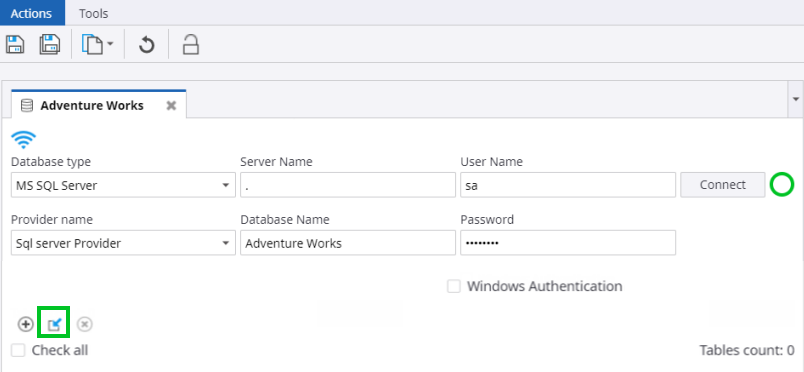
To extract the required data from the database, click
Get Tables.
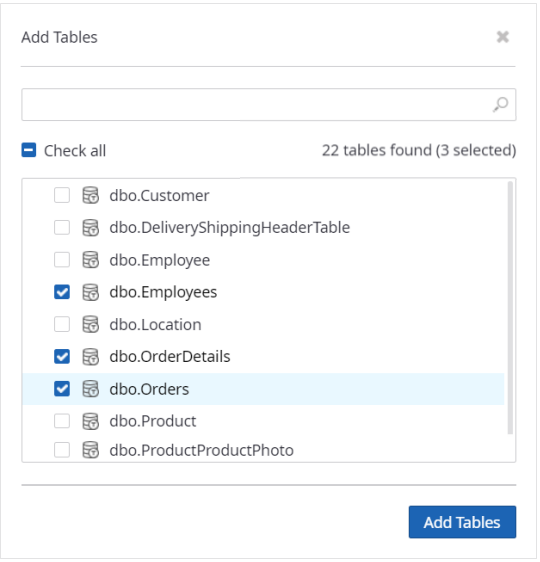
-
In the dialog box, select
dbo. Employees,
dbo.OrderDetails, and
dbo.Orders and click
Add Tables.
A notification about the added tables appears.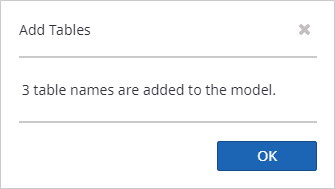
After the Add Tables dialog box is closed, the added tables are displayed on the list. -
Click
Save.
Now you can proceed to creating a record.