Multiple authentication forms
You can configure different authentications for each Viewer instance and for Insight. Each instance has its own URL to access Insight.
For example, if you need your internal staff to use their Windows authentication to view a dashboard and your customers to use HTTP response authentication to authenticate to view the same dashboard.
-
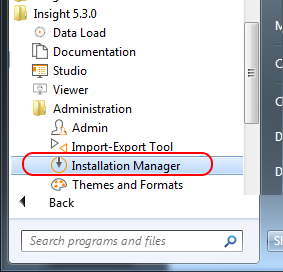
Run the
Insight Installation Manager.
-
In the
Insight Installation Manager,
click
to add a new
Viewer .
Note Each added Viewer can be assigned a different type of authentication.
All added Viewer instances are listed in the Insight Installation Manager.
-
Log in to Admin
Console and on the
Documents Tree,
select
Authentication.
All Viewer instances appear in the list under Application.
-
Set the required type of authentication for each application on
the list.
- Examples
-
-
To only accept Insight users, select the Login panel and Fixed values for the Viewer instance such as "View1."
-
To access the Viewer instance View1, by the link, add "View1" to the end of the string in place of <Viewer instance name> : <server name>/Insight/<Viewer instance name>.
-
To only accept Windows authentication for "View2," select Windows authentication for the Viewer instance "View2. "
In this case, all Insight users access Insight via a specific URL and all Windows Active Directory users access Insight via a different URL.
In this way, https://myserver.com/Insight/View1 authenticates only Insight users, while https://myserver.com/Insight/View2 authenticates only Windows Active Directory users.
-