Configure the WorkCentre 4265
- Open a Web browser and enter the URL http://<MFP IP address> in the Address field.
-
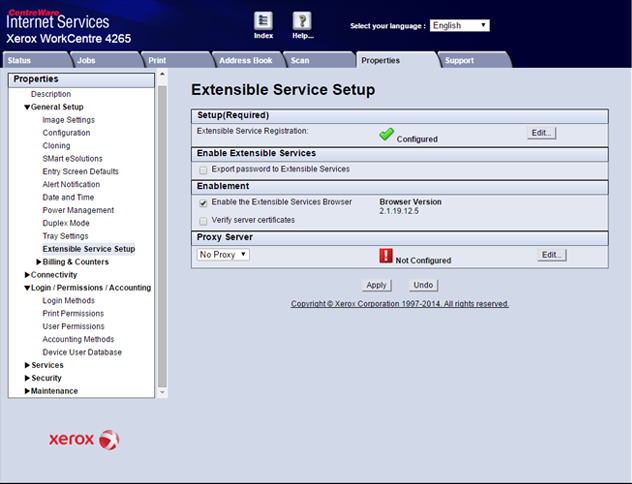
Select the Properties tab, and log in with User ID and
Password if prompted. The Extensible Service Setup screen displays.
- In the left tab, click .
-
Click in the Extensible Service Registration row. The Web Services
options display.

-
Click at the top of the screen. Both the Authentication &
Accounting Configuration and Job Limits options are enabled by default. Ensure
this is the case; if these services are not enabled, errors occur when
initializing the Xerox embedded device in System Manager, causing the Copy Stop
feature to not work.
The Authentication & Accounting Configuration and Job Limits services must be enabled via the Internet Services interface.
-
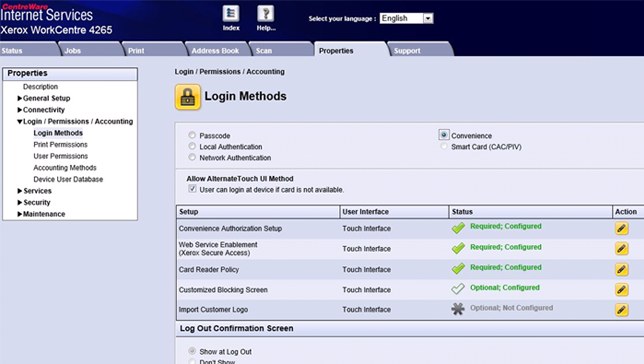
In the left pane, click the folder, then the Login Methods subfolder.
Select Convenience. Select User can login at
device if card is not available option if wanted.
-
Click icon for Convenience Authorization
Setup.
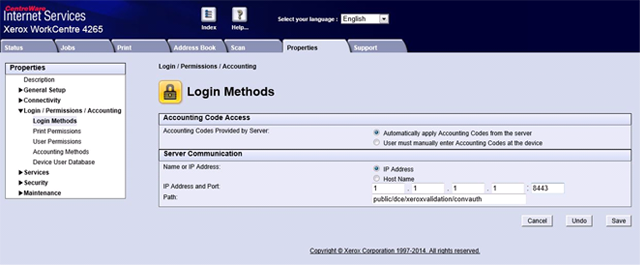
- In the Accounting Information section, select Automatically apply Account Codes from the server. The Server communication information is filled out by the initialization process. Click .
-
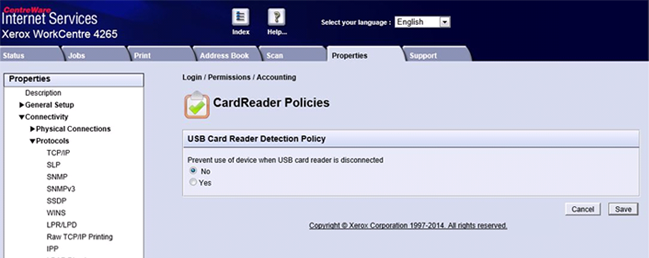
In the left pane, click the folder, then the Login Methods subfolder. Click the icon for Card Reader Policy. Select option for the Card reader
policy and click .
-
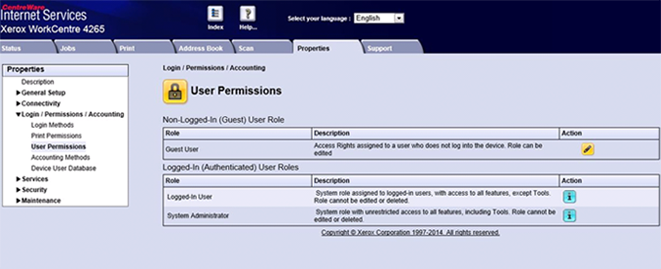
In the left pane select . Select .
-
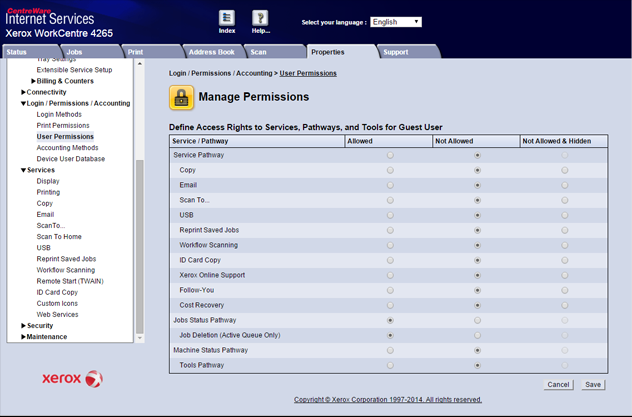
Click icon under Non-Logged-In (Guest) User
Role. Select Not Allowed for services to be
locked and click .
-
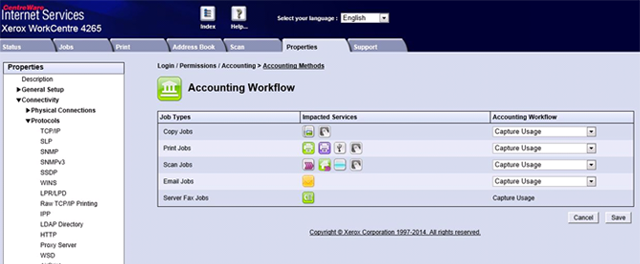
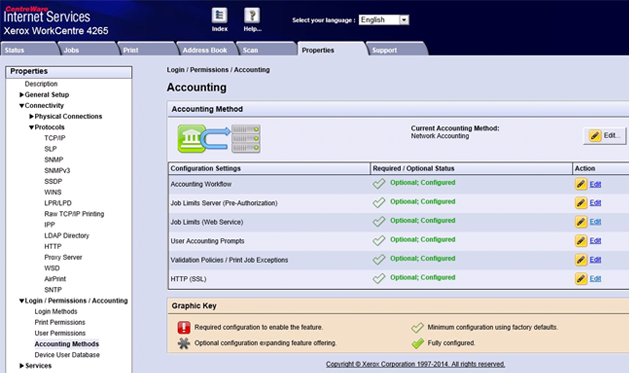
In the left pane, select and then Accounting. Select .
-
Click beside Accounting Workflow. Select . Click .