Create a metric
After the initial record is defined, you can create a metric.
When records are pulled from your data sources and used in calculations, metrics are the result of these calculations. Defining your metrics is the way to turn your record data into useful pieces of information to be used in graphs, charts, and other visual renditions of data.
Use the following procedure to create a Standard Metric based on the Orders record.
-
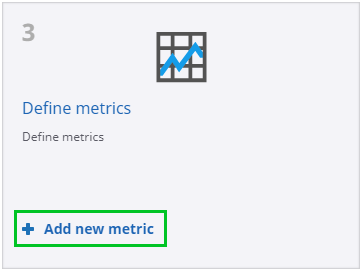
On the
Guide screen, select
Add new metric.
-
Enter
Order count in the
Metric name field. Click
Create in the
Standard Metric section.

-
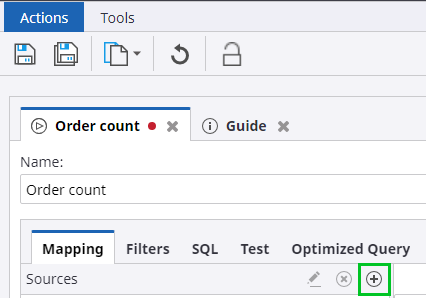
Click
Add new field
 on the right to add
Sources.
on the right to add
Sources.
-
In the
New source type section, select
Record. Add the defined records as sources for
your metric.

-
Click the ellipsis button in the
Select new source section to open a list of
available records.

-
Select
Orders and click
OK.

- Click OK to go back to the main window.
-
Map the following fields by dragging them from the left column to
the right:
OrderDate,
OrderID,
TotalSales,
Employee, and
ShipCity. When prompted to set the Time Filter on the
OrderDate field, click
Yes.

The mapped fields become the dimensions.
At this point, all fields that are dragged across (except the OrderDate) will be the Dimensions. The fields that represent metric values should be defined as Values. -
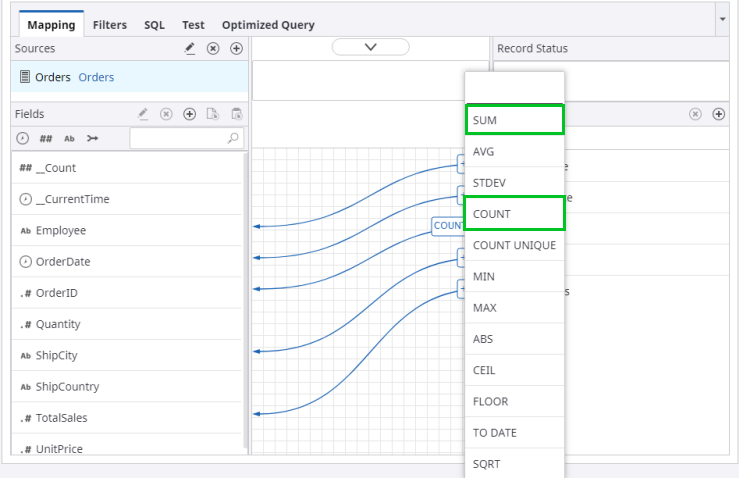
Click
 icon next to
Order ID and select
Count from the menu. This way,
Insight
counts each individual order ID as one entity and returns a total of
order IDs, thus creating an order count metric. Click the same icon for
TotalSales, and select
Sum.
icon next to
Order ID and select
Count from the menu. This way,
Insight
counts each individual order ID as one entity and returns a total of
order IDs, thus creating an order count metric. Click the same icon for
TotalSales, and select
Sum.
After you set the aggregation asCount
for OrderID and asSum
for TotalSales, the Purpose for Order ID and TotalSales fields is defined as Value.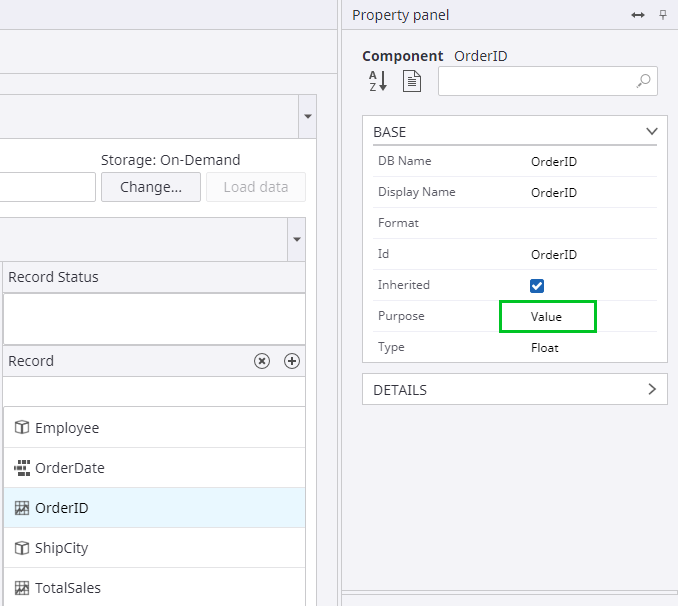
-
Change the Display Name of
OrderID to
Order Count in the
Property Panel.

-
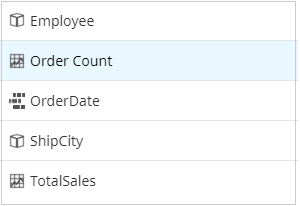
Your metric should have the following icons:
Employee and
ShipCity are dimensions
 , and
Order Count and
TotalSales are values
, and
Order Count and
TotalSales are values
 .
.
-
To store your data, change the metric settings from
On-Demand, do not store to
Store, using overwrite logic. Click
Change at the top right of the screen.

The Storage details dialog box appears. Select Store, using overwrite logic and click OK.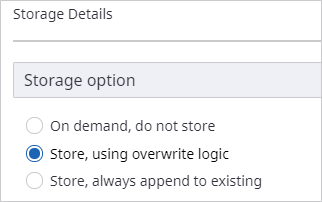
-
Save your metric. The following dialog box appears on the
screen.
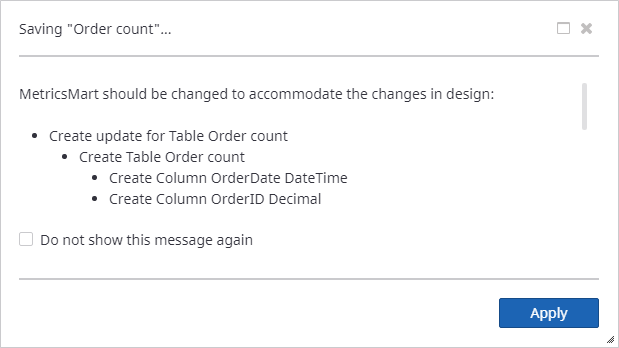
- Click Apply to apply and save your changes in the database.