Authorize/Signature Settings
The Administrator can add a signature to a specified user and also clear a user’s signature.
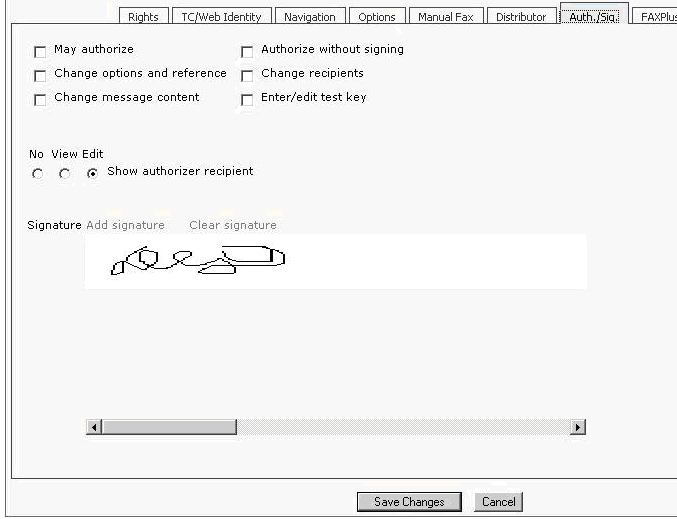
Picture 171: Authorize/Signature page on the Rights tab
-
May authorize: Grants the user the right to authorize messages for sending
-
Change options and reference: The user may change all send options and the reference field (only in TCfW).
-
Change message content: The user may change the contents of the message (only in TCfW).
-
Authorize without signing: This specifies that the signature of the authorizer does not have to be included for the message to be authorized.
Please make sure that ‘May authorize’ user right is granted to be able to authorize a message at all.
-
Change recipients: The user may change the recipient list (only in TCfW).
-
Enter / edit test key: Grants the user the right to enter or edit the test key. Each user can enter a test key mark, but he/she can never enter the test key itself or view it. A test key can only be entered by the user receiving the message for authorization. Any user in the authorization chain without this right cannot view or change the test key, regardless of his/her Change message content right. (only in TCfW).
Adding signature
- Click
Add signature.
The “Add signature” window is displayed:
-
Save button – save signature
-
Cancel button – close the form without saving
-
Browse button – open browse folder dialog box
-
Signature path text box
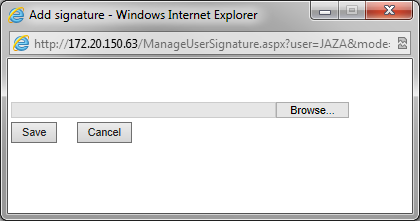
Picture 172: Add signature form
-
- Click Browse.
- Select the signature and click Open.
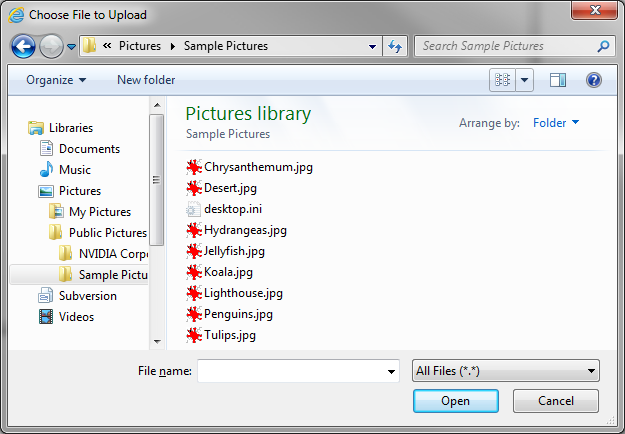
Picture 173: Browse folders dialog box
-
Click Save. If the picture is valid, the “Add signature” window is closed and the signature is inserted in the signature box on the main Authorize page.

Picture 174: Signature(picture) box
Otherwise, if the picture is not valid you receive an error message.
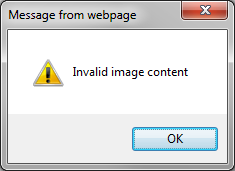
Picture 175: „Unsupported file format“ message
Clearing signature
To clear your signature, click Clear signature, then click OK in the confirmation window.
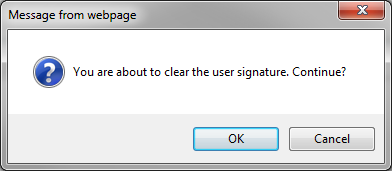
Picture 176: Confirm „Clear signature“ dialog box