Working with a document
Sign a PDF document
To sign a PDF document perform the following steps:
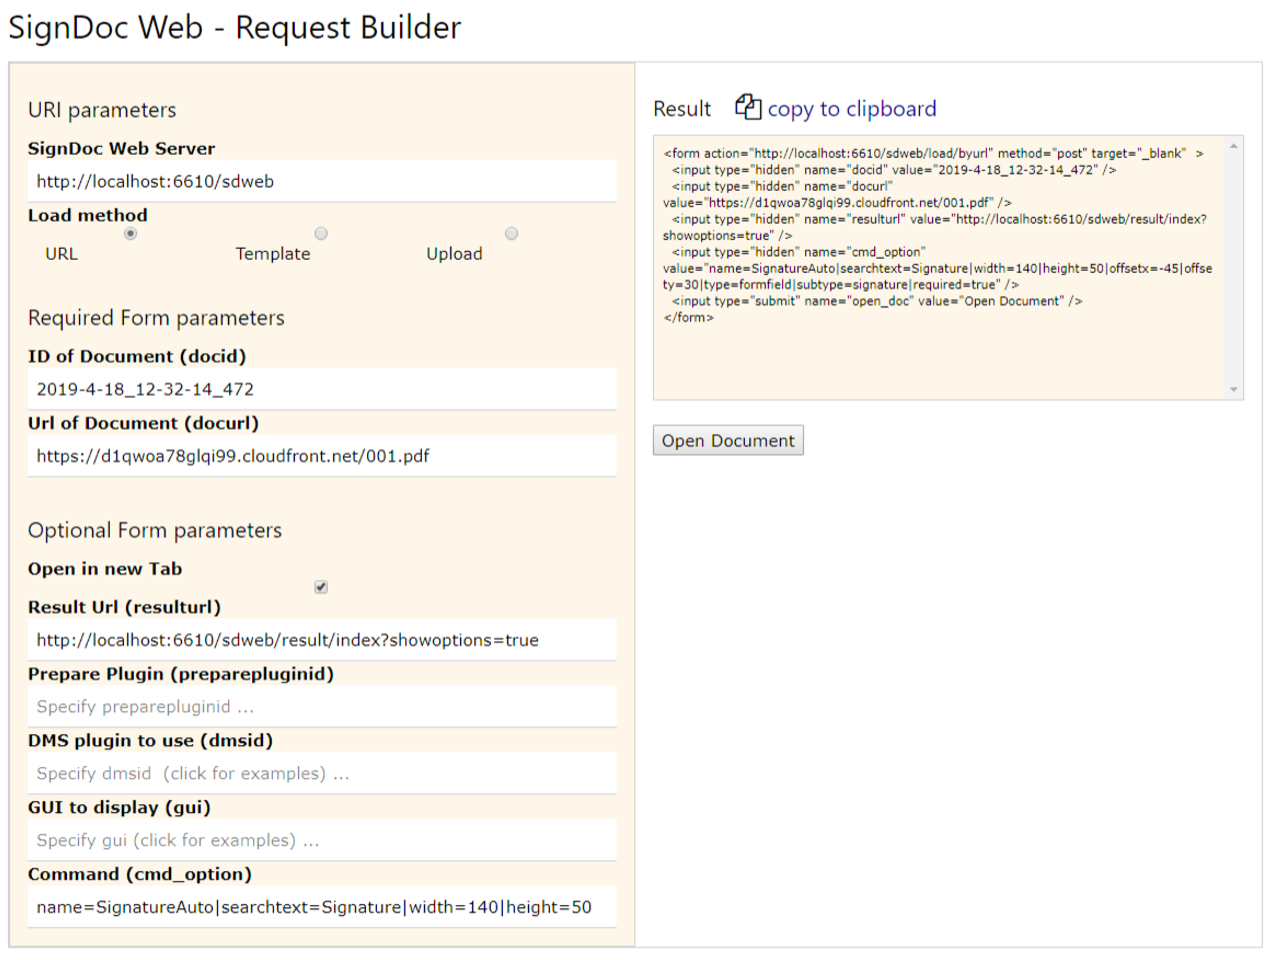
- Create a new document from the Request Builder page, for example, by selecting
Template under
Load method. Select one of the available templates from the drop down list and
click
Open Document.
See the chapter Open documents for more information.
- The new document will be created based on the selected template and will be displayed in the browser window.
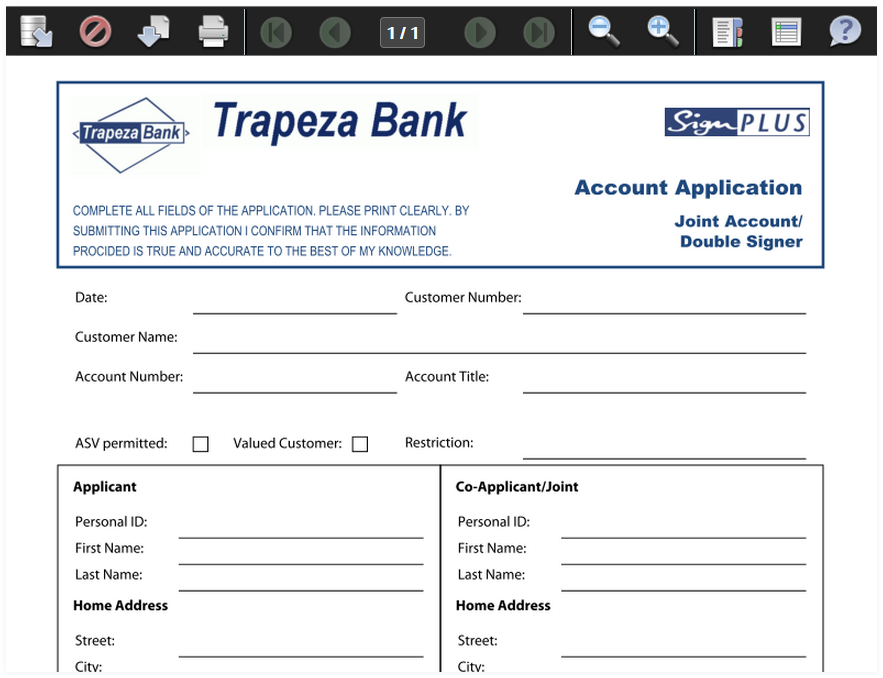
- On the top of the page the SignDoc Web toolbar will be shown. Find a description of the items in the chapter
SignDoc Web toolbar.

- SignDoc Web offers a possibility to edit the PDF documents directly in the browser window.
For using this functionality the PDF document should contain the editable form fields, that are supported by SignDoc Web (text fields, check boxes, radio buttons). If the document already contains the supported editable form field, click the toolbar icon
 Highlight input fields. Once the icon is clicked, all the editable form
fields will become highlighted as shown on the picture below:
Highlight input fields. Once the icon is clicked, all the editable form
fields will become highlighted as shown on the picture below:

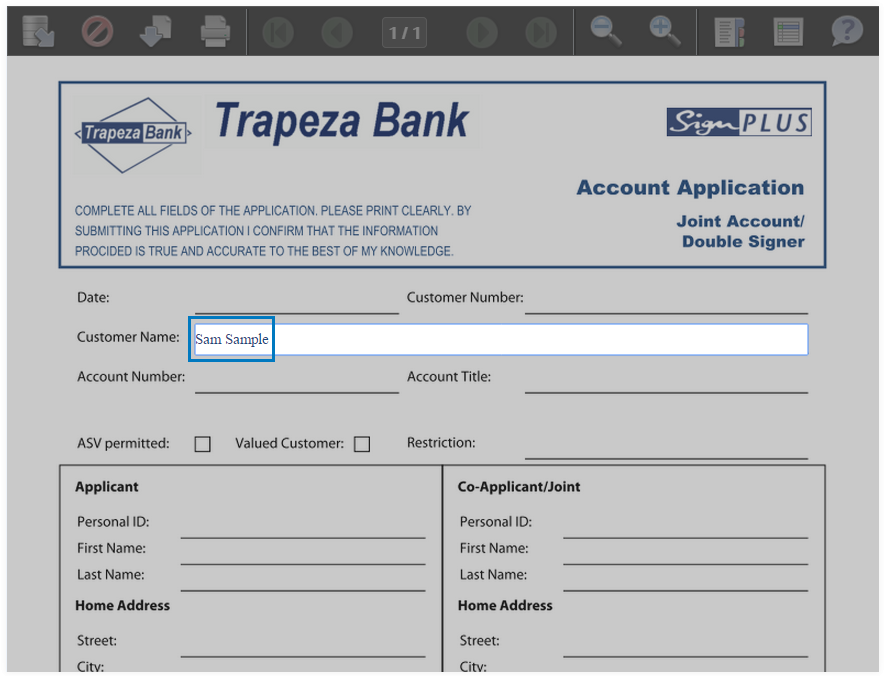
- Using a mouse, click on the field which you would like to edit. Once clicked, the field will become activated and it will
be possible to enter the text. Enter the text and press
Enter key on the keyboard to confirm the entry. The text will be inserted in
the corresponding text field.
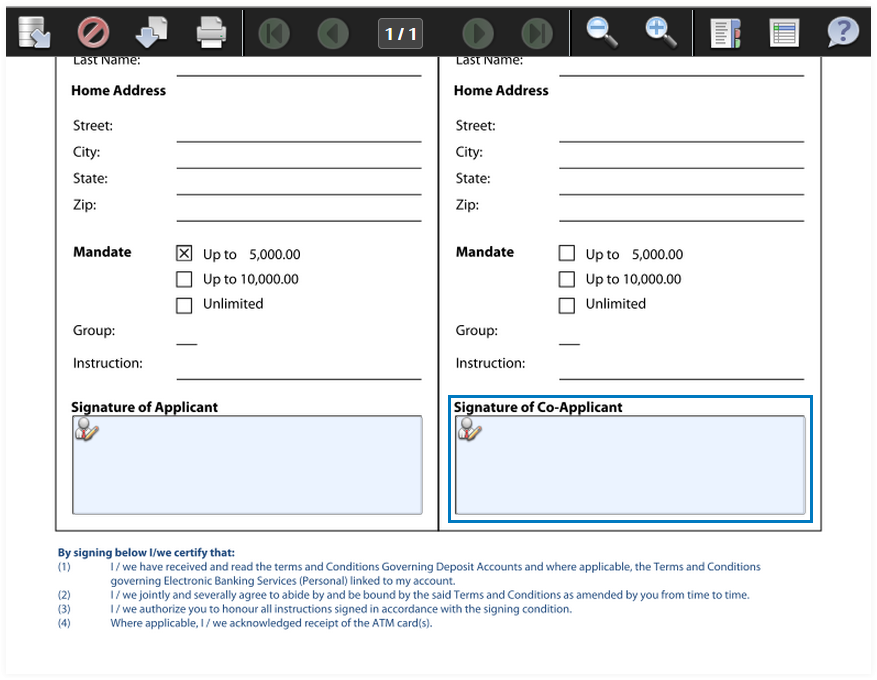
- To activate the necessary check box, simply click on the check box. The picture below shows an example of the document
with entered text and activated check boxes:
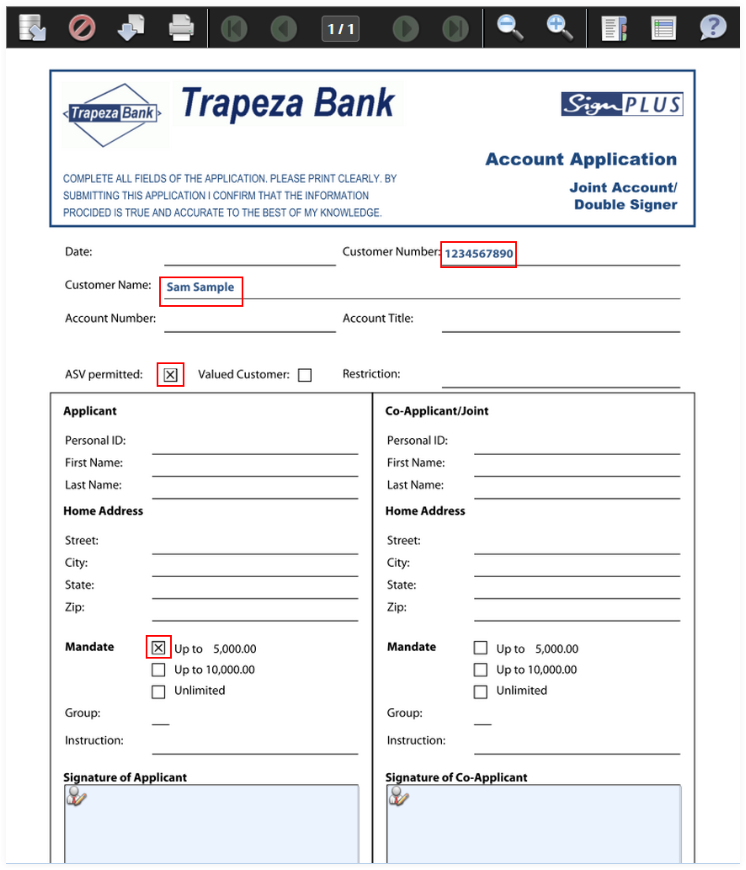
- To sign the document, click on the signature field directly in the document:
Note Find a description of signing a document using a mobile device with the Sign2Phone App in How to use Sign2Phone. - The signature capture dialog will be opened as shown below.
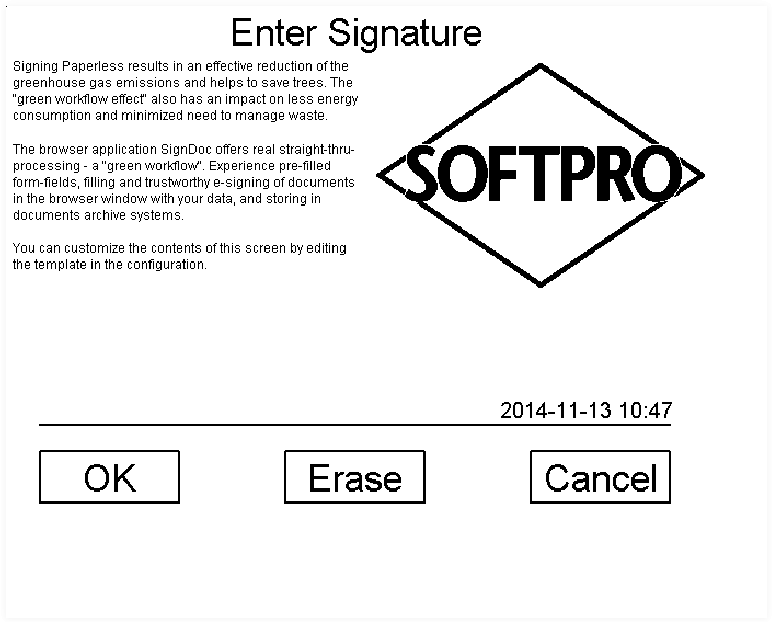
If the signature capture dialog was not opened, make sure that SignDoc Plugin has been installed on this computer.
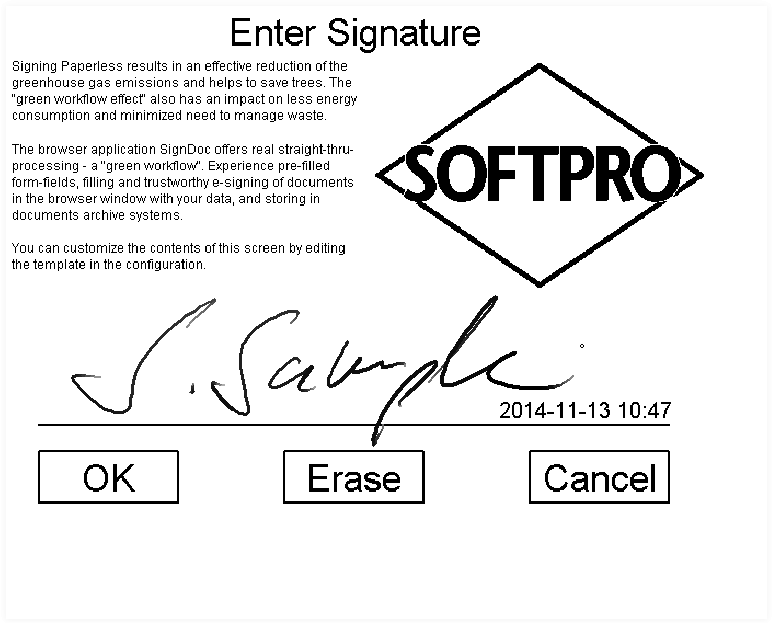
- Sign on the signature capture device. Click
Erase to re-enter the signature. Click
OK to confirm the signature entry or click
Cancel to abort the signature capture process.
- After clicking
OK the signature capture dialog will be closed and the captured signature will
be inserted into the document in the corresponding signature field.
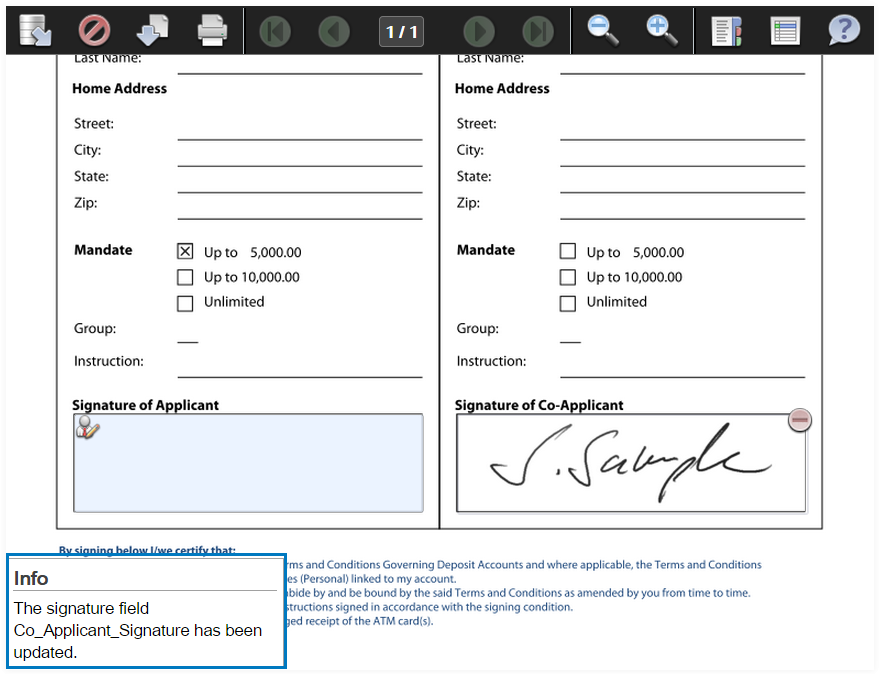
- When all the necessary signatures are inserted in the document, click the
 Send document to archive icon to archive the document.
- The message asking if you really want to send the document to archive will appear in the middle of the browser window. At
the same time the info message notifying about the document validation status will appear in the bottom left corner of the browser
window.
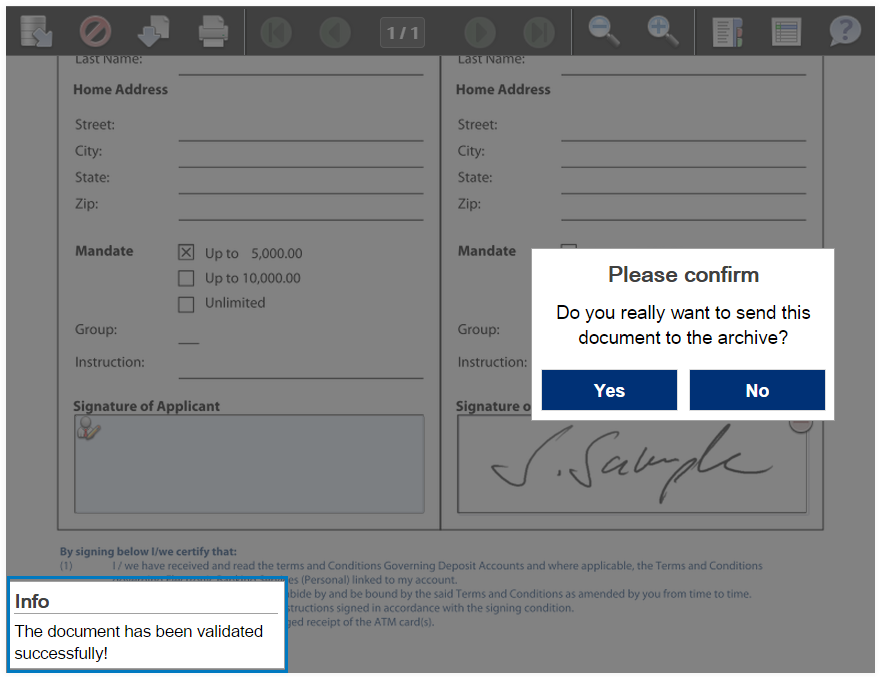
- Click
Yes to confirm and document will be sent to the archive.
If the SignDoc Web has been installed with a default setting the location of the DMS folder will be in
C:\ProgramData\SOFTPRO\SignDocWeb\dms
- On the last SignDoc Web Request Builder page the information that the document has been successfully saved will be
displayed.

- The last SignDoc Web Request Builder page will be displaying the additional information about the currently archived document like options and result parameters.