Enable a plug-in for a specific account
If only one specific account should have the ClamAV scanner enabled, you must configure the plug-in for that specific account.
Add the plug-in to be configured for a specific account to the load list
This step is the same as the one shown above. It has to be performed by a server administrator.
Open the Administration Center, log in as a server administrator and then click System settings.
Click the General section below the Plug-ins category and change the Plug-in load list setting by adding the class name to the comma-delimited list:
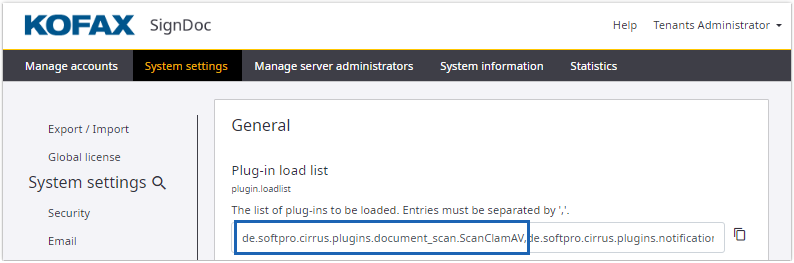
After adding the name to the list, save the setting. Give the application 10-30 seconds to reload the plug-in list. You will have to refresh the Administration Center to view the new settings.
Enable and configure the plug-in for a specific account
Either the server administrator or an account administrator can enable the plug-in for a specific account.
The server administrator uses the Administration Center, similar to the example for Enable a plug-in globally, but edits an individual account setting instead of the global settings for all accounts.
The account administrator can use the Manage Client to perform the same operation.
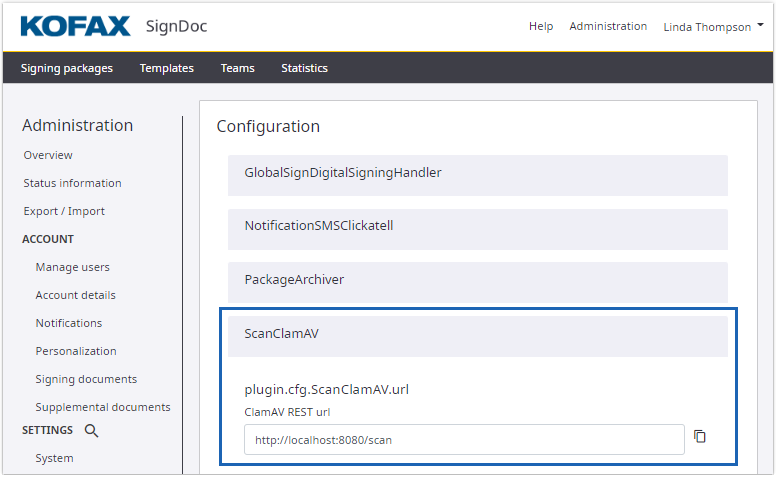
Log into the Manage Client with account administrator credentials.
Go to the Administration section, find Plug-ins and choose Configuration. Find the ClamAV URL setting and point it to the ClamAV server you are running. Save the setting.
Change to the Enabled section and enable the plug-in by sliding the switch to on, and then save the setting.
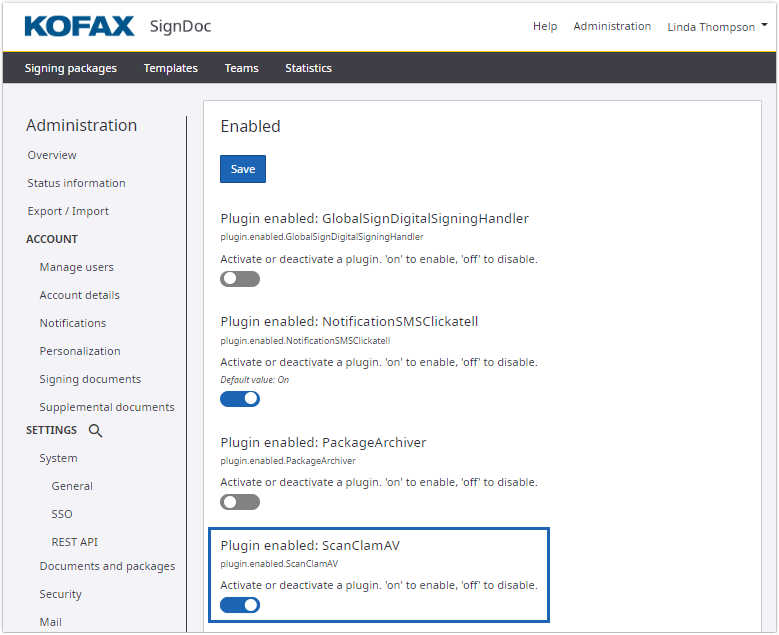
The plug-in is loaded and available only for the account you configured.
To make the plug-in available for a different account, you must log in as an account administrator for the other account and repeat the process or set it in the Administration Center via Manage account. You can use different settings for different accounts. In case of the ClamAV plug-in, different accounts can use different ClamAV scanning servers.