Create the Azure database
Create the Azure database using the Azure Management portal.
- Open the Azure Management portal.
-
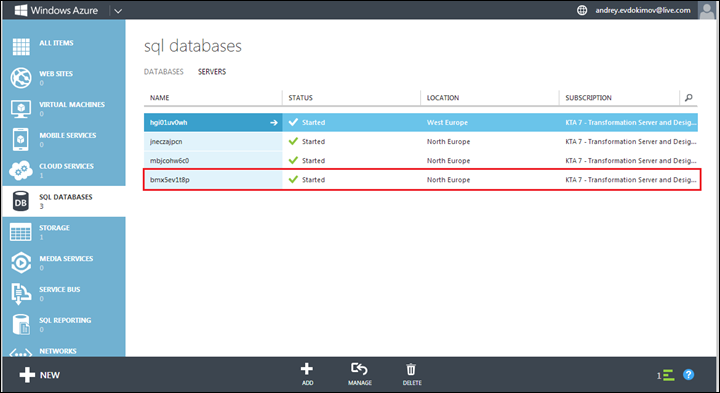
Go to SQL DATABASES > SERVERS.

-
Click
ADD.
-
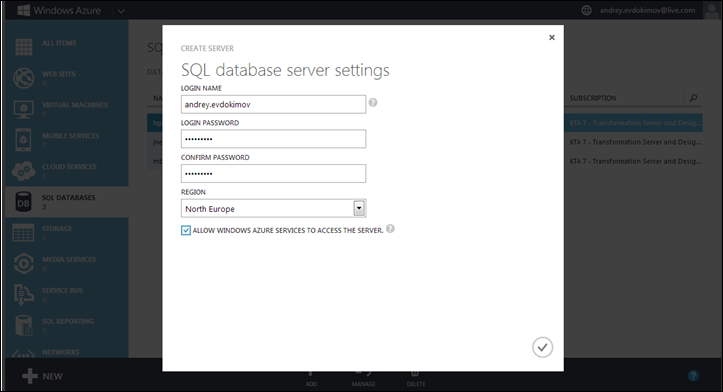
Enter SQL database server settings and click the
Tick button.
New database server is created.
-
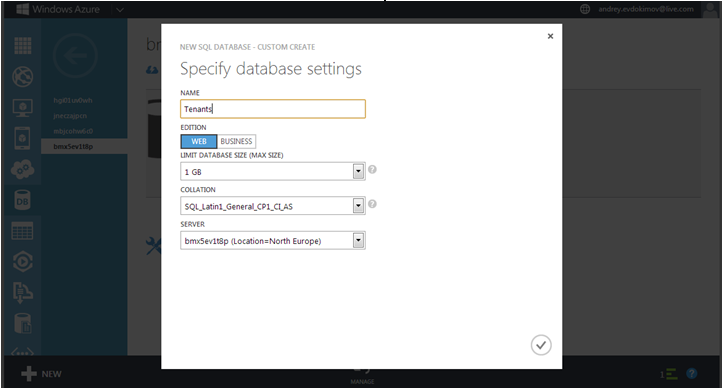
Create a Master database called ‘MasterTenants’ in one of the
available servers.
Note Use a different name for the database if desired. This database will be used later by the Tenant Management website to manage tenants and create Data Center and storage.
-
To create a new database, click the selected database server.
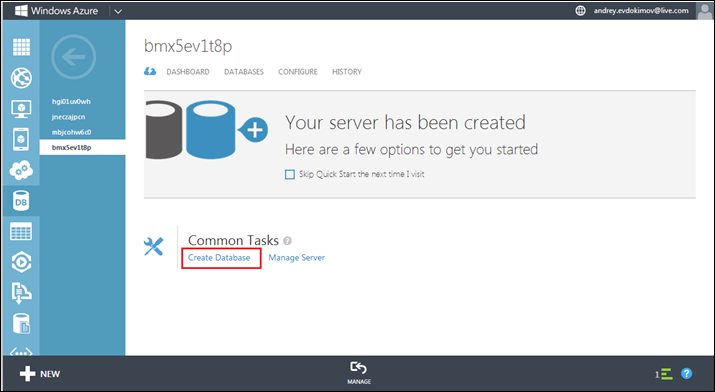
The database server Quick Start page opens.
-
Under Common Tasks, click
Create Database.
-
Specify database settings and click the
Tick button.
This will create a new database.
-
Similarly, create the Data Center database called
DataCenterTenants.
This database will be used later by the Data Center instances.
Note the following:
-
Use a different name for the DataCenterTenants database if desired.
-
A Data Center should have only one DataCenterTenants database.
-
The Master and the Data Center databases need not be on the same server.
-
Kofax recommends creating the Data Center databases on the same region as the DataCenter instances.
-
-
Once the two databases are created, create the necessary tables
and their initial data.
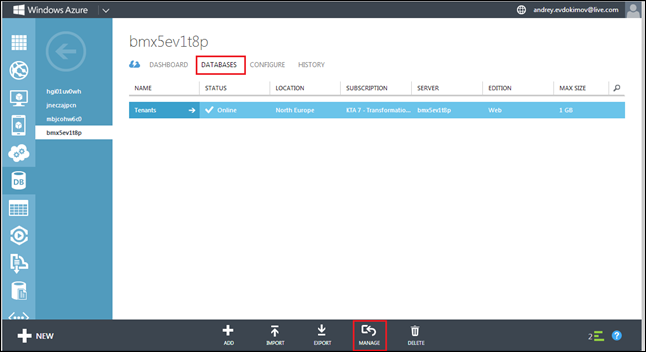
- Click the DATABASES tab.
- Make sure your database is Online.
-
Click
MANAGE.
A message appears, “The current IP address <IP address> is not included in the existing firewall rules. Do you want to update the firewall rules to manage Tenants?”
-
Click
Yes. A message appears, “Rule <rule> to <rule> was
added to the firewall rules. Do you want to manage Tenants now?”
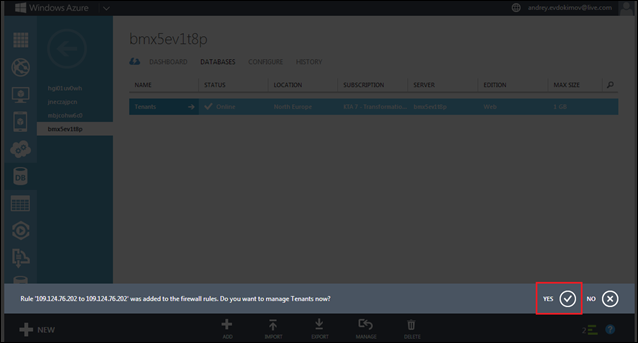
-
Click
Yes.
A New database logon window opens.
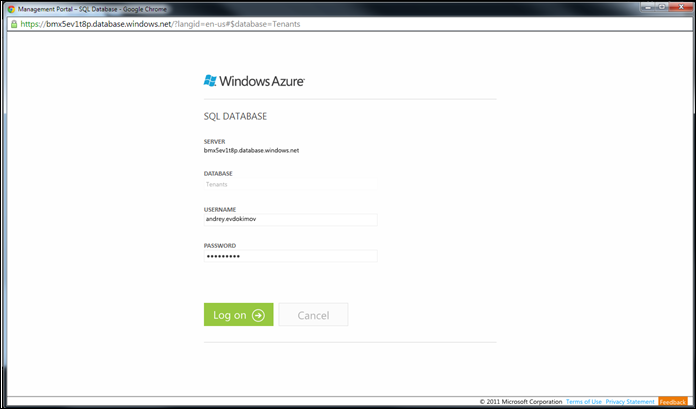
-
Type your username and password and click
Log on.
The Database console opens.
-
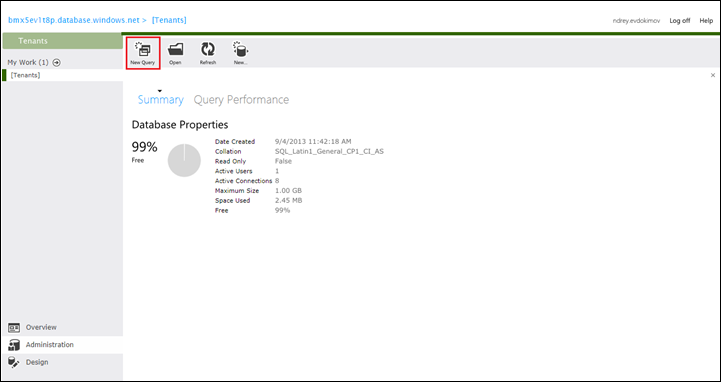
Click
New Query or
Open and run the Master Tenant scripts located at
\Support\Scripts inside the Azure Package folder on the ‘MasterTenants’
database in the following order:
- Create_MasterTenants.sql
- Initialise_MasterTenants.sql
-
Perform the same steps to run the Data Center scripts located at
\Support\Scripts inside the Azure Package folder on the ‘DataCenterTenants’
database in the following order:
- Create_DataCenterTenants.sql
- Initialise_DataCenterTenants.sql
- Create_KLS_Azure.sql – these are license tables
Note Drop scripts are available at the same location if you need. - Now all database prerequisites are ready.
-
Open the Master Tenants/DataCenterTenants database Quick Start
page to view the full address to database server.
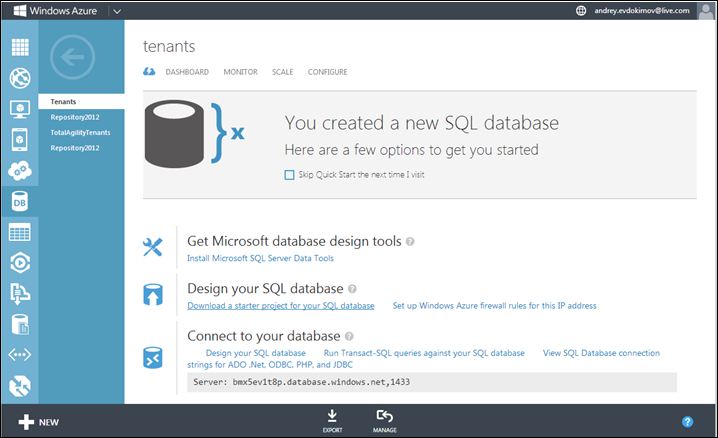
- Make a note of this address as you will need it for configuring the ServiceConfiguration.cscfg file of CEBPM Azure deployment package.