Scan
You can scan a document and upload it to CloudDocs.
-
Go to
.
-
If the Dynamsoft software is not installed on your computer, the
Dynamsoft pop-up window appears to download the software.
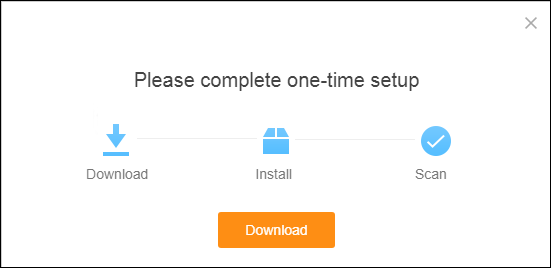
To download the software:
-
Click Download to download the DynamsoftServiceSetup.msi file.
-
Double-click the setup file and follow the instructions to install the software.
-
Close the pop-up window that appears after installation.
The Capture page opens.
-
- If the Dynamsoft software is already installed on your computer, proceed with scan.
-
If the Dynamsoft software is not installed on your computer, the
Dynamsoft pop-up window appears to download the software.
-
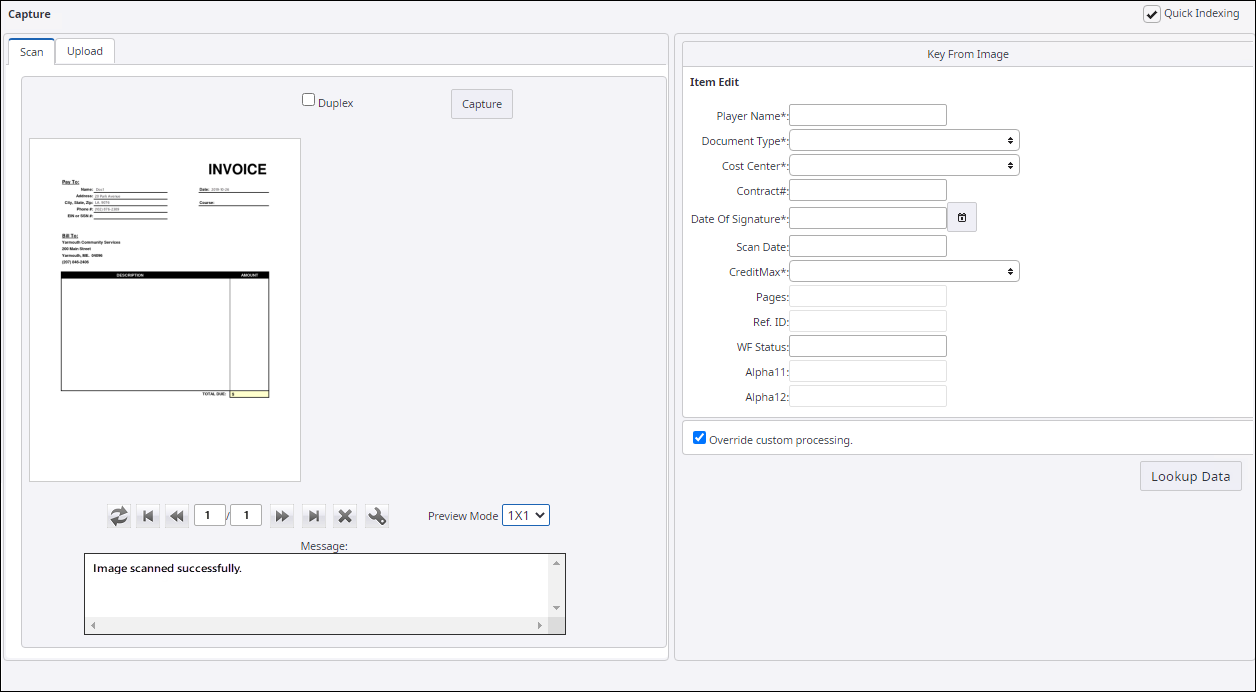
On the tab, select
Duplex if you want to scan both the sides of the paper at once.
The duplex option depends upon the scanner used. Some scanners may not support this functionality.
-
Place the document that you want to scan in the scanner and click
Capture.
The image of the document appears on the left pane and a confirmation message appears in the Message box if the image is scanned successfully. Otherwise, an error message appears stating the cause for the error.
-
Use the following buttons to preview, delete, edit, and scroll between scanned pages of the document.
Icon Description 
Use this icon to refresh the document preview.

Use this icon to go to the first page of the document.

Use this icon to go to the previous page of the document.

Use this icon to go to the next page of the document.

Use this icon to go to the last page of the document.

Use this icon to delete a page

Use this icon to edit a page

This box displays the current and total number of pages in the scanned document. Example: 2/10, where 2 is the current page displayed in the preview window and 10 depicts the total number of pages in the scanned document.
- On the Preview Mode list, select the number of pages you want to display in the preview pane.
-
Select
Quick Indexing to enable the item detail fields and provide details for the
document scanned. For more information, see
Quick indexing.
Alternatively, you can use lookup data to auto fill the fields. Click Lookup Data to open lookup data and fill the fields.
- Select Override custom processing to skip the workflow process and move the scanned document to the archive. By default, only the documents with complete information are moved to the archive.