Sign documents
On the Review & Sign page, users get an overview of documents included in the signing package. The list of documents is displayed in the order that a package creator has set.
For each document, the action type Document signing or Document review is shown together with the status information Action required or Complete if the action is finished.
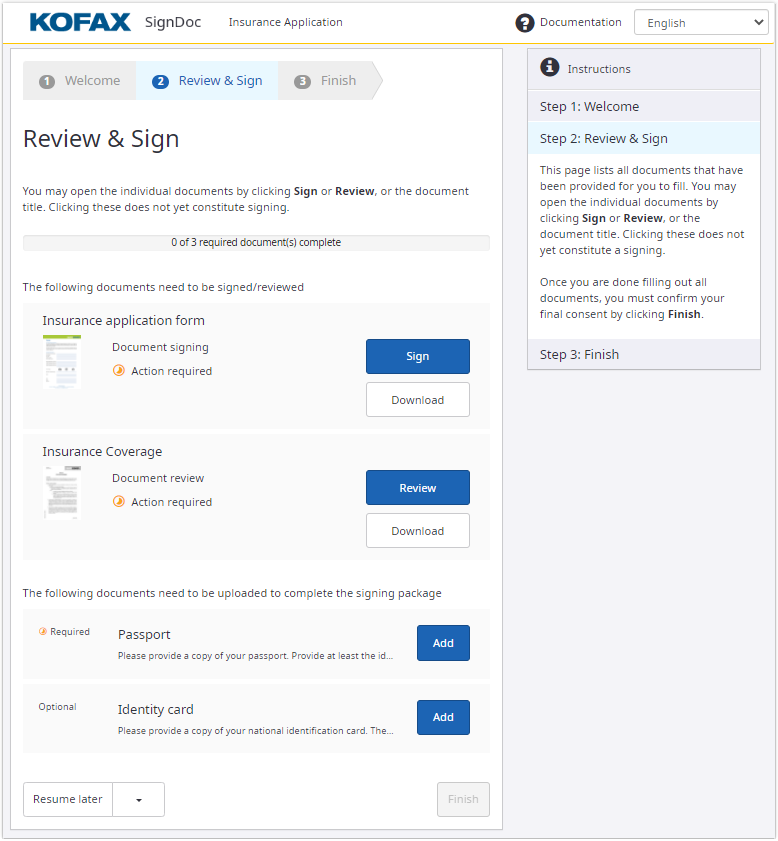
Click Resume later to save the changes without finishing the signing package. You will be redirected back to the list of signers.
The drop-down menu near Resume later allows to Decline the signing session.
Click Finish if all required fields of all signer documents are completed and/or all documents have been reviewed by the reviewer. After users finish, they can no longer edit the documents in the package.
Document review status informs that the document should be reviewed by the recipient. If there are fields available for editing their filling is optional for the reviewer.
All pages of the document are displayed in a continuous paging view.
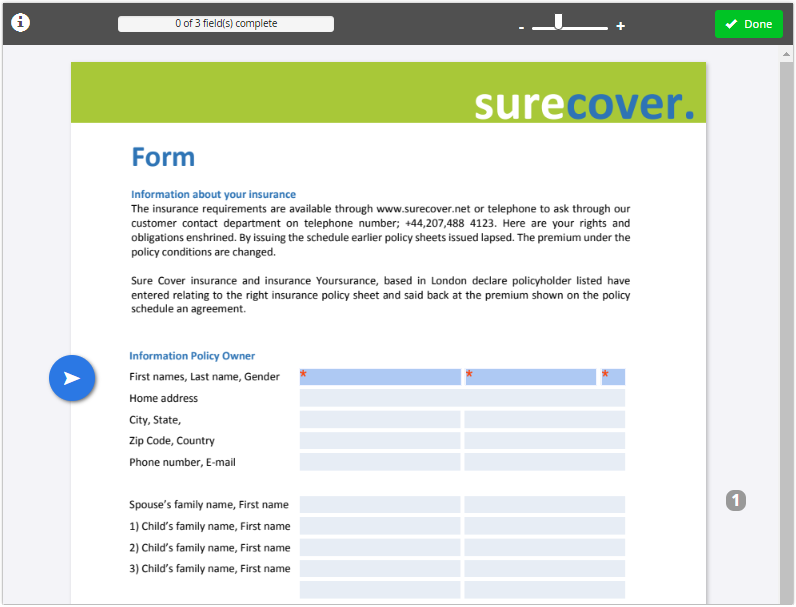
When a signer opens a document, it is either scrolled to the first interactive field, or the first page of the document is displayed. The concrete behavior is controlled by a specific setting in the Administration settings.
In the header, you can see the title and description of the current document.
With the zoom slider you can stepless zoom in and zoom out the document.
On small screens the zoom slider can be accessed by clicking the zoom icon.
If you click the info icon to the left the application displays the popup menu with useful information about the document, such as document message, document description and certificate information.
Documents may have form fields that recipients need to complete. Fields in the document are shown with a blue background. Required fields are marked with a red asterisk. Users can click the fields to fill them in.
A form filling guide is displayed on the left side of the page to assist navigation to the fields of the document. On mobile devices, this guide is shown in the toolbar. The guide points users in the direction of the next field. You can also click the guide to automatically scroll there.
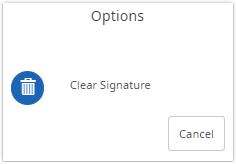
To sign, click in the signature field and follow the instructions. You can also remove any signatures added by clicking again in the signature field and clicking Clear Signature if it is not prohibited by package administrator (specific setting for Clear signature availability is provided in Administration settings).
The following methods are available to sign a document: signature image, stamp image, signature, photo capture, or Click-to-Sign. When a TSP signature has been defined for a signature field. See TSP signatures in the signing process for a detailed description.
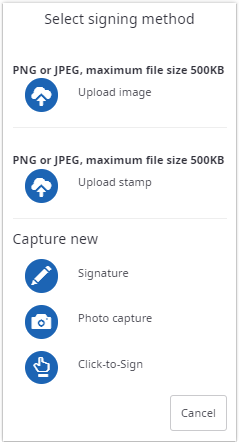
- Signature image
Sign the document using a saved image. To use this feature, click the Upload image menu item and select a JPG or PNG file to use for signing. After that the popup displays the image and you can click the image to sign the document:
 The signature image is stored on the computer or device that you are working on. You can delete the stored image by clicking the Delete link.
This method appears:
- In-person signing: Only for a signer added with the Add me button in the package wizard.
- Remote signing: For any user
- Stamp image
Allows signing the document with the stamp. To use this feature, click the Upload stamp menu item and select a JPG or PNG file to use for signing. After uploading the popup displays the stamp and you can click the image to sign the document:
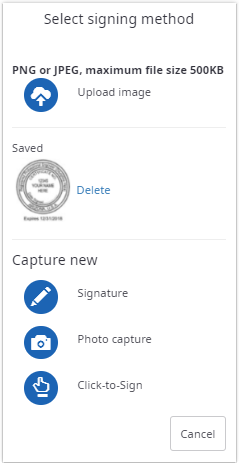 As well as the signature image the stamp is stored on the computer or device that you are working on. You can delete the stored stamp image by clicking the Delete link.
This method is available for:
- In-person signing: Only for a signer added with the Add me button in the package wizard.
- Remote signing: For any user
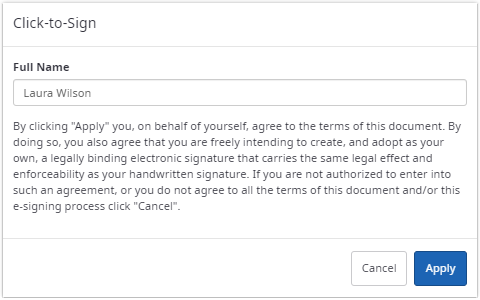
- Click-to-Sign
Sign by typing your name.
- Photo capture
Use your device camera to take a picture to sign with. To take a picture, click Snap. To take the picture again, click Re-take. If you are satisfied with the picture, click Apply.
The device camera can’t be accessed when the Internet Explorer is used. In this case an image file can be uploaded from the file system instead.
Personal certificate
Suppose the Personal certificate signing method is allowed for the signature field and the corresponding software (Device Setup and certificate plug-in) is installed on the client computer. In that case, the signer can use a personal certificate by checking Use personal certificate.
Once checked, the dialog now contains a list of possible signature field appearances that can be used in combination with the personal certificate. For the signer, the appearances behave the same as the signing methods which are described above, except for the Default appearance. When using the Default appearance, the installed certificate plug-in will automatically provide an appearance (usually an image).

After the signer chooses an appearance and there are multiple certificates available on the client machine, the signer must select a certificate first.
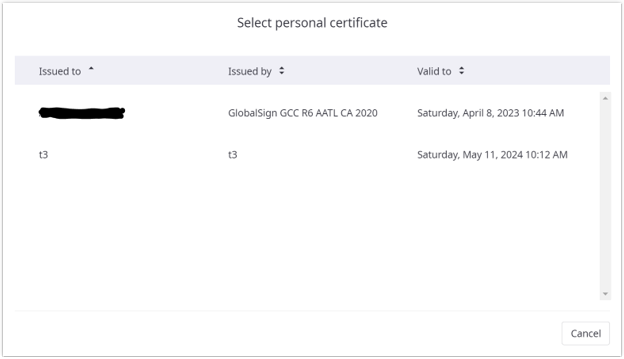
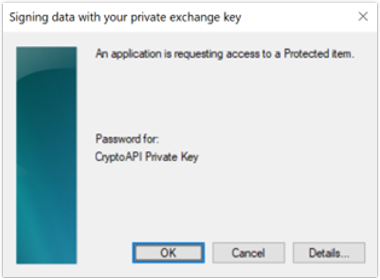
If the selected certificate is protected by a password, a platform-specific dialog pops up which asks the signer to confirm the access to the selected certificate.
The access to some specific certificates is protected by a vendor-specific dialog instead.
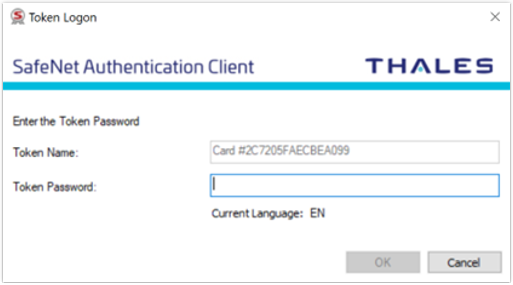
In this example the certificate is part of the SafeNet USB Hardware Token technology, and the vendor-specific dialog pops up to enter the token password.
When the Signing Client is closed and one of the dialogs is still open, the Signing Client can be blocked when re-opened. In this case close the corresponding dialog and re-open the Signing Client again.
Enforce signing mode
If Enforce signing mode is enabled for the signing package, the signer is forced to sign the rest of the signature fields with the same signing mode which is used to sign the first signature field.
Clear signature
If Clear Signature action is available by administration settings, you can also remove any signatures added by clicking again and clicking Clear Signature.
Initials fields
When an initials field is assigned to a signer or reviewer, the recipient must provide his name initials once clicking the field.
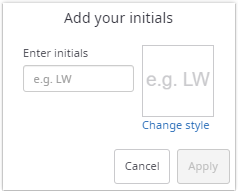
If the recipient hasn’t provided his initials yet, he is prompted to enter his initials in a dialog.
An example, based on his name, is already displayed as greyed-out placeholder.
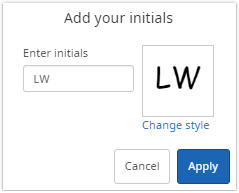
During entering initials in the input field, a preview tile is displayed to the right, how it would look like in the document.
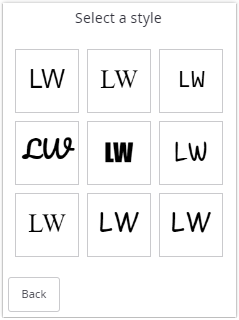
To select a different style of the entered initials, the recipient can always click Change style during entering initials.
A style can be selected by clicking the corresponding tile. Clicking Back returns to the previous dialog without selecting another style.
Now the recipient can click Apply to leave the dialog to use the entered initials in the selected style or click Cancel to leave the dialog without any changes.
After clicking Apply, the initials are added to the field and rendered in the document.
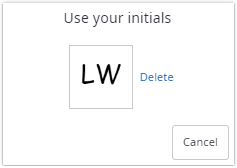
Once the recipient applied his initials, he can re-use them when clicking on an empty initials field.
In the opened dialog, the initials can be re-used by clicking the corresponding tile. Clicking Delete will remove the stored initials and take the recipient back to the "Add your initials" dialog above. The last entered initials and style are preselected.
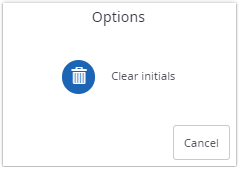
To remove initials from a field, a Clear initials option is available after clicking the field.
After you are done editing or reviewing the document, click Done to return to the previous page.

Download your documents
To download your documents, click the download button:
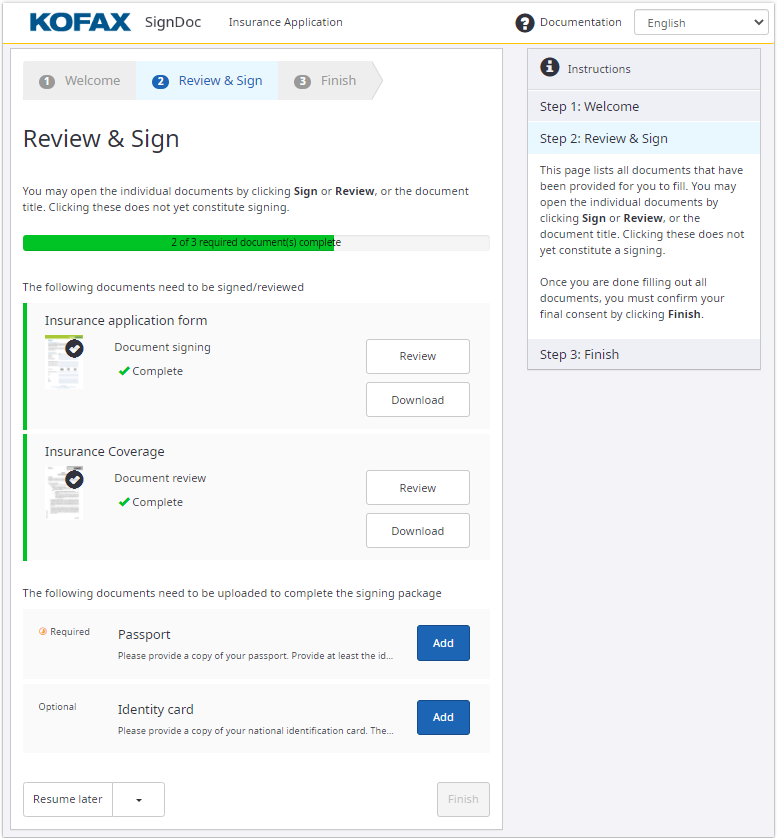
Add the supplemental documents by uploading the required files. See Supplemental documents for more information.
After you finish filling or reviewing all documents, click Download All to save all completed documents as a zip file.
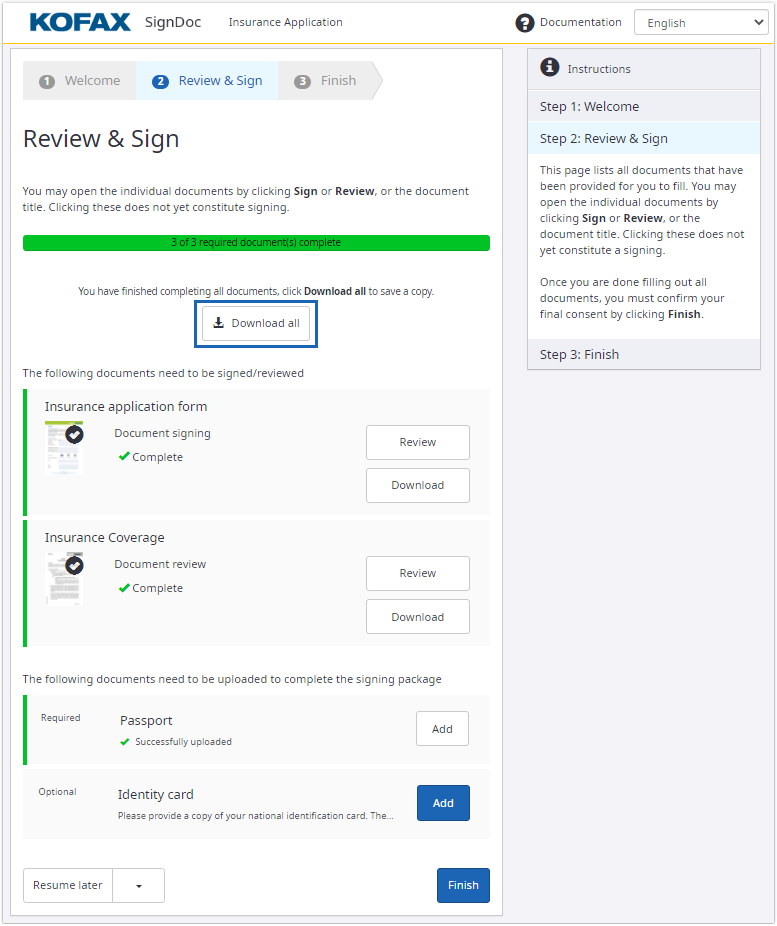
Then the Finish button is enabled, and the recipient can finish the review and sign process.
Clicking Finish SignDoc Standard guides the recipient to the Completeness & Thank you page.

