Anchors
When creating Views, you are encouraged to use anchors, which link the components and help to adjust the design for different screen resolutions.
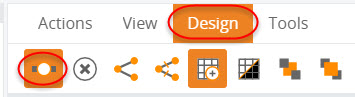
To enter the mode for configuring anchors, in Studio, on the toolbar,
open the
Design tab. Click
Show all anchors.
In this mode, all existing anchors are shown for all selected components.
Create anchors manually
You can create anchors in the following ways:
- Between components and the View borders
- Between components
- Between the sides of one component
To create an anchor, verify that Show all anchors is enabled, drag and drop the mouse between the green circles as required (to the available green circle).
The circles are located either on the components or on the View
borders, marked by the dotted line. Adding an anchor fixes the distance between
objects. If the distance is not fixed, the component will not be resized.
Create anchors automatically
Also, you can automatically link all the present components on the View by anchors. To achieve this, on the toolbar click Create anchors for all components. All the components now are linked to each other by anchors and also to the View borders. In the majority of cases, this action is quite sufficient to make the dashboard look balanced.
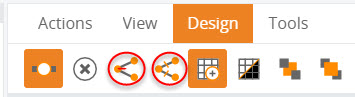
To remove the anchors, click
Remove anchors from the selected
components.
In both cases, clear the messages when prompted.
Key concepts
The following behavior applies for anchors in the Viewer:
- If the anchor is placed
between the component and the View border, this distance is preserved in the
Viewer and the component are scaled out to fit within the whole browser page.

- If the anchor is placed
between two components, this distance is preserved in the Viewer.
Note This rule does not apply to drivers: they always have a fixed height.
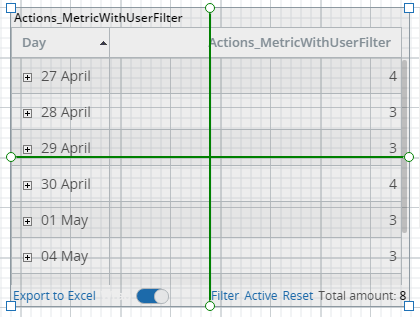
- If the anchors are placed
inside the components, such components are not resized in the Viewer. The
following example shows anchors inside the component.
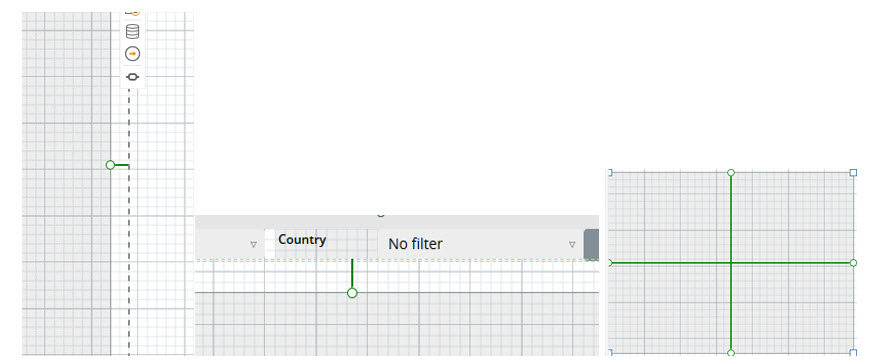
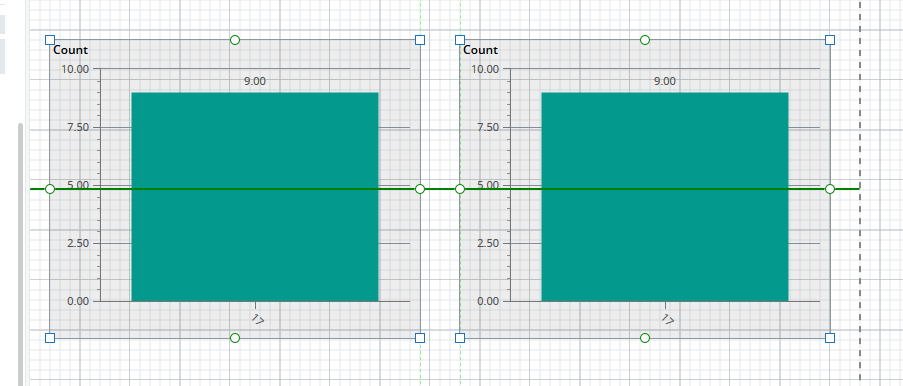
- We recommend not to fix
the View borders directly or indirectly (when the anchors make a constant line
from one border to the other like in the screen shot below), because in this
case the result might be unpredictable. In the example below, the width of the
components is linked, as well as the distance between the components, and the
distance to the View border. In this case, all the width of the View is fixed
and it is impossible to predict which anchors will be unlinked automatically to
fit the browser page.
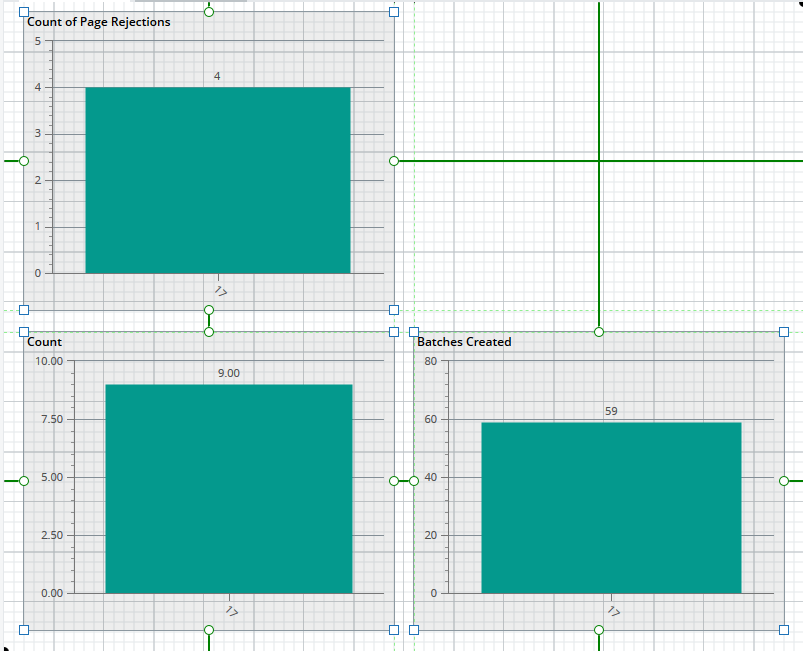
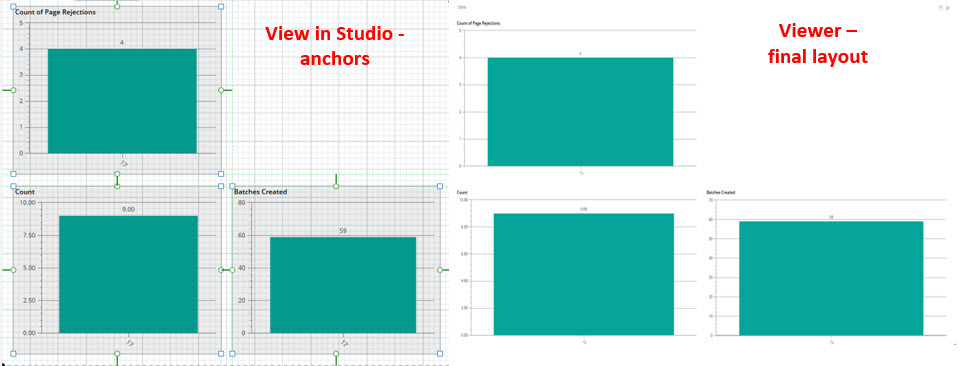
- Verify all the anchors if
the layout is not symmetrical. For example, anchors are generated automatically
as in the sample screen below.
In this case, the result in the Viewer appears this way.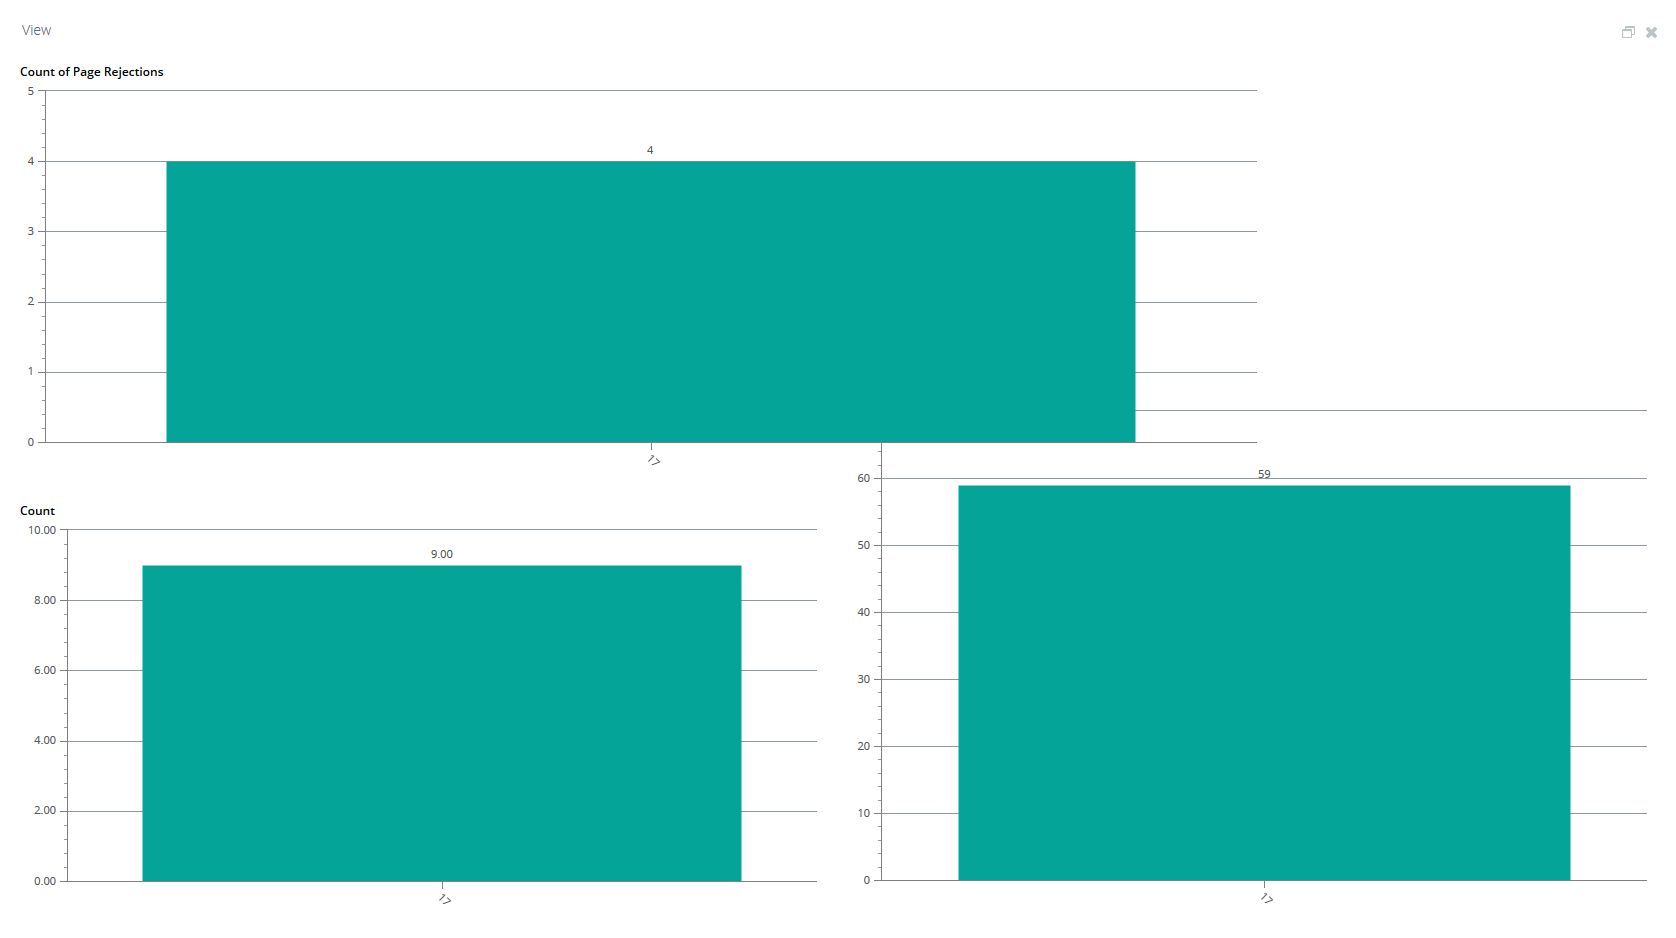
To improve the result, remove the two anchors that are seen in place of the missing chart and create the following anchors.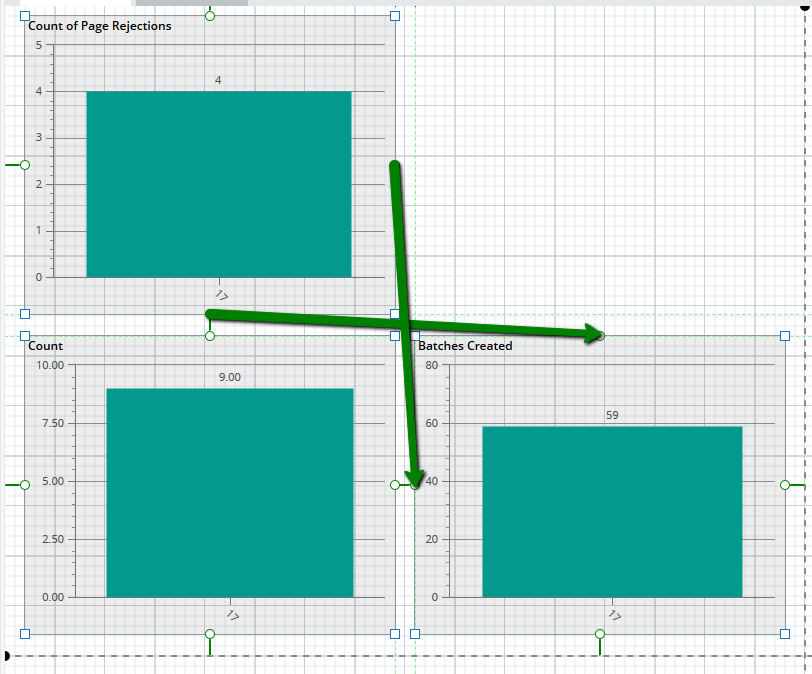
In this case, anchors are shown for all selected components. If you need to add or remove an anchor from one component, select only that component.In this example, correct anchors look similar to the following screen.
- To remove an anchor, highlight it and click the cross sign.
- If you place the component in close proximity to the View border, the anchor is automatically created, connecting the component with the border.
In this exercise, you have learned the basic principles of creating and removing anchors on the dashboard.