Create a menu
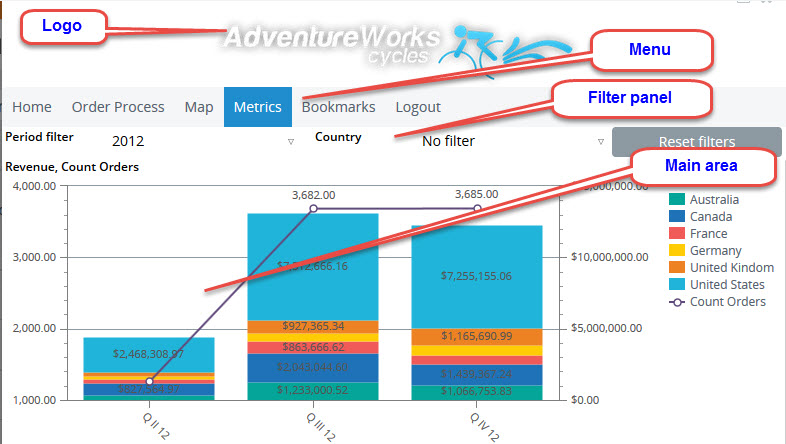
Typically, a project has one main View that is shown to the end user. This is an entry point for displaying all the required dashboards. The main project View may contain several elements: a menu, a View holder that changes the View with the help of the selected menu item, filters, a logo, and other additional elements.
One of the possible layouts:
- Logo at the top of the page.
- Horizontal menu, which changes the dashboards (Views) and includes different actions (logout, export to Excel, and more).
- Filter panel with the time window, a dimension filter, and the Reset filters button.
- View holder which takes up the most part of the screen space.
To create such a layout, do the following:
Add a logo
- Create a View, name it Menu, and click OK.
-
Drag an image component to the canvas. On the
Data wizard, select
From file, click the
ellipsis icon, and select the required image file.

Note You can use the image below for your exercise dashboard (save it to your local drive and then browse for it).
- Click OK to close the wizard.
Add a View holder
-
Drag a View holder to the canvas. On the
Data wizard, you can
change the View holder name or leave the default name.

- Set the default View for the View holder component: click Add New Data, highlight the new line, click the ellipsis icon, and select the Order Overview View from the Documents Tree. Click OK.
- Click OK to close the wizard.
Add a menu
-
Drag a menu to the canvas.

-
Configure the
Data wizard.
-
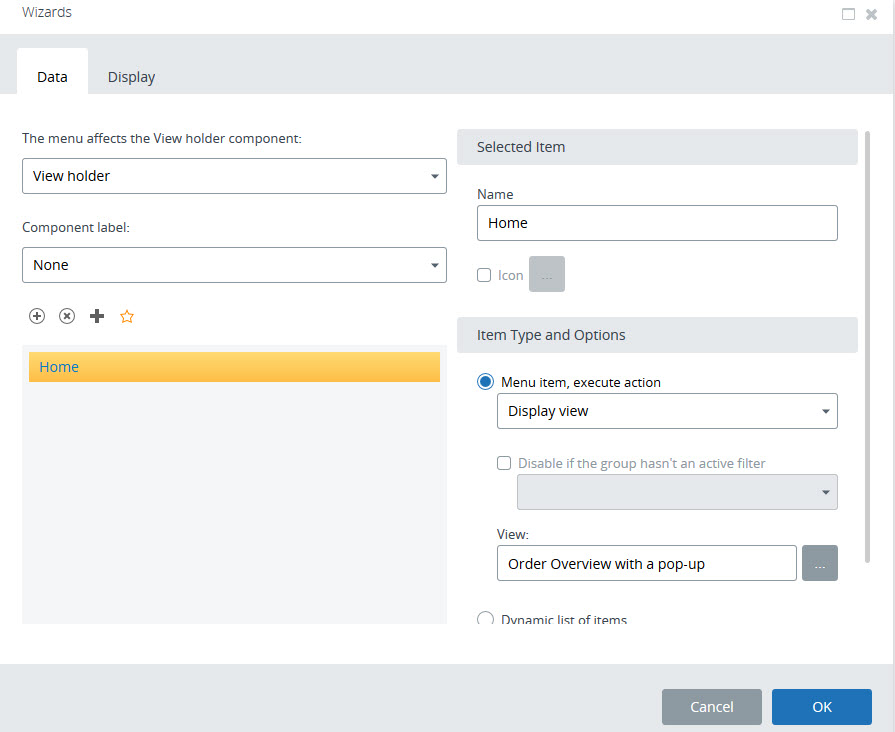
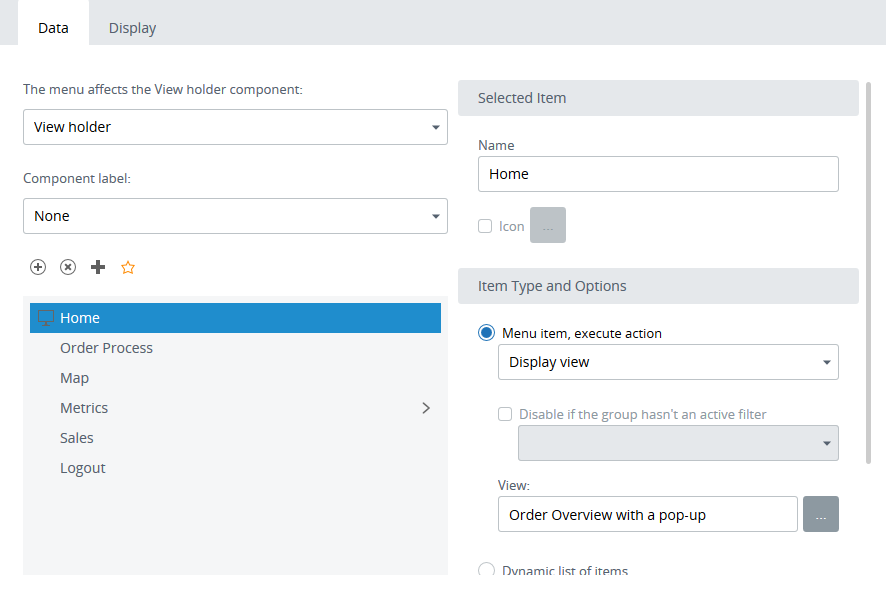
By default, the first menu item is automatically created. To
configure it, do the following: in the
Name section,
change the name to Home, in the
Menu item, execute
action, select
Display view, and
select
Order Overview with a
pop-up as a View to be opened.
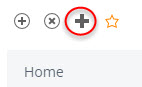
-
Add another peer menu item. Click the
Add peer
icon.
change the name to Order Process, in the same way as above, select the Display view action, and select the Process Chart View. -
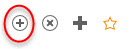
To this menu item, add a child item: click
Add child.
change the name to Grids, select the Display view action, and select the Metric Grids View.
-
By default, the first menu item is automatically created. To
configure it, do the following: in the
Name section,
change the name to Home, in the
Menu item, execute
action, select
Display view, and
select
Order Overview with a
pop-up as a View to be opened.
-
Save
 the View and open it in
the Preview/Viewer.
the View and open it in
the Preview/Viewer.
After completing
this exercise, you can now create and organize a typical dashboard with the
company logo and the menu that launches different charts, grids, and other
required elements and functions.