Create a details pop-up window for a grid
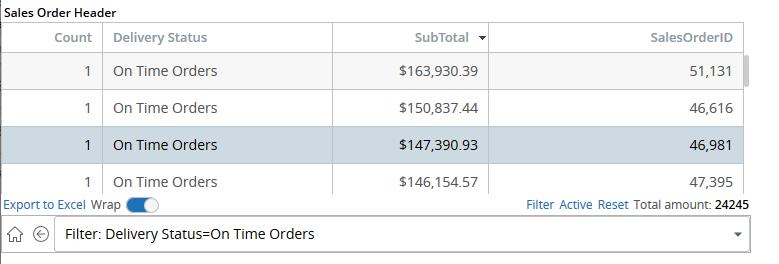
In the previous exercise, you created a View that lists orders from the AdventureWorks databases grouped by their delivery status. In this exercise, you can configure a pop-up window that shows order details when you click any order in the grid.
Tip This action is effective only on the last grid level.
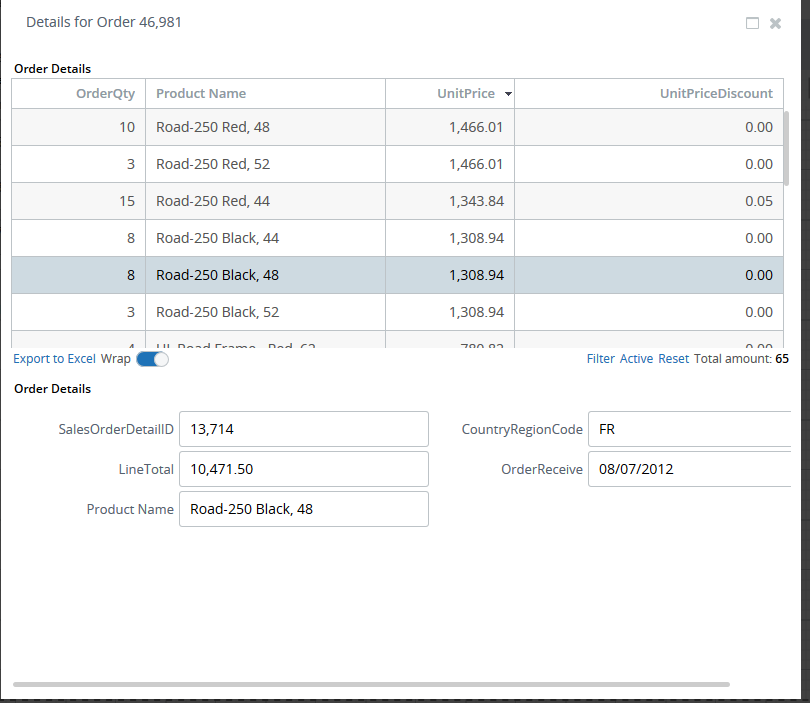
Another View opens in a pop-up window with the list of items from the specific order. Click any item to see more details. The record form linked with the grid is populated with details about the selected item in the grid.
Create a pop-up window that lists details:
- Create a record. (For more information about what a record is, see the previous use case).
- Create a View based on this record.
- Configure an action that launches a pop-up window.
Create a record
-
In Studio, create a new record and name it
Order Details. Add
dbo.SalesOrderDetail
from the
Adventure Works data
source and map the following fields (drag from left to right):
- OrderQty
- Unit Price
- UnitPriceDiscount
- SalesOrderId
- SalesOrderDetailId
- LineTotal
-
Highlight the
SalesOrderDetailId
record field, in the
Property Panel
find
Key Field, and select
the check box.
Note A record can have one or several key fields and that combination uniquely identifies the table row.
-
You will need table fields that are present in other tables. To
add them, join another database as a source.
-
Click the plus sign in the
Sources section and
then the ellipsis in the Select new source section.

-
Select
dbo.Product from
the
Adventure Works
data source. Several relations are created automatically, but keep only
ProductID.
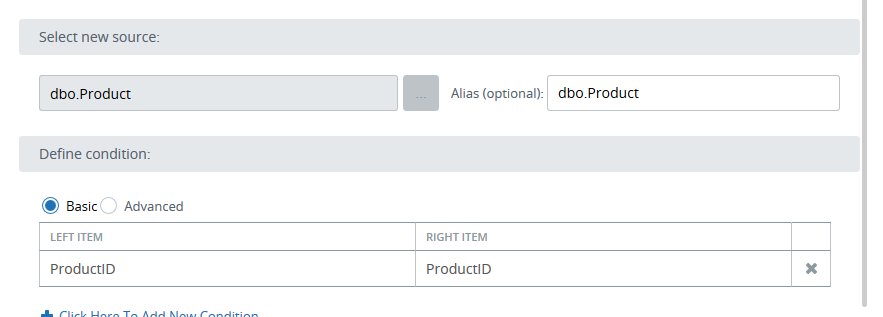
- Click OK.
-
Click the plus sign in the
Sources section and
then the ellipsis in the Select new source section.
-
For this exercise procedure, not all the
fields are necessary, so select only the fields required for the grid. Map the
Name field (drag from left to the right). Highlight this field and in the
Property Panel,
find
Display Name. Change
the current name to Product Name.
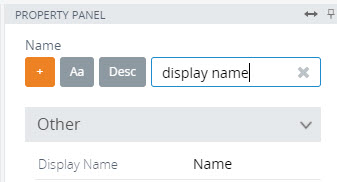
Note Field names from the original database may need clarification. If required, assign display names that are more descriptive. For example, in this step, Product Name is more descriptive than Name. -
Add another table by joining it to the original source.
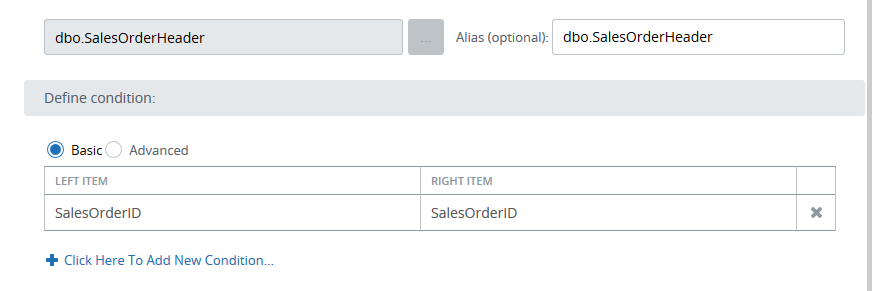
- Highlight the dbo.SalesOrderDetail source and click the plus sign in the Sources section.
- Select dbo.SalesOrderHeader. Several relations are created automatically, but keep only SalesOrderID.
- Click OK.
- From this table, map (drag from left to right) OrderReceive. Click Yes to accept this field as the default time filter.
-
Add another table as a source.
- Highlight dbo.SalesOrderHeader and click the plus sign in the Sources section.
-
Select dbo.SalesTerritory from the
Adventure Works
database. Several relations are created automatically, but keep only
TerritoryID.
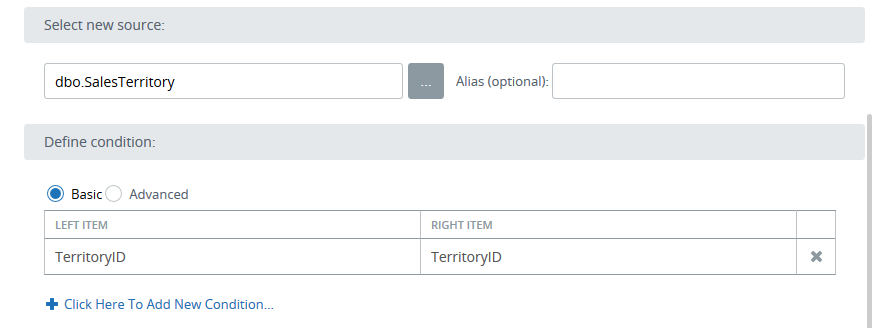
- Click OK.
- Map (drag from left to right) the CountryRegionCode field.
-
Save
 the record.
Create a View
The next task is to create a View with a record grid and a record form, and configure it so that clicking a line with an order launches a pop-up window that lists order details.
-
On the
Documents Tree,
right-click
Views, and select
New View.
Name the View Order Details and click OK.
- On the View tab, expand the Grids section, and drag a record grid to the canvas.
-
Configure the wizard.
-
On the
Data tab, select
the
Order Details
record from the
Documents Tree
by clicking the ellipsis icon.

The list of record fields appears. Keep only Order Qty, Product Name, Unit Price, and Unit Price Discount. - On the Time tab, select Fixed time window from 1/1/1900 12:00 AM to 1/1/3000 12:00 AM.
- Set the sorting order of fields in the grid by unit price in the descending order. On the Display tab, on the Default order tab, click Add New Data and then on the empty cell under Sort by. Select Unit Price and set the order as Descending.
-
To add an action to the grid, open the
Action tab in the
wizard and click
Outgoing Actions.
Select
Use the value of the dimension
as filter and click the
filter link. Now
select the field to use as a filter: SalesOrderDetailID. Click
OK. This field was
set as a key field in the record (in the previous sub-task) and therefore even
if the record grid does not show all the record values, the record form can
still display them.

-
On the
Data tab, select
the
Order Details
record from the
Documents Tree
by clicking the ellipsis icon.
-
Create a record form, which is a component that shows all grid
fields in a separate form. Typically, it is used with a record grid when it is
not possible to see all the required fields because of limited space. After
selecting a row in the grid, the record form retrieves data from the server via
the key field and displays all the fields. Drag a record form to the canvas
below the grid.

-
Configure the wizard.
- On the Data tab, select the Order Details record from the Documents Tree by clicking the ellipsis.
-
Keep only the fields displayed in the screen shot
below.

- Click OK.
-
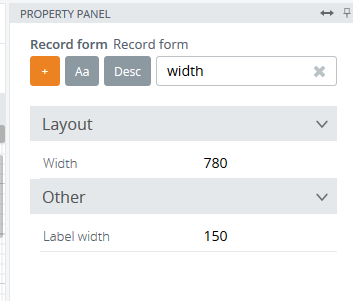
By default, field names do not fit the label space and are
truncated with the ellipsis sign. To enlarge the labels width, in the
Property Panel,
find
Label width and set it
to 150.
- Now you have two components added to the same View and it is necessary to visually balance their position by anchoring them. Expand both components to the full View width up to the dotted line on the right, and stack them vertically taking up the whole View height.
-
Save the
View.
Add an action to the grid
- In Studio, on the Documents Tree, expand Views, find the View created in the previous exercise, named Order Overview. Copy this View, rename it to Order Overview with a pop up window, and open it.
-
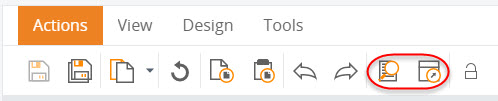
Highlight the grid and open the
Action wizard by clicking the
Actions icon in the
component menu located on the right edge of the grid.

- Navigate to Outgoing Actions and select Popup a window and display a vew. Click the ellipsis icon and select the View that was created in this use case (Order Details in our example).
-
Select
Scoped by dimension and
click the
scoped link.
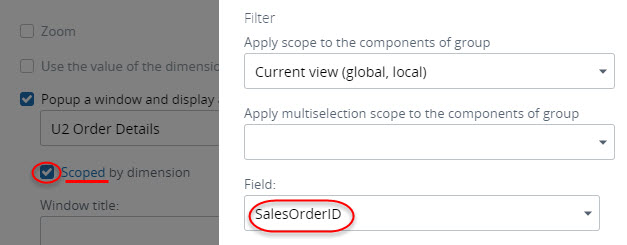
Select SalesOrderID as a field, click OK, and then OK another time. -
Save
the View and open it in
the Preview/Viewer.
After completing
this exercise, you are now able to configure your component in a way that
clicking some data launches a pop up window with the detailed information about
this data (for example, a particular order). Note that this action is triggered
only when you click the line with the order, and not the aggregated grid.