Standard Functionality
For security reasons, some messages need to be authorized before being sent to the final recipient. Some users are set as authorizers in their user profiles, and others do not have the right to send out certain messages without authorization.
If you do not have the right to send out certain messages directly, you must not only specify the final recipient in the To field, but also the authorizer in the Auth field. The message will then be relayed to the authorizer. If approved, it will be sent out from the authorizer's workstation; otherwise, it will be sent back to you.
If you are an authorizer, outgoing messages from other users are first sent to you. If you approve, you can sign the message and send it out, and if you disapprove, you reject the message by clicking the Reject icon or selecting Reject from the Message menu. The message will then be sent back to the original sender. Depending on TC/Web configuration, you might be forced to open the message before you are allowed to authorize it.

Picture 96: Message authorization
There can be one or more authorizers for one message. The message will simply be sent from one authorizer to the next every time it is approved until it reaches the last authorizer in the chain. If he approves it too, it will be sent out.
Messages of the delivery type Auth must be authorized or rejected by a user who is specified as authorizer before it will be sent to the other users or another authorizer.
Authorizing messages
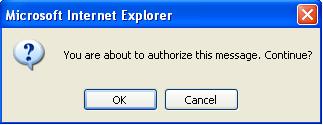
To authorize a message, an authorizer must click the Authorize button from the Message view. After authorization was confirmed, the message will be sent to the next authorizer or sent out if it was the last authorizer.
If a user is not assigned the rights to authorize a message, that user can only reject the message.

Picture 97: Confirm authorize window

Picture 98: Message successfully authorized
Rejecting messages
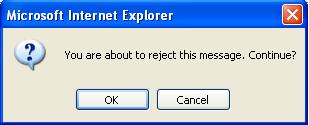
To reject a message, an authorizer must click the Reject button from the Message view. Afterwards, the New Message window will open, where the authorizer can enter information on why this message has been rejected. The message will not be rejected until the authorizer clicks Send Message. The rejected message will be sent to the originator of the message.

Picture 99: Confirm reject window

Picture 100: Reject message window
Signing messages
If an authorizer receives a message that contains a signature mark, the signature mark will be included in the message text.

Picture 101: Message with signature marks
If the authorizer has the right to authorize a message and the signature is not empty, the signature mark text is replaced with the link Signature mark/Insert signature. By clicking this link, the authorizer can sign a message. The name of the link is replaced with text indicating who signed the message and when.

Picture 102: Message with insert signature link
If a message was sent for authorization without signature mark, the authorizer must insert a signature mark before signing a message.

Picture 103: Signed message
If the authorizer does not have permissions to authorize a message without signing, he will be informed that the message must be signed before authorization. Otherwise, the message cannot be authorized.
