
How to add an EFI Fiery printer
If a printer is using an EFI Fiery Controller, also known as a Raster Image Processor (RIP), you should follow these instructions to get the printer added in Printix Administrator.
Before you begin, obtain the following information:
-
IP address of the Fiery Controller
Printix may not recognize it as a printer, so it will not appear after a "Discover printers."
Add the EFI Fiery printer
- Open a web browser and enter the IP address of the Fiery Controller and sign in.
- Select the Configure tab.
-
Select
Network and then
SNMP.
-
If required, add an SNMP configuration in Printix Administrator that corresponds to the Fiery Controller's SNMP settings.
-
-
In Printix Administrator, open the Printers
 page.
page.
-
Select
Add printer
 .
.
-
In
Network, select the
Modify
 icon to select the network where
the Fiery Controller is. Select
Select network.
icon to select the network where
the Fiery Controller is. Select
Select network.
-
In
SNMP configuration optionally, select the
Modify
icon to select the SNMP
configuration you perhaps added in step 3. Select
Select SNMP configuration.
- In Printer address, enter the IP address (example: 192.168.1.10) or hostname of the Fiery Controller.
- Select Add.
Configure the print queue
Configure the print queue for the Fiery Controller so it:
-
Uses the print driver for the printer with the Fiery Controller.
-
If required, add the print driver to your Printix driver store.
-
The model name of the registered printer may indicate a Fiery Controller is in use.
Example: Xerox Color C70 with Xerox EXC70 Fiery Integrated Controller
-
-
In Printix Administrator, proceed to How to configure print driver configuration on a Windows computer.
The temporary printer's Printer properties dialog box opens automatically.
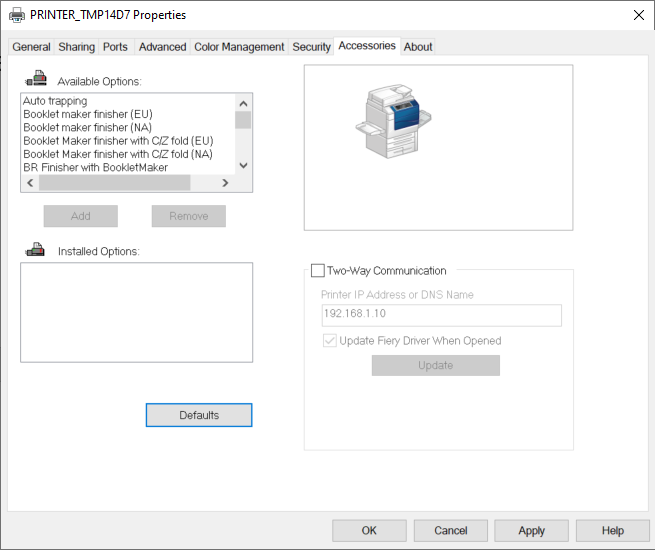
- Select the Accessories tab.
-
Select
Two-Way Communication, and in
Print IP Address or DNS Name, enter the IP address of the Fiery Controller.
Example: 192.168.1.10
- Select Update.
- After all Installed Options are registered correctly, clear Two-Way Communication, because this is not supported when the printer is managed by Printix.
- Select Apply.
-
Optionally, open the
Advanced tab and select
Printing Defaults to configure per-printer defaults.
The print driver configuration stores the Printing Defaults. It does NOT store Printing Preferences.
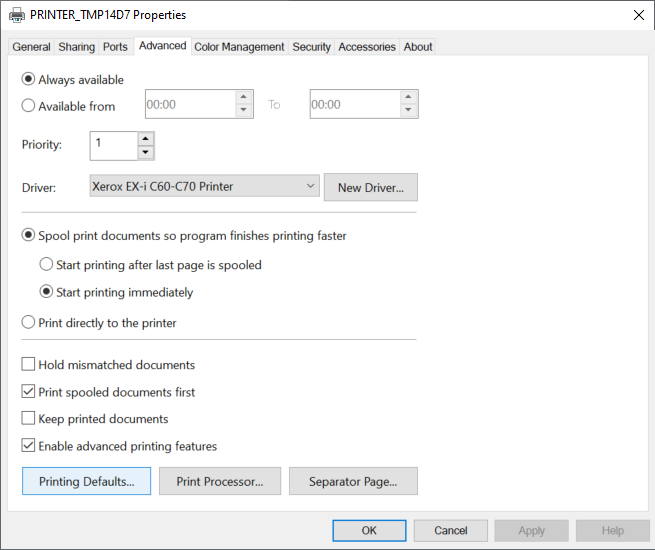
- Select OK.