How to capture at the printer
These are generic instructions. For vendor-specific instructions, see: Brother, Canon, Fujifilm, HP, Konica Minolta, Kyocera, Lexmark, Ricoh, or Xerox.
The capture process consists of three steps:
-
Scan and upload
As soon as the document is scanned and uploaded, you are returned to the list of workflows, while the processing and delivery continue in the background.
-
Processing
The scanned document is processed by Optical Character Recognition (OCR), and a searchable PDF, an image-only PDF, or a Microsoft Word file is created.
While Bypass output document generation is selected, the processing step is skipped. See Bypass output document generation for details.
-
Delivery
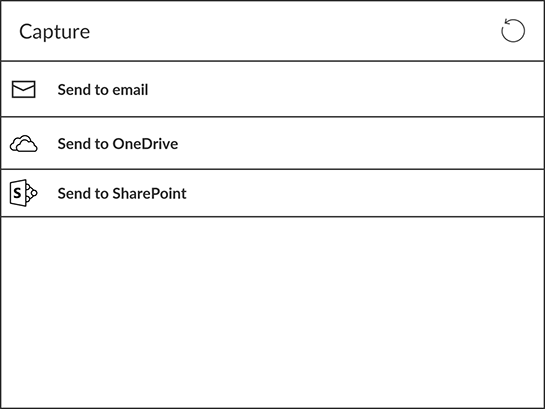
The document is sent in email, transferred to a cloud destination (OneDrive or SharePoint), or transferred to a Connector destination.
- Sign in to the printer.
-
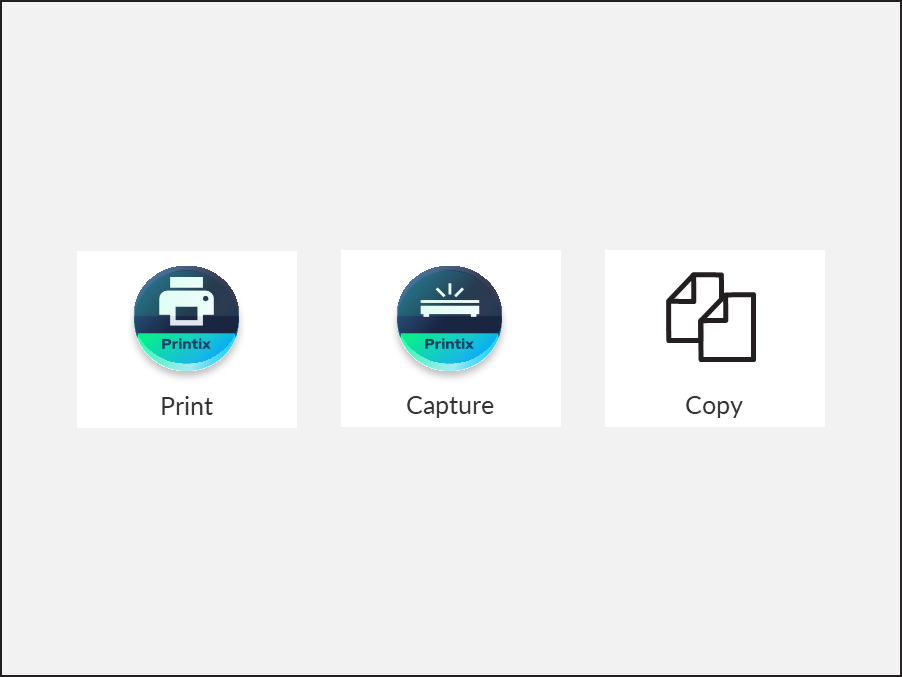
Select the Printix
Capture
 icon.
icon.
-
Select the appropriate workflow.
If you are signed in with the System manager role, the Active information (Yes or No) is displayed.
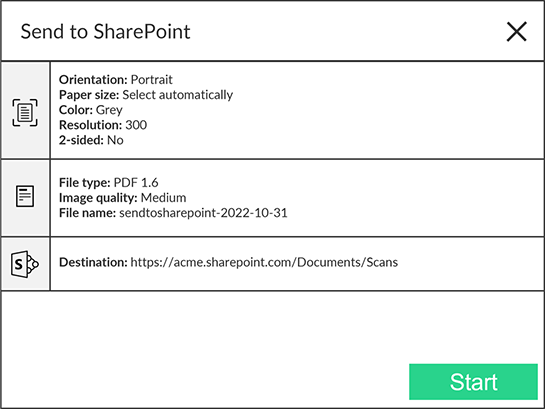
- Confirm the details of the workflow and place the document in the printer:
-
If the top row under the workflow's name displays
Data entry, data entry is required. Select
Next.
Data entry is only supported on HP and Ricoh printers. If you do not see Data entry in the top row, skip this step.
After selecting Next, the data entry screen appears.
Enter valid information into each box. (For example, if numbers are required, do not enter letters. For numbers, only whole numbers are accepted.)
-
Select
Start to start scanning.
-
If you do not want to start the scan, select X to cancel and return to the list of workflows.
-
On Ricoh, you cannot log out from the printer while the printer is scanning.
-
As soon as the document is scanned and uploaded, you are returned to the list of workflows, while the processing and delivery continue in the background.
-


