How to install card reader on Ricoh printers
Connect the card reader
- Remove the bracket on the right side of the printer's touchscreen control panel.
- Locate the USB mini-B port.
- Connect the card reader to the USB mini-B port.
- Mount the bracket again.
-
If
Printix Go is already installed, select
Update on the
Printix Go tab for it to become aware of the card reader. The same applies if
the card reader is replaced with another type. Otherwise,
Install
Printix Go.
-
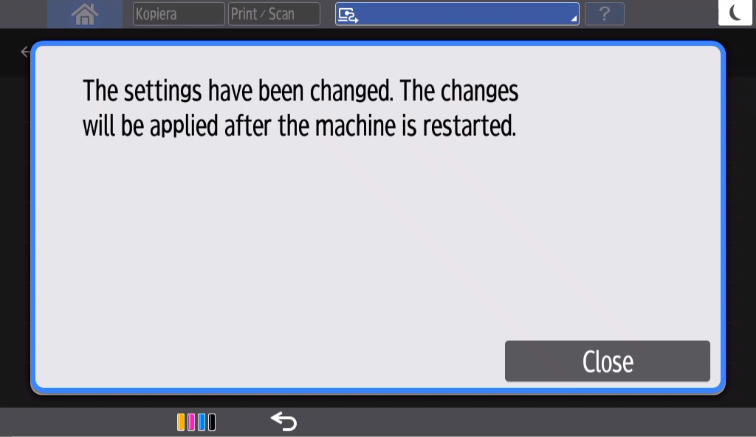
On the Printer properties page, Card reader should show Vendor and Created for the installed card reader. If it does not, a restart of the printer may be required.
-
If Sign in method in the Printix Go configuration is Select automatically, then it should map to Card if a card reader is connected to the printer. Otherwise, it maps to ID code. Mapping changes within 10 seconds after the card reader is either connected or disconnection. If it does not change, a restart of the printer may be required.
-
The USB type-A port on the left side of the printer's touchscreen control panel is reserved for the use of USB drives (memory sticks).
-
The USB type-A port on the rear of the printer cannot be used, even though it may have worked with a previously installed Pull printing solution, such as PaperCut. The card reader itself is likely to work with Printix Go but you need a converter cable and then connect it to the USB mini-B port as shown in the images.
Card reader cable connected on Ricoh IM C3000

Card reader cable connected on Ricoh MP C3004

-
Configure card reader and card reader settings
Printix Go automatically configures the card reader and its settings during an installation or an update. The manual steps below are only relevant if the automatic configuration does not work.
Manually configure card reader
- Open the printer's web page and log in as administrator.
- On the menu, select Device Management, and then Configuration.
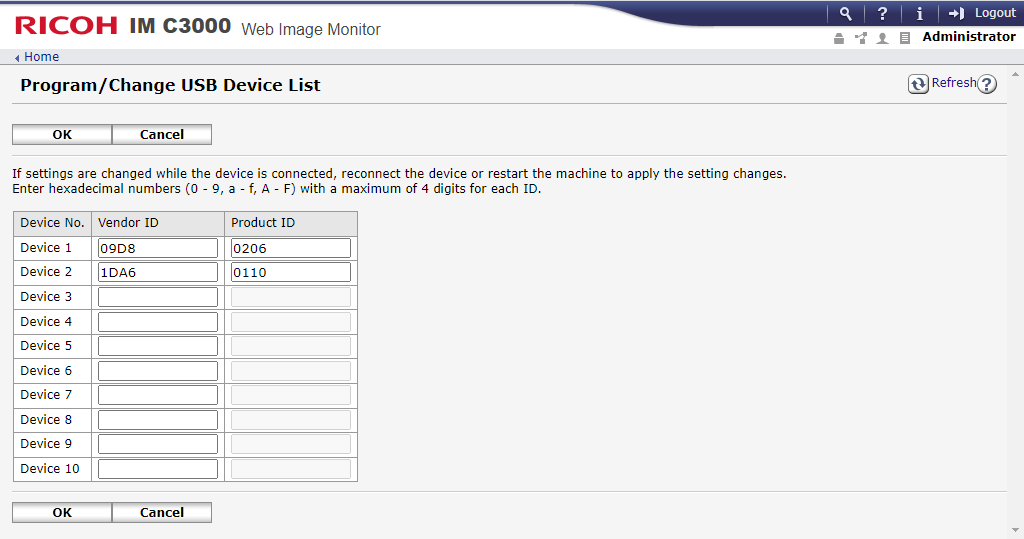
- In the Device Settings section, select Program/Change USB Device List.
- Enter Vendor ID and Product ID of the card reader into that list.
-
Select
OK.
Manually configure card reader settings
- Select User Tools.
-
Select
System Settings.
Depending on the model:
-
Select Screen Device Settings Information.
-
Select Network Interface.
-
-
Select
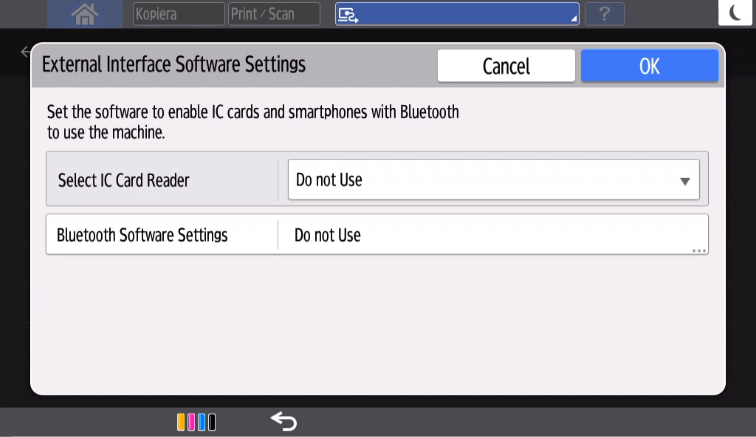
External Interface Software Settings.
-
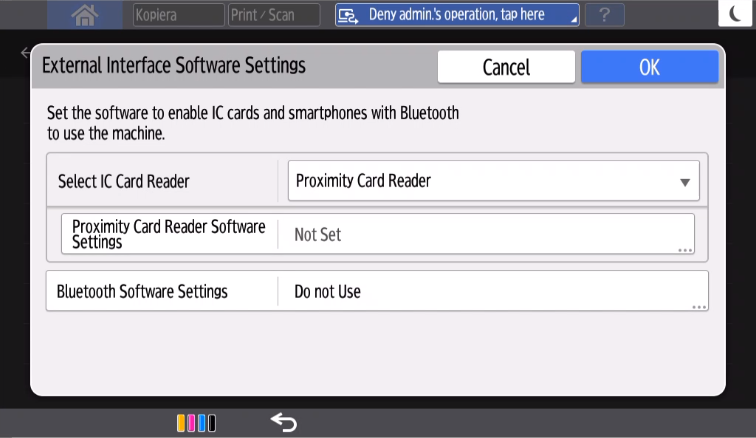
In
Select IC Card Reader, select
Proximity Card Reader.
For the following card reader, ensure that Do not Use is selected instead:
Vendor VID PID Protocol Baltech 0×13AD 0×9CA5 Binary - In Bluetooth Software Settings, ensure that Do not Use is selected.
- Connect the card reader if it is not already connected.
-
Select
Proximity Card Reader Software Settings.
-
The panel should show information about the card reader (Vendor ID and Product ID).

- Select OK.
-
Manually power off and power on the printer.