
Printix Configurator
Printix Configurator for Windows can be used to initially configure Printix for customers with multiple locations (networks) and already deployed printers. It can then also be used to add print queues to computers. Printix Configurator will offer to update itself to the latest approved version.
For the requirements of the Printix Configurator, see the Tungsten Printix Technical Specifications.
Download
-
In
Printix Administrator, select
Menu
 > Software
 .
.
-
Select the appropriate installer file for x64 or ARM64 architectures.
-
Printix Configurator - Windows x64 (EXE)
-
Printix Configurator - Windows ARM64 (EXE)
Do not rename the installer file, because it prevents the Printix Configurator from working with your Printix Home.
After selecting an installer file, also select the preferred version of Printix Configurator.
-
Red text indicates an unsupported version.
-
The "Auto-updated" tag indicates the version that is selected for automatic updates.
-
The "Advance" tag indicates the newest version.
-
The "General" tag indicates the newest of the versions that have been available for a period of time without issues.
-
The "Custom" tag indicates special versions that are only available to specific organizations.
-
Sign in
-
To start the
Printix Configurator, right-click the EXE file and select
Run as administrator.
The Printix Configurator and a browser page appear.
-
Sign in through the browser page.
You must have the System manager role.
-
If prompted, select a
Printix
Home.
Example: acme.printix.net
To change language, select Menu
>
Language.
-
If the message You can close this window does not appear in the browser or the Printix Configurator still displays Login in progress, the sign-in was not successful. In these cases, select Connect in the Printix Configurator and sign in again.
-
If you cannot see the name of your Printix Home (acme.printix.net), it could be because you are not properly signed in, or because you are using Printix Configurator 1.3.890 or lower, and multiple Printix Configurator processes are running. Use the Task Manager to end the task, then restart the Printix Configurator.
After signing in to Printix Configurator, you can close the browser window.
-
-
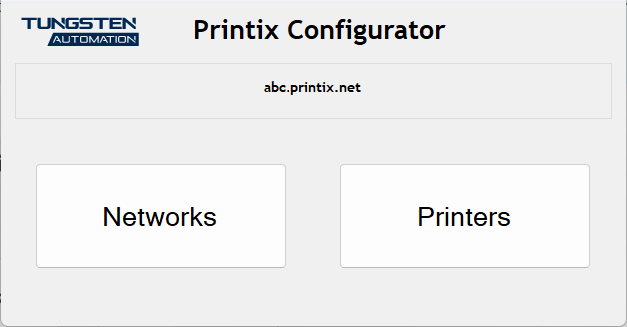
In
Printix Configurator:
-
Select Networks to add networks.
-
Select Printers to add printers.
-
Select Print queues to add print queues to computers.
-
Select to export your configuration data.
-
Select to export data related to billing periods.
-
Configuration and log files
Configuration files and logs are stored on the computer in the ProgramData folder.
ProgramData is a hidden folder, and may not appear in File Explorer when you open Local disk (C:). You can access it by entering C:\ProgramData in the address bar.
Configuration files
Configuration files are stored on the computer in this folder:
-
C:\ProgramData\printix.net\Printix Configurator\Configuration
There will be up to 3 configuration files per Printix Home you have been configuring. The {id} is the Printix ID (tenant ID).
-
PrintixConfigurator_{id}.dta
-
CSVNetworkMapping_{id}.dta
-
CSVPrinterMapping_{id}.dta
Log files
The logs are stored in this folder:
-
C:\ProgramData\printix.net\Printix Configurator\Logs
There will be a maximum of 6 log files with a size of 1 MB each. The log file without a number is the current one. Previous versions are numbered 1–5 with 5 being the oldest.
-
PrintixConfigurator_{user}.{number}.log