
How to set up scan to email on HP printers
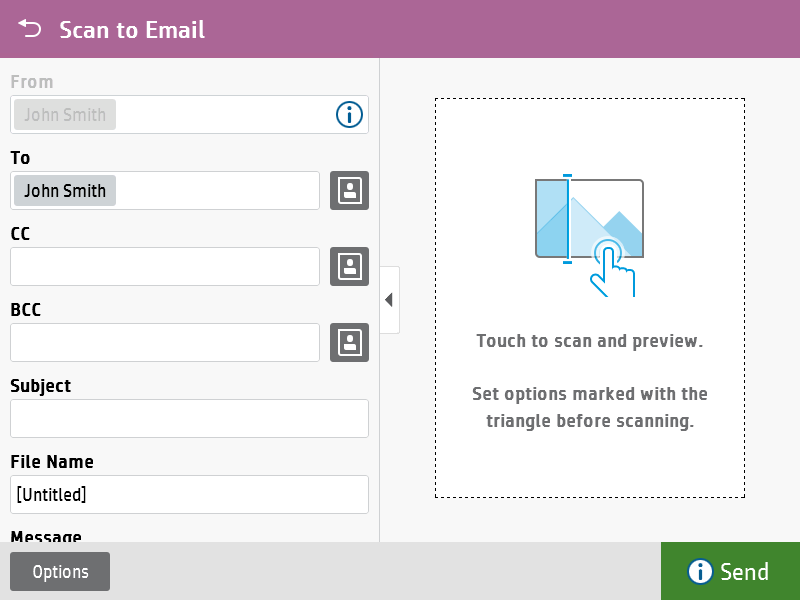
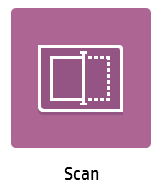
After configured, you can sign in to the printer, select Scan and then the Scan to Email function. Your own email address is typically pre-filled in the To and From fields. That way, it is very easy to have the scanned documents send to your mailbox as attachments.

Use the below steps to set up scan to email so users can scan and send emails to your company's Microsoft 365 or Office 365 mailboxes. The steps are in accordance with option 2, as described in Microsoft documentation: How to set up a multifunction device or application to send email using Microsoft 365 or Office 365.
- Open a new browser window and sign in to Microsoft 365 admin center (admin.microsoft.com).
- On the navigation menu, select Show all.
- Select Settings and then Domains.
-
On the
DNS records tab, select your domain.
Example: acme.com
-
Write down the MX record
POINTS TO ADDRESS value.
You need the MX record in step 9.
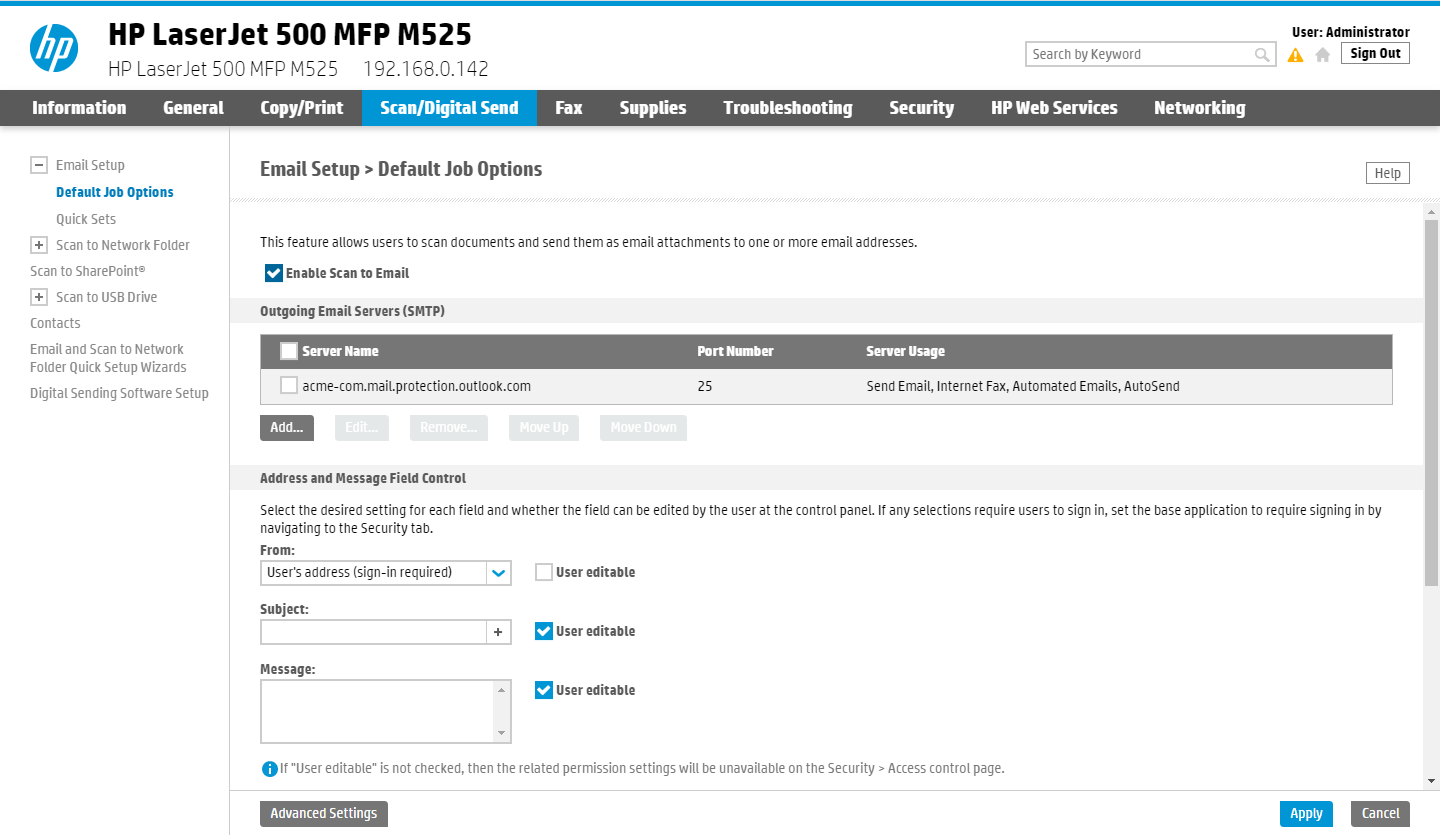
Example: acme-com.mail.protection.outlook.com - Open the printer's web page and sign in as administrator.
-
On the
Scan/Digital Send tab, select
Email setup in the menu.
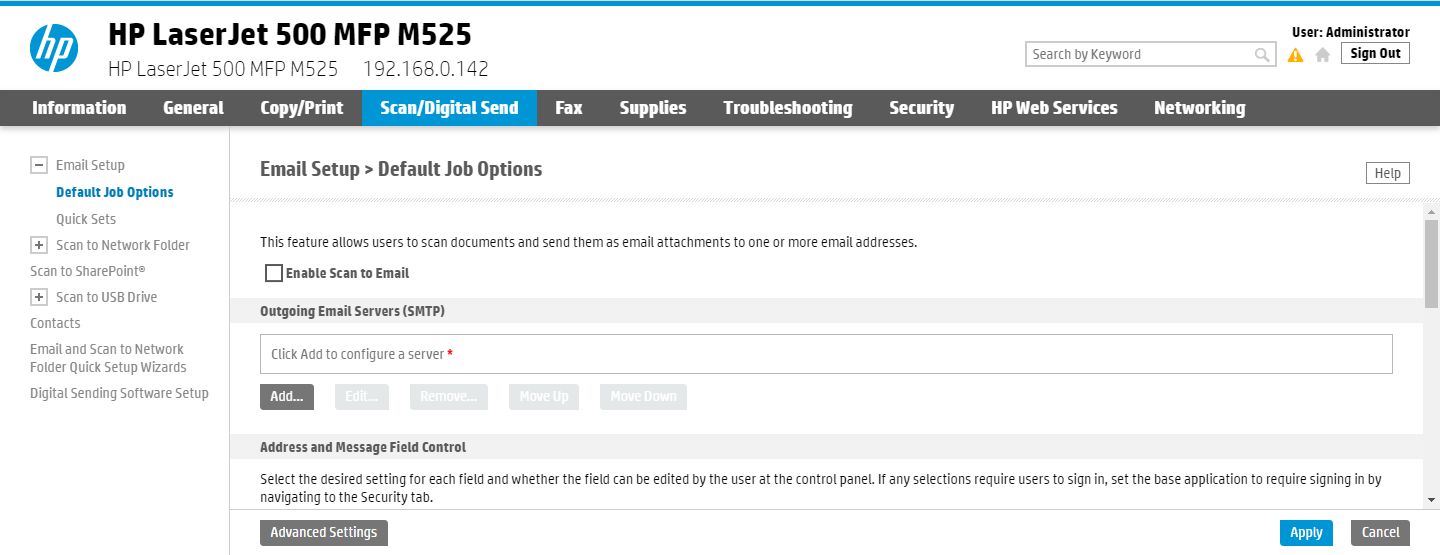
-
In the section
Outgoing Email Servers (SMTP), select
Add.
-
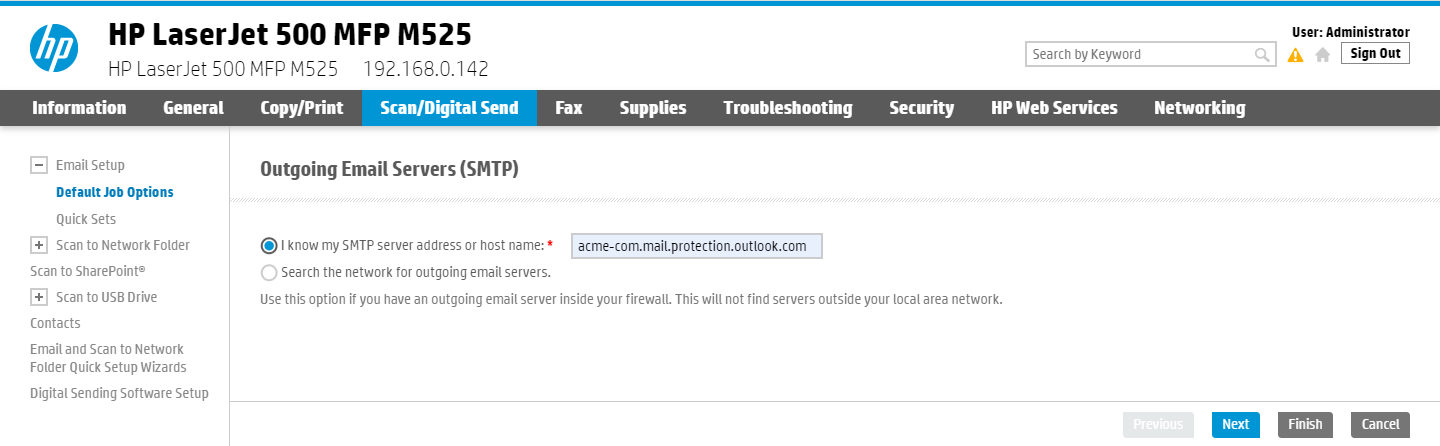
Select
I know my SMTP server address or host name and type the value you obtained in step 5.
Example: acme-com.mail.protection.outlook.com
-
Select
Next.
-
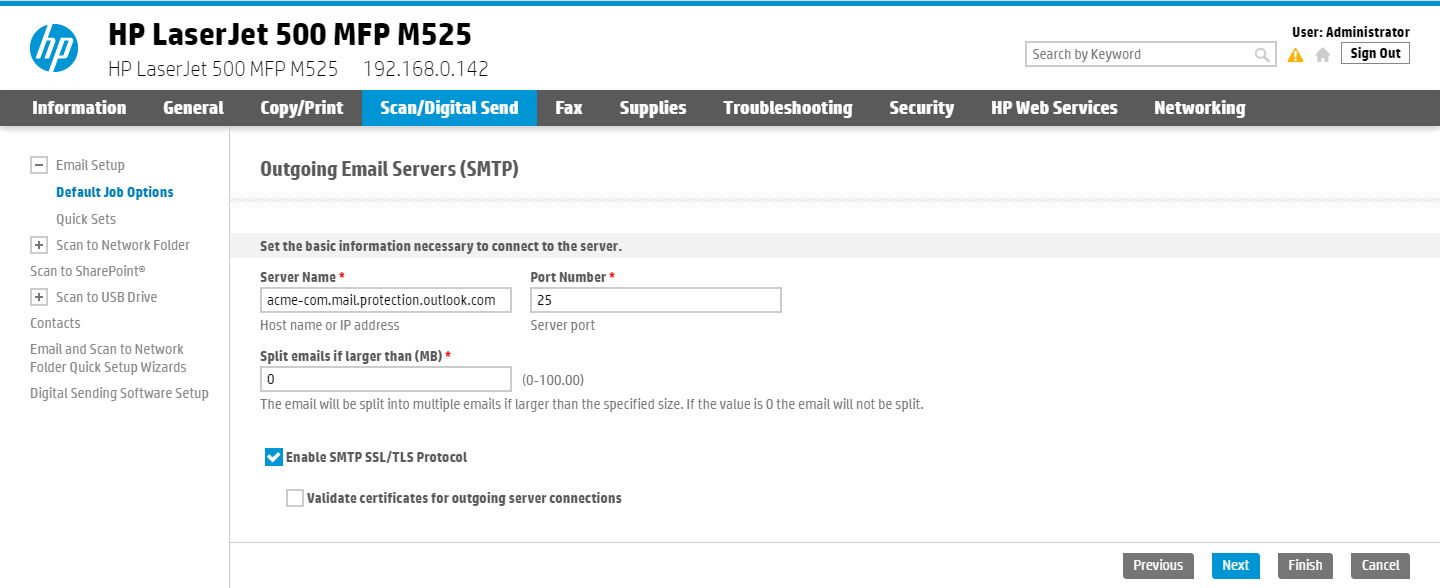
In
Set the basic information necessary to connect to the server, configure the following:
-
In Port Number, leave the value at 25.
-
In Split emails if larger than (MB), leave the value at 0.
-
Select Enable SMTP SSL /TLS Protocol and then clear Validate certificate for outgoing server connections.
-
-
Select
Next.
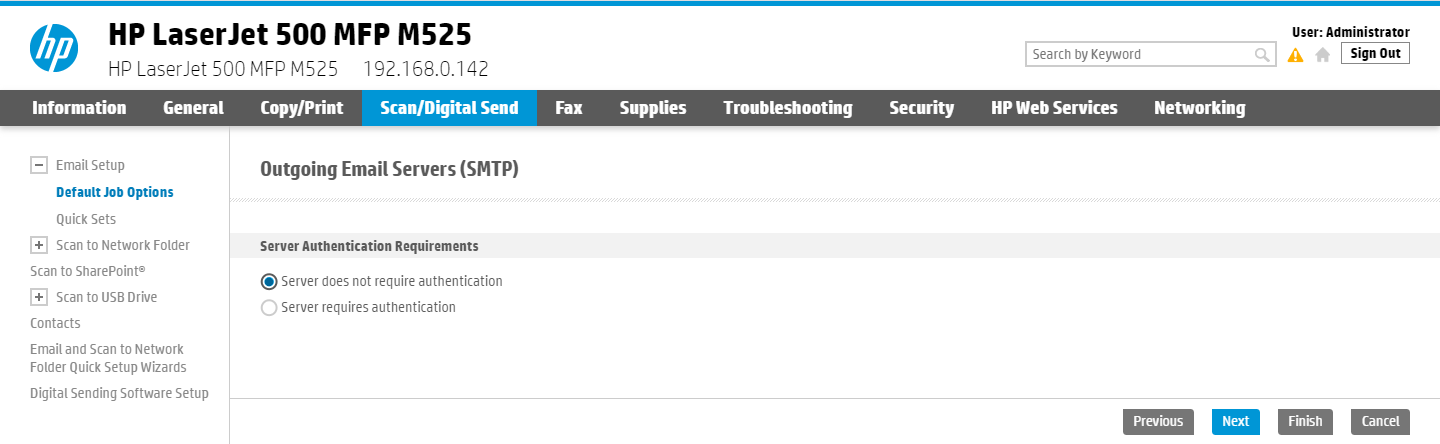
- Select Server does not require authentication.
-
Select
Next.
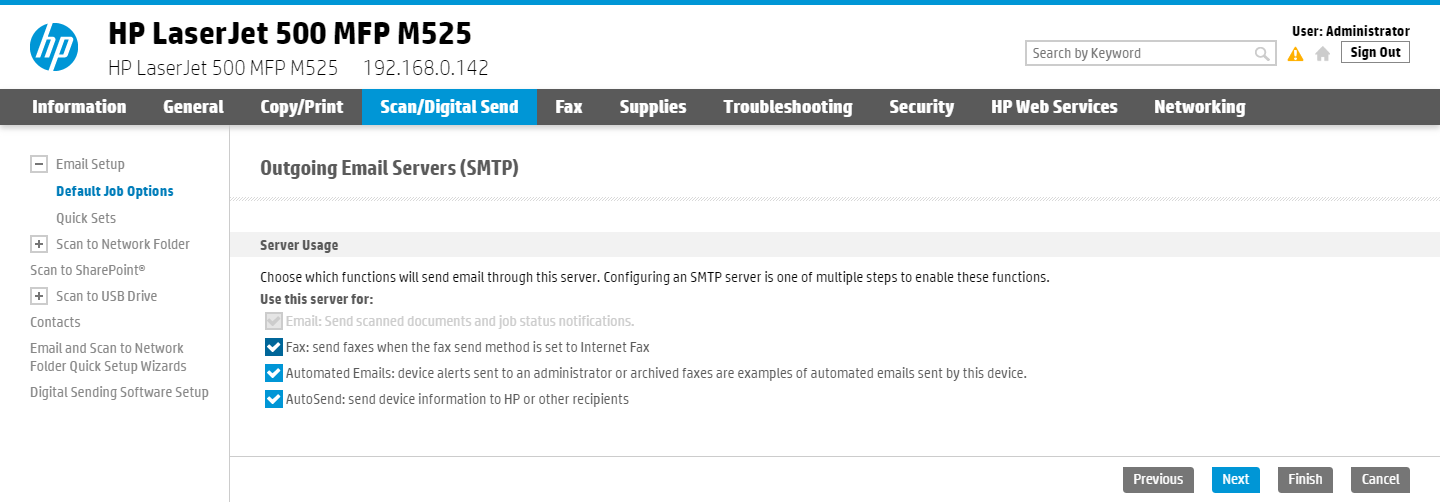
- In Server Usage, only select the functions you will use.
-
Select
Next.
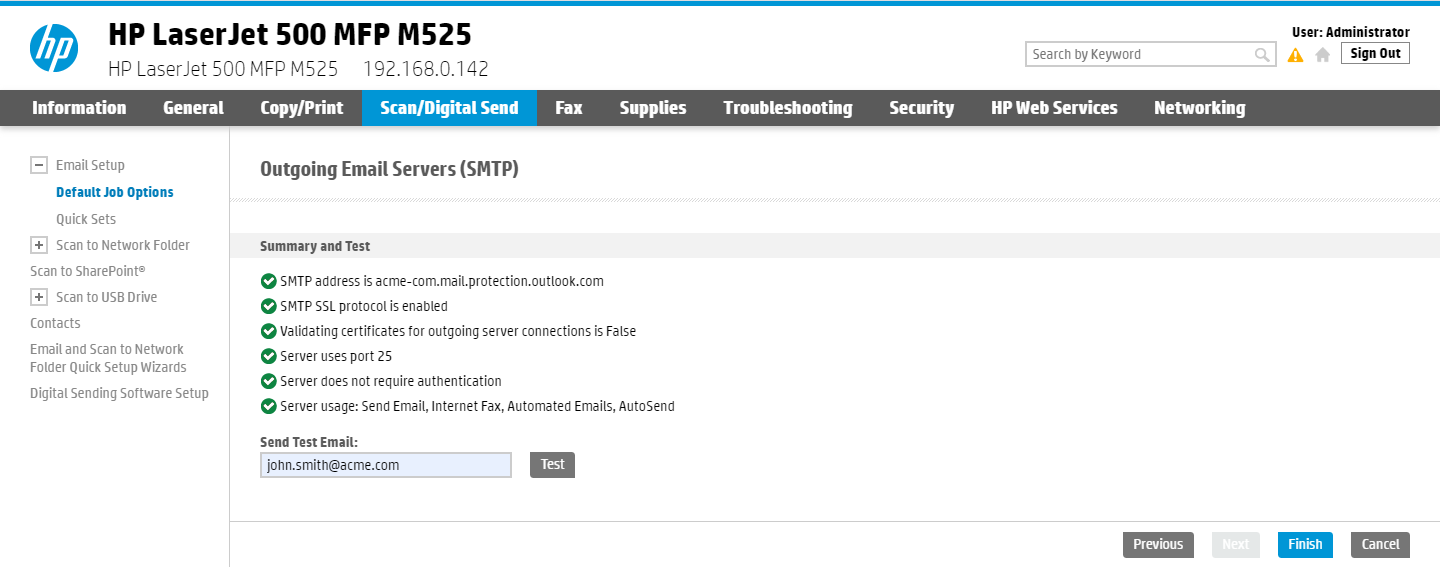
- In Send Test Email, type a company email address (such as: john.smith@acme.com) and select Test.
-
Select
Finish.
Email might be sent to recipients' junk mail folders. To avoid this, go to your domain registrar's website to update your DNS records. Edit your sender policy framework (SPF) record to include your public IP address. See the Microsoft documentation: Step-by-step instructions for direct send.
If you email did not arrive, remember to check your spam/junk mail folder. See also: How to troubleshoot scan to email.
- Select Enable scan to Email.
-
Proceed to configure if email fields should be pre-filled and editable. We recommend:
-
In From, select User's address (sign-in required) and clear User editable.
-
- Select Apply.