
How to test conversion of print queues on a single computer
Before you enable this on a larger scale, you can test conversion of print queues on a single computer. At conversion, the port settings are modified to use an Internet port and allow printing through Printix.
-
Network printers are converted if they are set up with a Standard TCP/IP Port or WSD Port.
-
Shared network printers are converted.
Example: Reception on PrintServer becomes Reception ASD, ASD Reception, or Reception depending on the choice of print queue naming.
See also: Why is the shared print queue not converted right away?
-
Locally connected printers (USB) are not converted.
-
No printers are converted on servers.
-
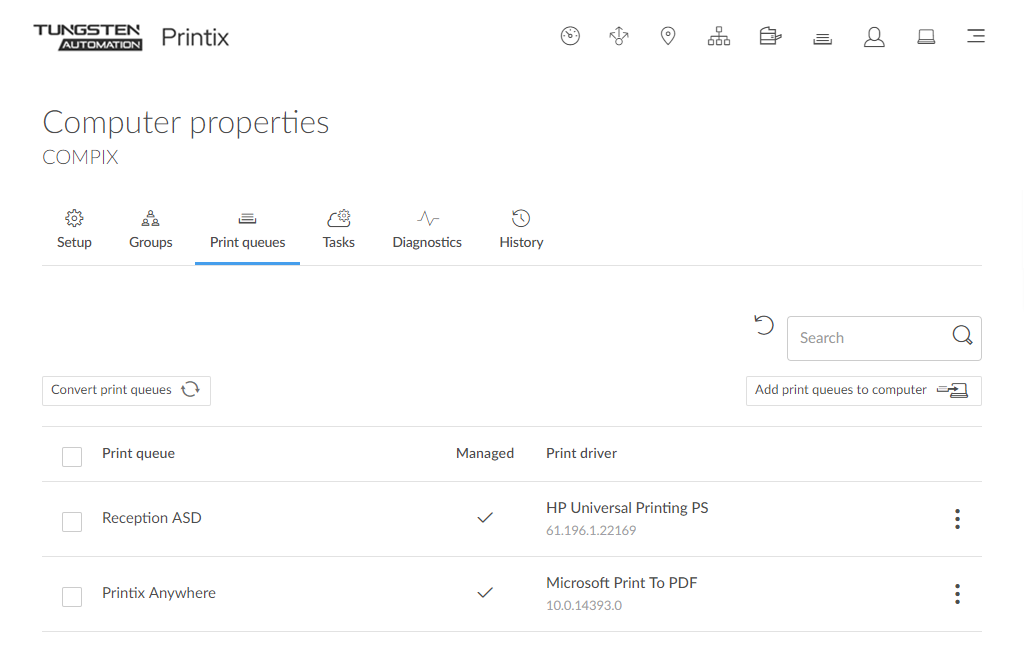
On the Computer properties page, select the Print queues
 tab.
tab.
-
Select
Convert print queues.
A delay of up to 30 minutes may occur before the result of the Convert print queues task is fully reflected in Printix Administrator. If the computer is offline, it will pick up on the tasks after it comes online.
Why is the shared print queue not converted right away?
These conditions must be met before the shared print queue is converted:
-
The name of the print queue (Reception) must match.
Example: Reception on PrintServer
-
The computer must be on the same network as the printer, or the print queue has "Via the cloud" selected.
If a shared print queue has been added since Printix Client was started, it will not be converted until the computer is restarted or the user signs out of the computer and signs in to the computer again.
- Restart the computer.
Alternatively, follow these steps:
On your Windows
 computer:
- Open the Task Manager.
- Select the Details tab.
- Select PrintixClient.exe and select End task. Select End process.
-
Select
Start
. In the
Search box, type: Printix. Select
Printix Client in the list that appears.
On your Mac
 computer:
- Select the search icon in the top right corner.
- Type: terminal, and select Enter.
-
In the
Terminal window, type the relevant command:
-
Stop Printix Client UI with the unload command by typing:
launchctl unload /Library/LaunchAgents/net.Printix.UI.plist
-
Start Printix Client UI with the load command by typing:
launchctl load /Library/LaunchAgents/net.Printix.UI.plist
-