
How to use Printix Go on Konica Minolta printers
See also:
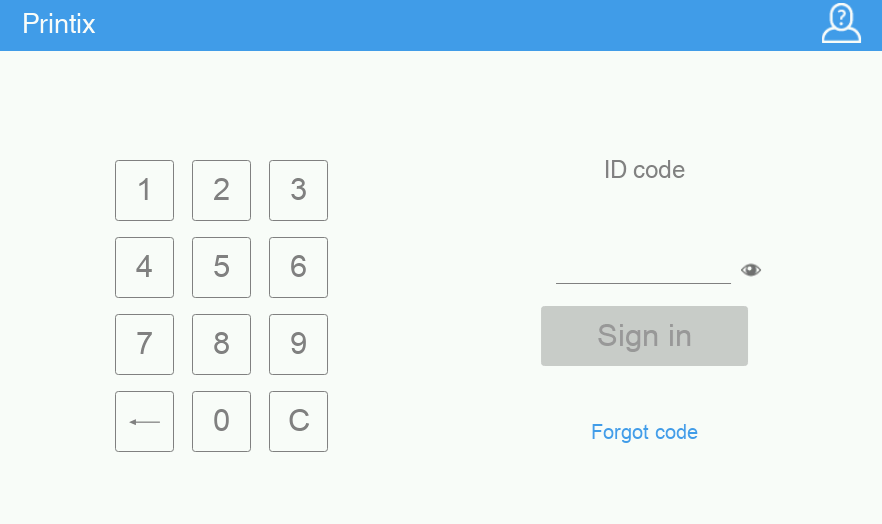
Sign in with an ID code at a Konica Minolta printer
-
Enter your ID code (6 digits) on the touchscreen.
-
Select the Eye
 to see the digits entered.
-
If you do not know your ID code:
-
Select Forget code to open a new screen with a QR code. Use the camera on your phone or tablet to scan the QR code to open the Cards and codes menu in the Printix App, or browse to the URL provided to reset your ID code.
-
-
-
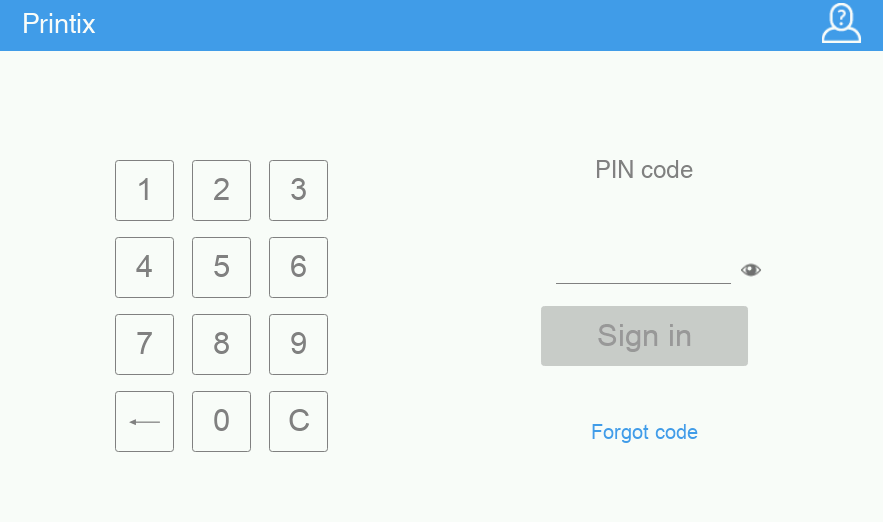
Enter your PIN code (4 digits) on the touchscreen.
-
The PIN code is the same whether you sign in with an ID code or card.
-
Select the Eye
to see the digits entered.
-
If you do not know your PIN code:
-
Select Forget code to open a new screen with a QR code. Use the camera on your phone or tablet to scan the QR code to open the Cards and codes menu in the Printix App, or browse to the URL provided to reset your PIN code.
-
-
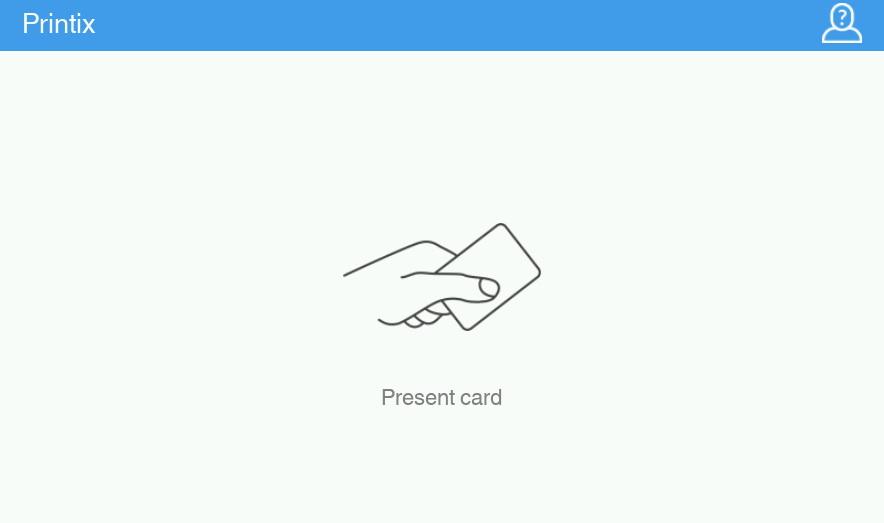
Sign in with card at a Konica Minolta printer
-
Swipe your card at the card reader on the printer.
-
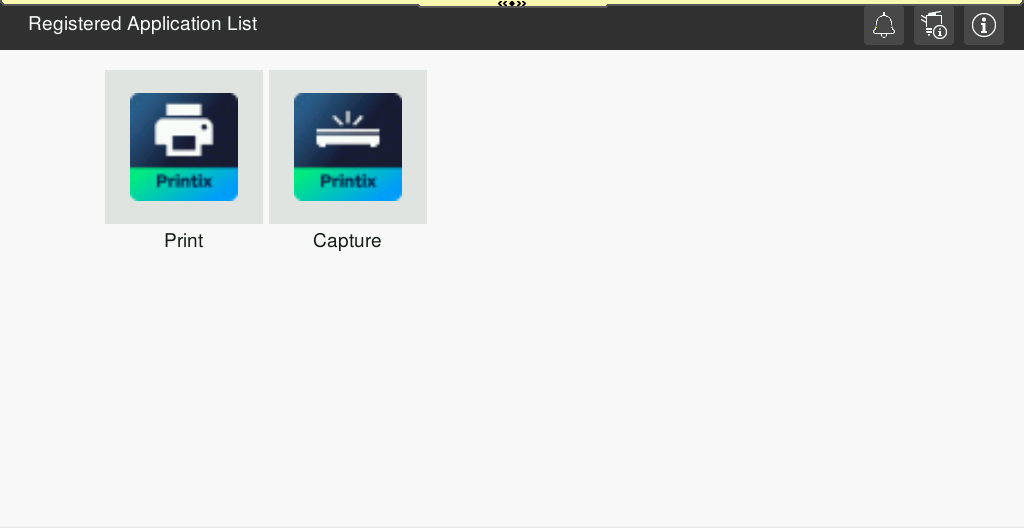
Before 60 seconds have elapsed, select the Printix Print
 icon.
icon.
-
A computer with Printix Client must be online on the printer's network. Otherwise, nothing happens when the card is swiped.
-
-
If prompted, enter your PIN code (4 digits) on the touchscreen.
-
The PIN code is the same whether you sign in with an ID code or card.
-
Select the Eye
to see the digits entered.
-
If you do not know your PIN code:
-
Select Forget code to open a new screen with a QR code. Use the camera on your phone or tablet to scan the QR code to open the Cards and codes menu in the Printix App, or browse to the URL provided to reset your PIN code.
-
-
Release documents at a Konica Minolta printer
- Sign in to the printer.
-
Before 60 seconds have elapsed, select the
Printix
Print
 icon.
icon.
-
Select the documents to release, or select
Select all (the check box in the top right corner).

- Select Print at the bottom of the screen.
Delete documents
-
Select the documents to delete and select Delete
 .
.
-
Documents are automatically deleted if you do not print them within a specified period (default is 24 hours).
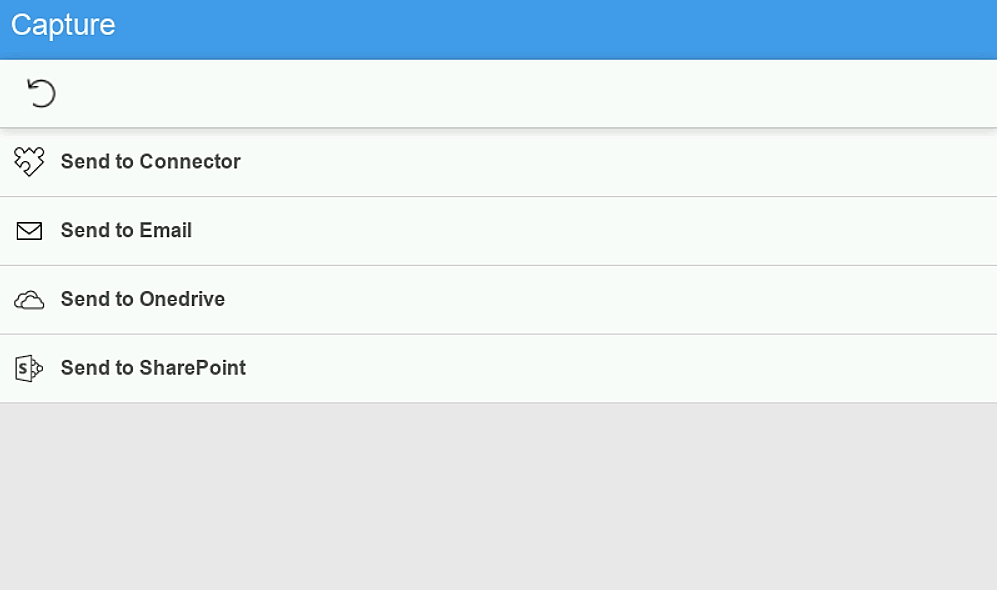
Capture at a Konica Minolta printer
The capture process consists of three steps:
-
Scan and upload
As soon as the document is scanned and uploaded, you are returned to the list of workflows, while the processing and delivery continue in the background.
-
Processing
The scanned document is processed by Optical Character Recognition (OCR), and a searchable PDF, an image-only PDF, or a Microsoft Word file is created.
While "Bypass output document generation" is selected, the processing step is skipped. See Bypass output document generation for details.
-
Delivery
The document is sent in email, transferred to a cloud destination (OneDrive or SharePoint), or transferred to a Connector destination.
- Sign in to the printer.
-
Select the Printix
Capture
 icon.
icon.
A list of capture workflows appears.
-
Select the appropriate workflow.
If you are signed in with the System manager role, the Active information (Yes or No) is displayed.
-
Confirm the details of the workflow and place the document in the printer:
-
Place multi-page documents in the Automatic Document Feeder (ADF).
Ensure pages are in the correct order.
-
Place one-page documents on the printer's flatbed glass.
Scanning multiple pages from the flatbed glass is not supported.

-
-
Select
Start to start scanning.
-
If you do not want to start the scan, select X to cancel and return to the list of workflows.
-
As soon as the document is scanned and uploaded, you are returned to the list of workflows, while the processing and delivery continue in the background.
-
Sign out from a Konica Minolta printer
You can sign out from the printer using these methods:
-
Automatic sign-out if no activity.
-
If the printer does not register key presses or touchscreen activity for a set amount of time, you are signed out automatically.
-
-
Select the printer's Access button.
Swiping your card at the printer's card reader to sign out is not recommended, because the printer cannot detect if the card belongs to an already signed-in user.
Register card on a Konica Minolta printer
You can register multiple cards. When your card is registered, the date and time of the registration is recorded together with the card number. If different card readers are used, the same card can be registered with different formats (card numbers). In this situation, you can register the same card with each type of card reader.
-
Swipe the card at the card reader on the printer.

A 6-digit card registration code appears. The code is valid for 1 hour.

Make a note of the 6-digit card registration code and enter it later in the web Printix App on your computer.
- Register your card using one of the following methods:
Scan the QR code with the camera on your phone
-
Use the camera on your phone or tablet to scan the QR code displayed on the printer's touchscreen.
Scanning the QR code opens the web Printix App in your browser and registers the card. You may be prompted to sign in to the web Printix App.
-
With iOS/iPadOS 11 or newer, you can use the camera to scan the QR code.
-
With the Google application installed on your Android phone or tablet, you can perform a Google screen search to scan the QR code.
-
If your QR scanner app (not part of Printix) prompts you to open the link in a browser, select that option.
-
- Select Close.
Scan the QR code with the Printix App on your phone
If you are using the Printix App on your phone or tablet, you can:
- Open the Printix App for Android or iOS/iPadOS.
-
Select
Menu
 >
Cards and codes.
>
Cards and codes.
- Select Register card.
-
Select
Scan
 , then point the camera to the QR code displayed on the
printer's touchscreen.
, then point the camera to the QR code displayed on the
printer's touchscreen.
Alternatively, you can enter the 6-digit card registration code you saw previously and select Save.
Sign in as guest on a Konica Minolta printer
-
On the
sign-in page, select
Guest
 in the upper right of the printer's
touchscreen control panel.
in the upper right of the printer's
touchscreen control panel.

-
Select a function to use, such as
Copy if that is available.
The accessible functions depend on the Access control settings in the Go configuration. Sign-in as guest is not available if all functions, including Everything else, are locked.