
How to print printer ID sign
The printer ID sign makes it easy to identify the physical printer. By scanning the QR code, you can open the Printix App and select the printer in one go. The name of all Printix printers is automatically extended with a unique, three-letter ID, also known as the printer ID.
If you want customized printer ID signs and/or print on adhesive labels, then use Download printer ID sign. The CSV file can be used with, for example, Microsoft Word to design and control what information you want on the ID sign. Insert, for example, help desk contact information and your company logo.

-
Open the Printers
 page.
page.
- Select one or more printers and select Modify.
-
Select
Print printer ID sign. Use the browser to print the page with the printer ID signs.
If you selected multiple printers, you can select Download printer ID sign to make customized printer ID signs.
See also:
Mounting the printer ID sign
Printer ID sign mounted on printer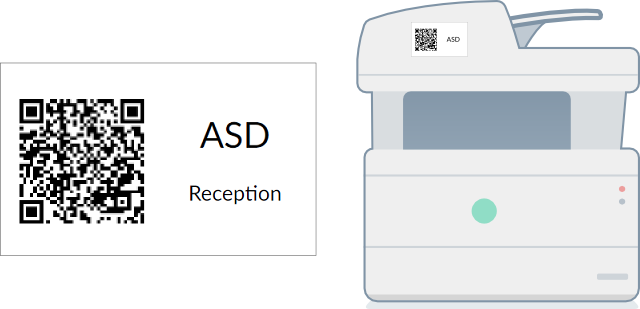
-
If you printed on adhesive labels, mount the label on the printer itself or on a surface at the printer.
-
Otherwise, use a scissor to cut out the slip with the three-letter ID and QR code. Use adhesive or double-adhesive tape to mount the ID sign on the printer.
-
If you have adhesive pockets to hold business cards (90mm x 50mm) or credit cards (85mm x 55mm), you can mount these and put the ID sign inside.
Customized printer ID signs
-
Open the Printers
page.
- Select multiple printers and select Modify.
-
Select
Download printer ID sign to download the CSV file: signIds.csv.
The first row contains the column headings and the subsequent lines (one per printer) contain the data:
-
url: The content URL for the QR code (https://acme.printix.net/qrRedirect/printers/ASD)
-
signId: The three-letter printer ID (ASD, BNM, …)
-
name: The printer name (Reception)
-
modelname: The printer model (HP Officejet Color X555)
-
location: The location (Head Office, Reception)
-
Microsoft Word
Use Microsoft Word to design a customized printer ID sign and print on adhesive labels.
- Open Microsoft Word and start a new document.
- Select Mailings.
- Select Start Mail Merge and select Labels.
- Select your Label Options and select OK.
- Select Select Recipients and select Use an Existing List.
- Browse to and select the downloaded signIds.csv file. Select Open.
-
Select
Insert Merge Field to insert, for example,
signID and
name.
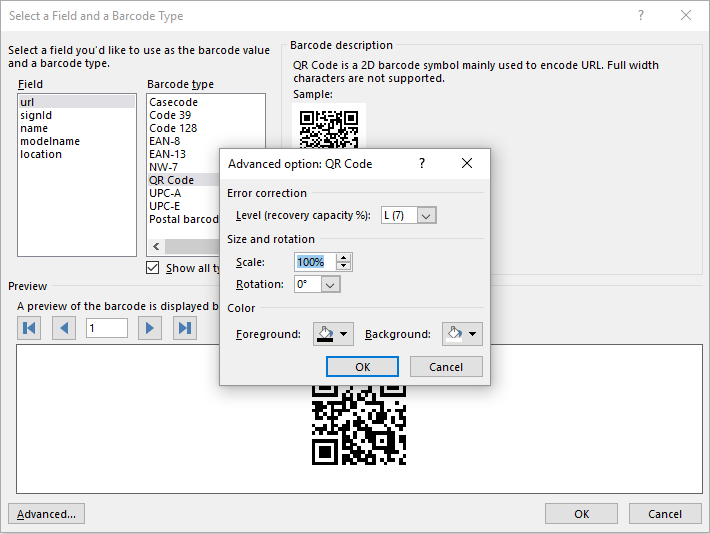
To insert the QR code, press Ctrl+F9 and insert: MERGEBARCODE url QR \h 1 \q L
If you want to change the size of the QR code image, right-click the field code, select Edit barcode and then select Advanced at the bottom of the screen.
- Select Preview Results.
- Save the document, so you can use it to reprint labels or make new ones.
- Print the labels.
Bulk QR Code Generator
To get the QR codes as PNG files:
-
Open your browser and go to
qrexplore.com/generate.
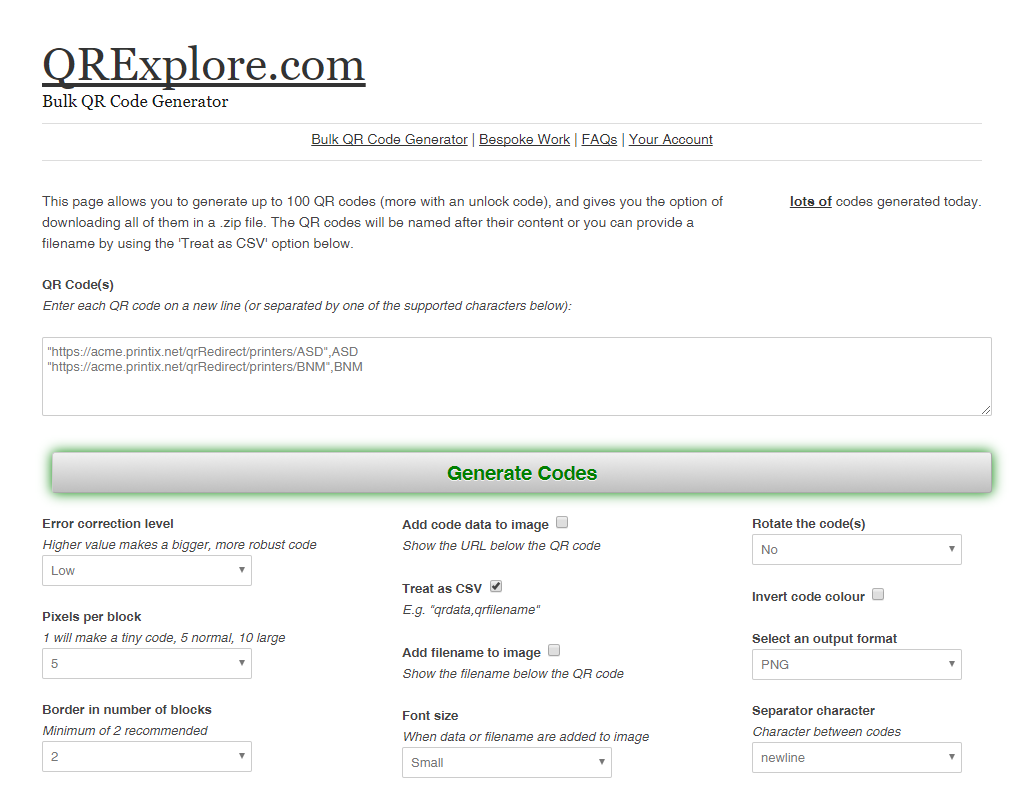
- Select Treat as CSV.
- Insert the printers' url and signId values from the downloaded signIds.csv file.
-
Optionally, change
Pixels per block from the default 5, which would result in a 165 × 165 image, to, for example, 3
(99 × 99) or 2 (66 × 66).
A value of 20 will give an image of 660 × 660.
- Select Generate Codes.
- Select Download .zip file.