
How to replace a printer
It is best practice to do this outside office hours, especially if the replacement printer is a different model or from another printer vendor, because you may want to change print drivers and or update print queues (steps 6–8).
- Unbox and connect the replacement printer.
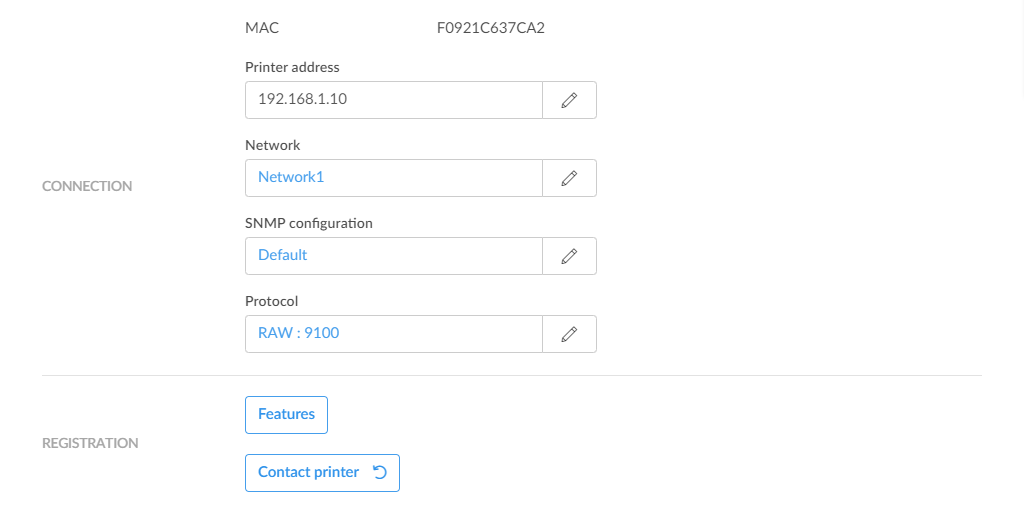
- In Printix Administrator, open the Printer properties page.
-
Change
Printer address and/or
Network to that replacement printer.
If the printer address is to be the same as the old printer, make sure the old printer is powered off, and if/when you power the old printer on again, you should ensure that it gets a different IP address (to avoid conflict). If you intend to use the old printer with Printix, perhaps on a different network, then you can use Add printer to register it with Printix.
- If required, change the SNMP configuration to match that of the replacement printer.
-
Select
Contact printer to read the properties of the replacement printer, including:
- MAC address: The hardware address of the printer.
- Model: The model name of the printer.
- Serial number: The serial number of the printer.
- Protocol: The protocols (IPP, IPPS, LPR, RAW) supported by the printer. Ensure the protocols are also enabled on the printer.
- Features:
- Page description language (PCL5, POSTSCRIPT, PCLXL, PDF, …)
- Color supported
- 2-sided supported
If the replacement printer is a different model or from another printer vendor, proceed to:
-
If required, change the
Protocol.
The default is RAW on port 9100.
- Change print driver.
- If required, make new print driver configurations.
- Use Update print queues to make the changes take effect on computers where the print queue is already installed.