
How to add secure print to Universal Print
Publish and share the Printix Anywhere print queue so you can print securely with Universal Print and Printix.
-
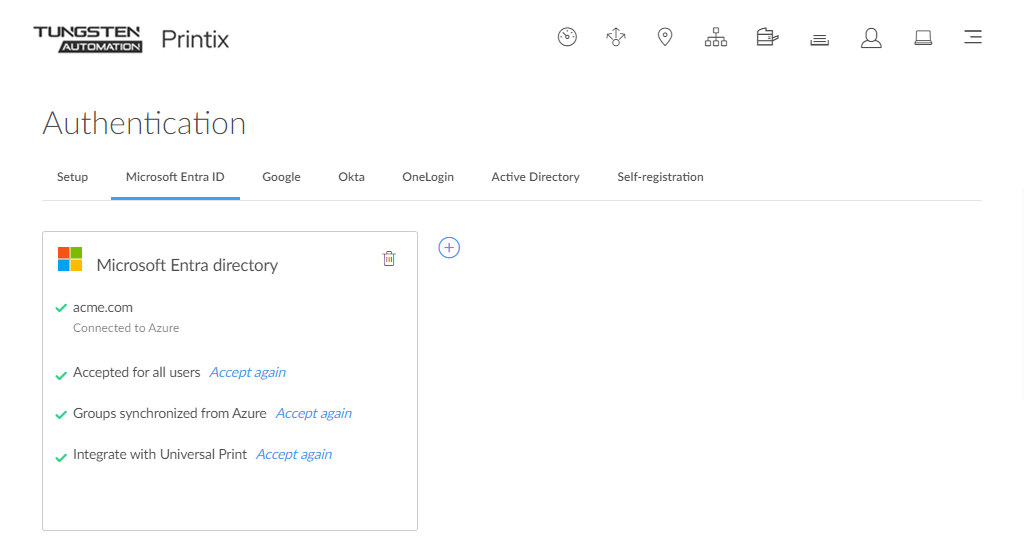
In
Printix Administrator on the
Authentication
 page, select the
Microsoft Entra ID tab.
page, select the
Microsoft Entra ID tab.
-
If
Integrate with Universal Print shows
Accept again, then integration is already accepted. Otherwise, select
Accept and proceed to sign in and
accept integration with Universal Print.
-
In
Printix Administrator, open the
Print queue
properties page of the
Printix Anywhere print queue.
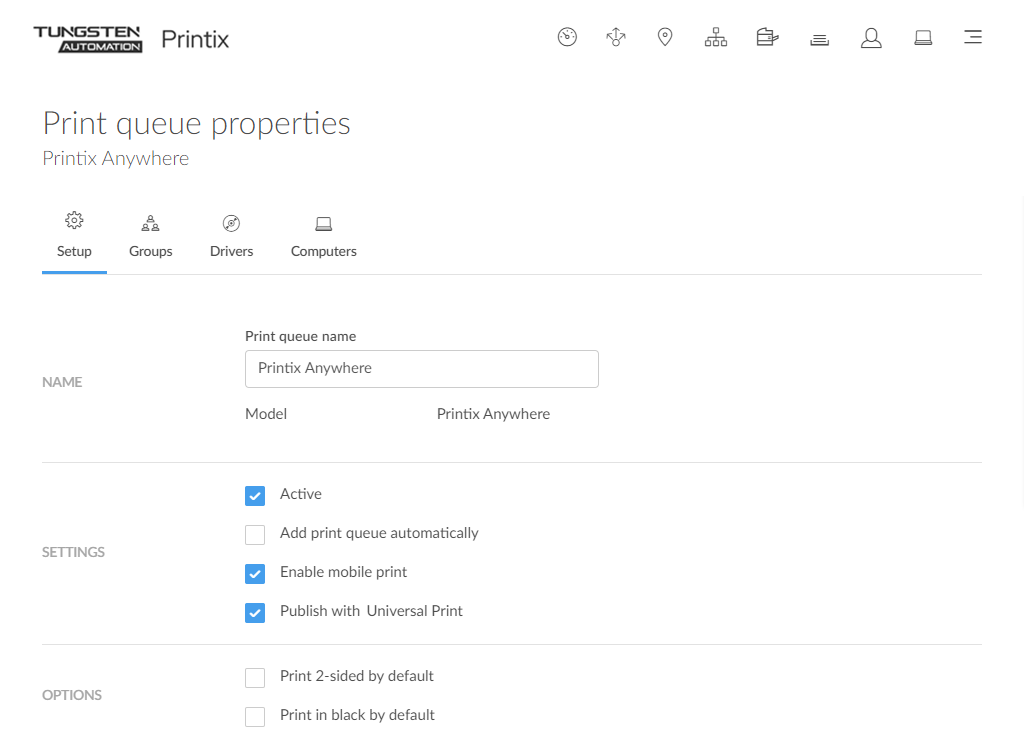
- Select Publish with Universal Print.
-
Select
Save.
-
Allow 1–2 minutes before the Printix Anywhere (UP) print queue is created as a printer share in Universal Print.
-
-
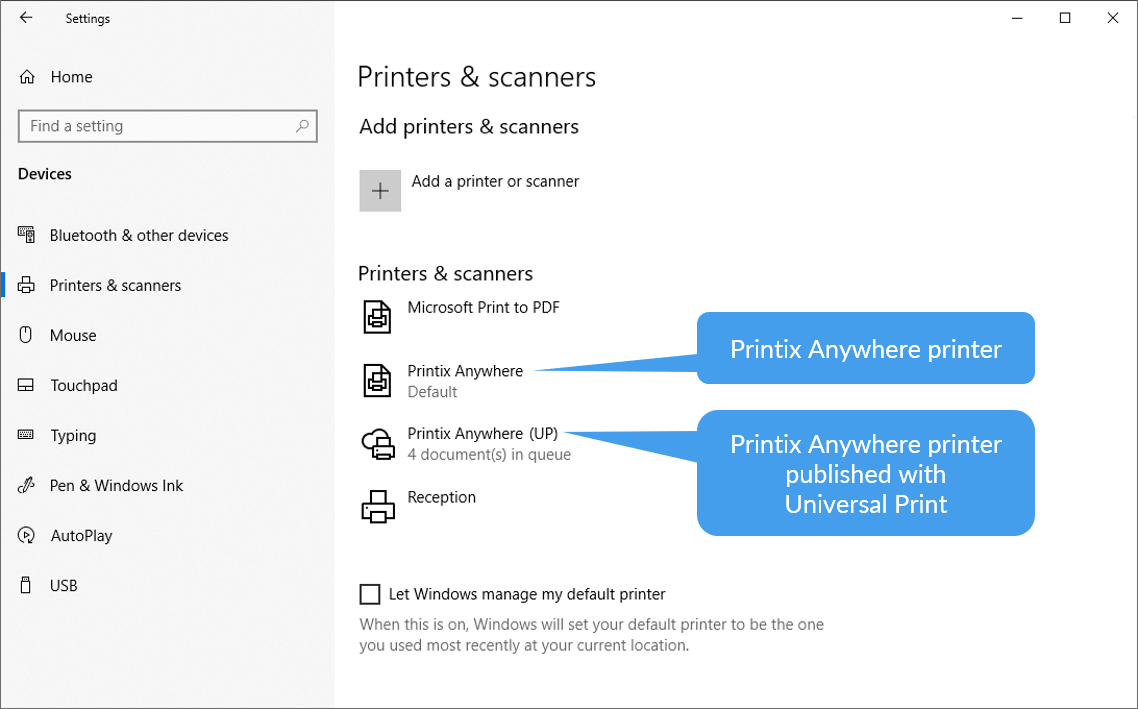
Use
Microsoft Endpoint Manager (Intune) to deploy the
Printix Anywhere
(UP) print queue to computers, or have users add it themselves.
In the Windows Add printer dialog box, any Universal Print printer appears as a Cloud printer.

-
You can subsequently release the document to any
Printix-managed printer.
The printer must have a print queue that has Via the cloud selected.
-
Wait until you are at the printer, then use the Printix App on your mobile device to release your documents. The Printix App is available as a mobile app for phones and tablets, or as a web app that runs in a web browser on your phone, tablet, and computer.
-
If Printix Go is installed on the printer, you can sign in with card or ID code and release documents from the touchscreen control panel of the printer.
In the Windows Printers & scanners dialog box, the Universal Print printers appear with a distinct cloud icon.
-