
Printix Client as kiosk
Making Printix Client run as kiosk on a computer is relevant if multiple users need to operate and print from the computer without being signed in with a personal account.
Features
-
Sign-in is not required.
-
Print only. No Print Later. No Secure print.
-
Printix Anywhere print queues are not installed, and if they are installed, they are deleted.
-
Fewer menu items in the Printix Client menu.
-
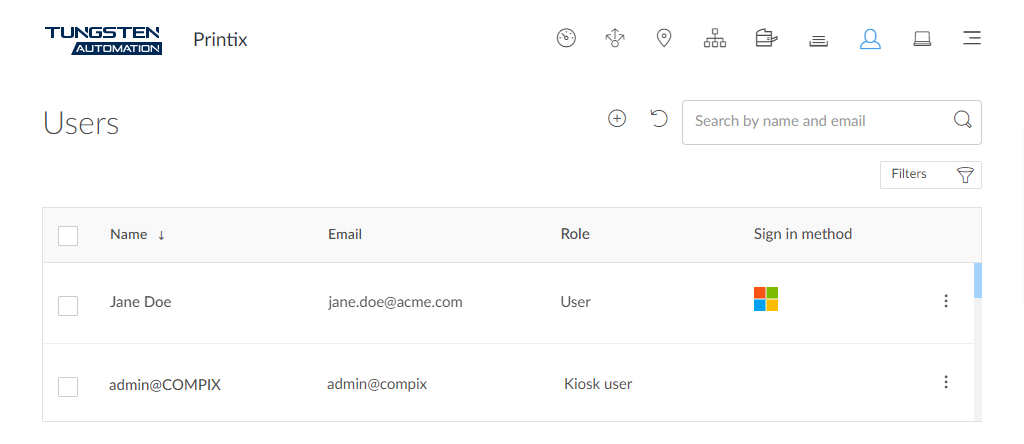
When the computer is registered, a user is created.
-
This user is created only if the Printix Client as kiosk is deployed with Microsoft Endpoint Manager.
-
Role is Kiosk user (cannot be changed).
-
Name of the user is generated as name@computer (Example: admin@COMPIX).
-
How to make Printix Client run as kiosk
This is relevant if you want to make an already installed Printix Client run as kiosk.
This method does not create a Kiosk user.
-
Press
Windows+R.
The Run dialog box appears.
-
Type
regedit, then select
OK.
Select Yes if prompted.
The Registry Editor appears.
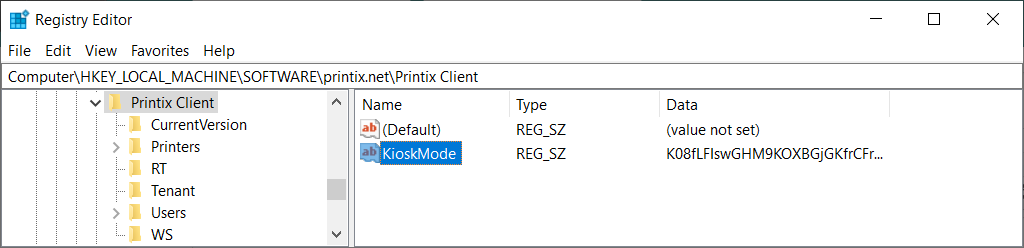
- Browse to HKEY_LOCAL_MACHINE\SOFTWARE\printix.net\Printix Client\.
-
Create the new string value named
KioskMode and set the value to your
kiosk ID.
Example: K08fLFIswGHM9KOXBGjGKfrCFravIo01DmNwSBc9jo6YoKgd
-
Restart the
Printix
Service.
How to deploy Printix Client as kiosk with Microsoft Endpoint Manager
Follow the normal steps, but in step 12, the Command line arguments need to include an extra :kiosk: value.
-
Example: WRAPPED_ARGUMENTS=/id:cbd7e0b5-da2a-4cb6-b7f7-a04ee31cac90:kiosk:K08fLFIswGHM9KOXBGjGKfrCFravIo01DmNwSBc9jo6YoKgd
The :kiosk: value is your kiosk ID. After deployment, the :kiosk: value is saved in the Windows Registry.
If you want to deploy and have sign-in postponed until restart, then :oms is appended.
-
Example: WRAPPED_ARGUMENTS=/id:cbd7e0b5-da2a-4cb6-b7f7-a04ee31cac90:kiosk:K08fLFIswGHM9KOXBGjGKfrCFravIo01DmNwSBc9jo6YoKgd:oms
How to get the kiosk ID
-
Open the
Software
 page.
page.
- Select Generate Kiosk ID.
-
In
Name, type a name for the kiosk ID.
The name is not linked to anything, so you can enter anything.
Example: acme - Select I accept and select Submit to create the kiosk ID.
-
Select the kiosk ID value to copy it to the clipboard.
Save the kiosk ID in a secure place, because you will need it to deploy the Printix Client as kiosk.
Printix Client menu
Menu on Windows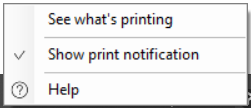
-
Show print notification
Select this to show the Print notification dialog box every time you print.
-
Help
Opens the Printix User Help in a web browser.