
How to prepare Epson printer for Printix Go
Before installing Printix Go, the printer needs to be set up correctly.
-
Activate Epson Open Platform.
Printix Go installation (update and uninstallation too) causes the Epson printer's network interface to restart, leaving it disconnected from the network for about 1 minute.
To activate Epson Open Platform:
-
Obtain the serial number for the printer.
-
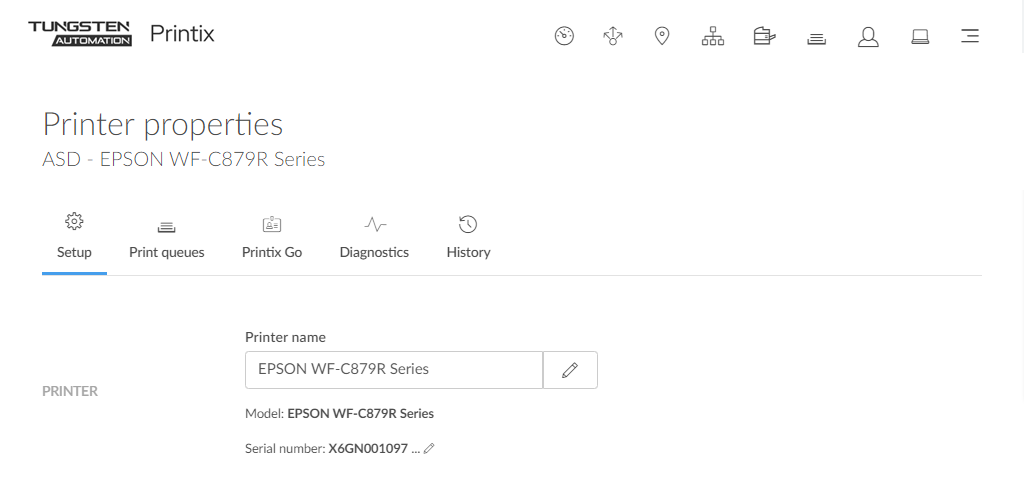
In Printix Administrator on the Printer properties page, you can see the Serial number, and you can select the
 Modify icon to copy it to the clipboard.
-
Alternatively, you can find it on the back or on a sticker (bar code) on the bottom of the printer, or with the warranty supplied with the printer.
-
-
To obtain the product key, visit
openplatform.epson.biz/license-op/inputInformation.html.
-
In Serial number, type the serial number you obtained.
Example: X6GN001097
-
In Introduction destination information, enter your answers.
-
- Select Next.
- Verify the information you have entered, then select Issue.
- Select Export CSV to save the product keys to a file.
- Open the printer's web page.
- Select the Epson Open Platform tab.
- In Enter product key, paste the product key that was generated based on this printer's serial number.
- Select Next.
- Select OK.
-
Select the
Epson Open Platform tab. Select
Product key.
When Authentication System is displayed under the Epson Open Platform Settings menu, Epson Open Platform is activated.