Add print queues to computers with Printix Configurator
Use a CSV file with computers and print queues to add print queues to computers. Only if Printix Administrator has a matching hostname of a computer and a matching print queue name, will the computer have the print queue added. Uppercase and lowercase letters are treated the same. The adding of the print queue is done as a task. If a computer is offline, it picks up on the tasks after it comes online.
See also:
Requirements
-
The CSV file MUST be semi-colon (;) separated.
-
Column headers are not allowed.
-
Do not have spaces before or after a semi-colon.
Example:
-
computer1;queueA;queueB;
-
computer2;queueA;queueB;queueC;
-
computer3;queueC;
-
-
-
Hostnames of the computers must be unique within your Printix Home.
-
Print queue names must be unique within your Printix Home.
-
A print driver must be selected for the print queue for the relevant systems (Windows, macOS, …).
-
Print queue is added regardless whether it is Active.
Start Printix Configurator
- Sign in to Printix Configurator.
- Select Print queues.
Import CSV file
-
In
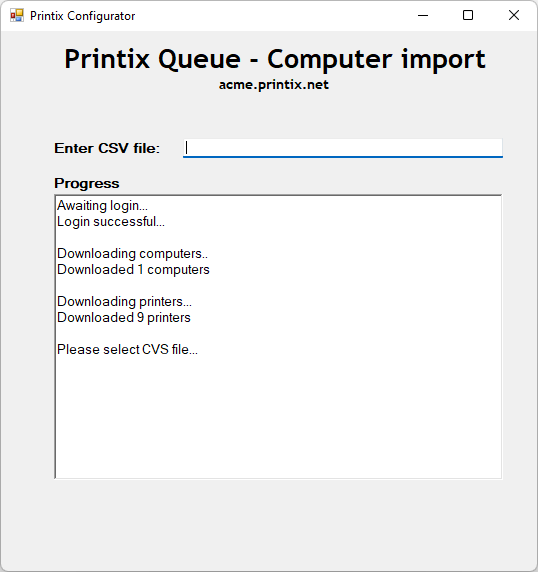
Enter CSV file, select the field and browse to the CSV file you wish to use. Alternatively, you can paste the path to the CSV file.
-
Example content for the template file: Compix;Reception;Reception Staple.
-
Uppercase and lowercase letters are treated the same.
-
- Select Open.
- Select Exit.
For troubleshooting, you can check the Printix Configurator log files. Output from a successful configuration is written as follows:
Read X computers from CSV file
Validating configuration...
Start applying configuration...
Done  applying configuration
A delay of up to 30 minutes may occur before the result of the import is fully reflected in Printix Administrator. If a computer is offline, it will pick up on the tasks after it comes online.
If a print queue does not install, check the History on the computer for any hints on perhaps issues with the print driver and then try to change the print driver.

