
How to remove print drivers
If the Printix Client has issues adding a print queue on a Windows computer, it may be that a previously installed version of the print driver has an issue. If advised, perform the below steps, then try to add the print queue again.
Delete the Printix driver cache
- Delete the folder: C:\Windows\Temp\Printix-drivercache
Remove driver and driver package
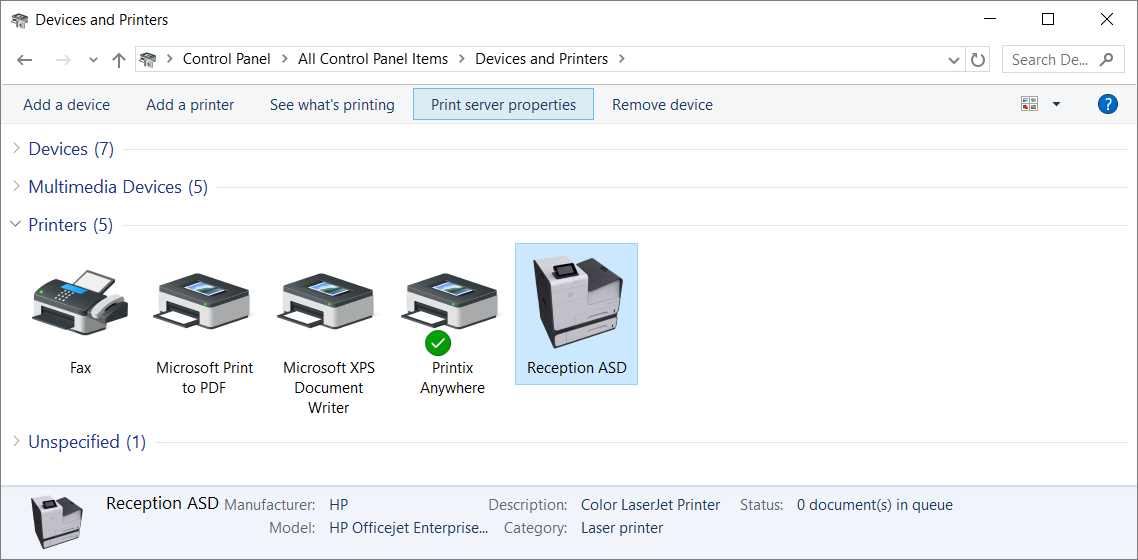
- Open Devices and Printers.
- Select a printer.
-
Select
Print server properties.
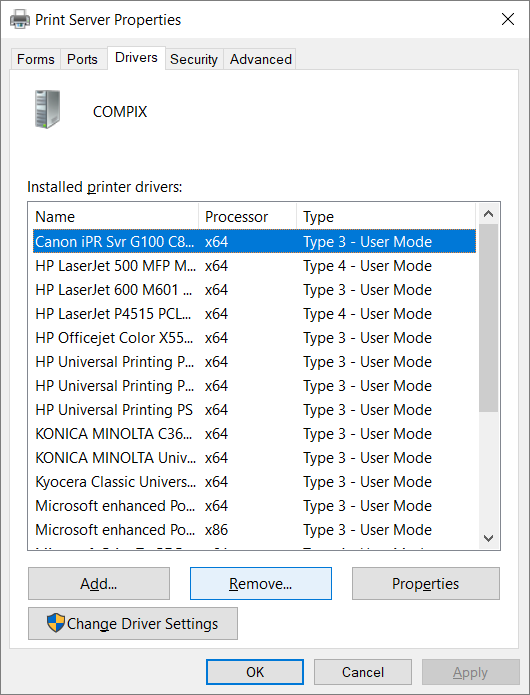
- In the Print Server Properties dialog box, select the Drivers tab.
-
Select the print drivers you want to remove.
These would be the print drivers that do not install.
-
Select
Remove.
- In the Remove Driver And Package dialog box, select Remove driver and driver package.
- Select OK.
- Select Yes to confirm that you want to delete the selected print driver package.
- Restart the computer.
- Try to Add the printer again through the Printers menu in the Printix Client.