
How to add users
Users can be added and registered as follows:
-
For users to be registered automatically requires one of these methods:
-
Microsoft Entra authentication
User must have a Microsoft work or school account. Microsoft Entra guest users, also known as Microsoft Entra business-to-business (B2B) collaboration users, are also supported.
-
User must have a Google Workspace account.
-
User must have an OIDC account.
-
User must have an Okta account.
-
User must have a OneLogin account.
-
Active Directory authentication
User must have a network username and password.
-
-
User must have an email address and be registered with the Printix Cloud Print API.
-
User must have a work email address. Self-registration must be enabled.
-
User must have an email address.
-
If you are using Okta for signing in to Microsoft Entra ID (Office 365), you can enable the integration with Microsoft Entra ID, which will handle the delegation to Okta without Printix having to know about Okta. You can also enable integration with Google Workspace.
-
We can integrate with additional cloud-based Identity Providers (IdP) and Directory-As-A-Services (DAAS). Contact Product Support regarding your business case for this. Technically, the integration is preferred to occur with OpenID Connect 1.0 (OIDC).
Automatic registration
Microsoft Entra authentication
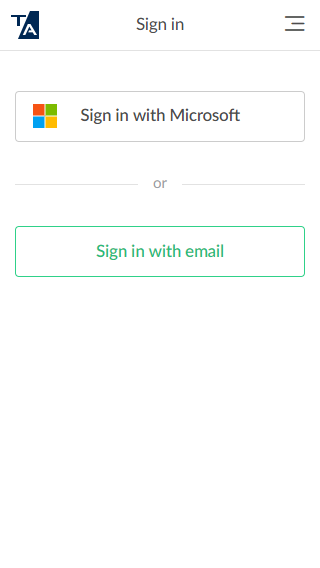
If Microsoft Entra authentication is enabled, users are automatically registered the first time they sign in with their Microsoft work or school account.
User performs these steps:
-
On the sign-in page, select
Sign in with Microsoft.
If you were already signed in to the browser with your work or school account, you are signed in automatically.
-
On the Microsoft sign-in page:
-
Enter your work or school account.
-
Enter your password.
-
- Select Sign in.
-
If prompted, select
Accept to grant permissions to Printix.
You are not prompted if Printix has been accepted for all users.
The user is automatically registered.
If you registered with your email address, select Sign in with email and enter your email address and password.
Google authentication
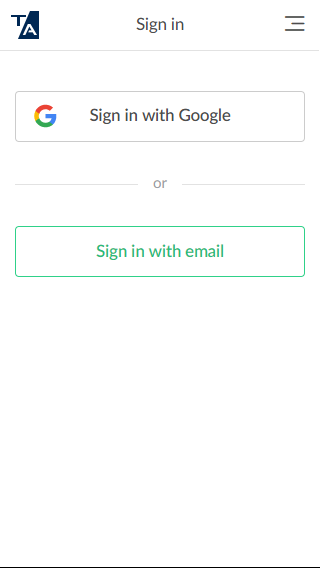
If Google authentication is enabled, users are automatically registered the first time they sign in with their Google Workspace account.
User performs these steps:
-
On the sign-in page, select
Sign in with Google.
If you were already signed in to the browser with your work or school account, you are signed in automatically.
-
On the Google sign-in page:
-
Enter your work or school account.
-
Enter your password.
-
-
Select
Sign in.
The user is automatically registered.
If you registered with your email address, select Sign in with email and enter your email address and password.
OIDC authentication
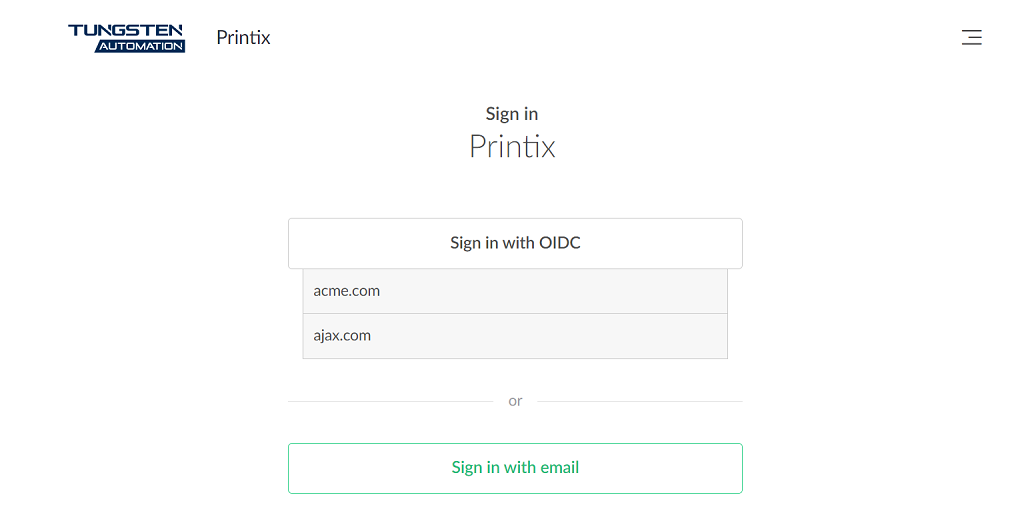
If OIDC authentication is enabled, users are automatically registered the first time they sign in with their OIDC account.
User performs these steps:
-
Select
Sign in with OIDC.
If you were already signed in to the browser with your OIDC account, you are signed in automatically.
-
On the OIDC sign-in page:
-
Enter your account name.
-
Enter Password.
-
-
Select
Sign in.
The user is automatically registered.
Okta authentication
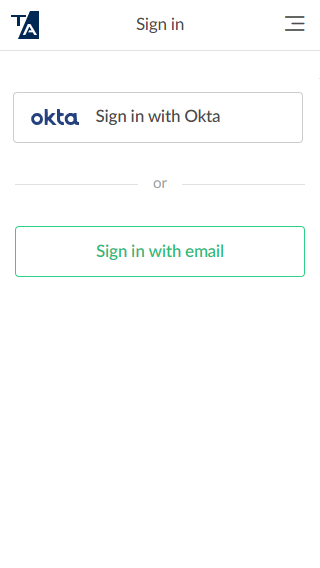
If Okta authentication is enabled, users are automatically registered the first time they sign in with their Okta account.
User performs these steps:
-
Select
Sign in with Okta.
If you were already signed in to the browser with your Okta account, you are signed in automatically.
-
On the Okta sign-in page:
-
Enter your account name.
-
Enter Password.
-
-
Select
Sign in.
The user is automatically registered.
OneLogin authentication
If OneLogin authentication is enabled, users are automatically registered the first time they sign in with their OneLogin account.
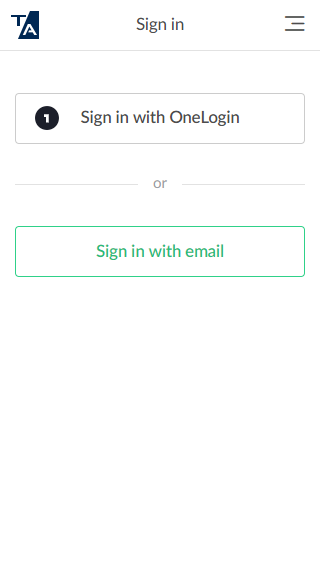
User performs these steps:
-
Select
Sign in with OneLogin.
If you were already signed in to the browser with your OneLogin account, you are signed in automatically.
-
On the OneLogin sign-in page:
-
Enter your account name.
-
Enter Password.
-
-
Select
Sign in.
The user is automatically registered.
Active Directory authentication
If Active Directory authentication is enabled, users are automatically registered the first time they sign in with their network username and password.
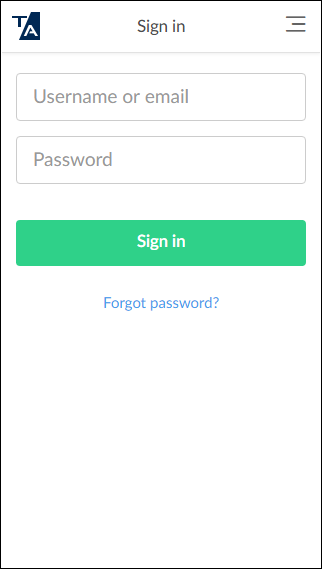
User performs these steps:
-
On the sign-in page:
-
Enter Username.
-
Enter Password.
-
-
Select
Sign in.
The user is automatically registered and receives the email with the subject: Get started with Printix.
Guest registration with API
You can use the Printix Cloud Print API to automatically register guest users. Guest users can be automatically deleted after a specific period of time. The user must not already be registered.
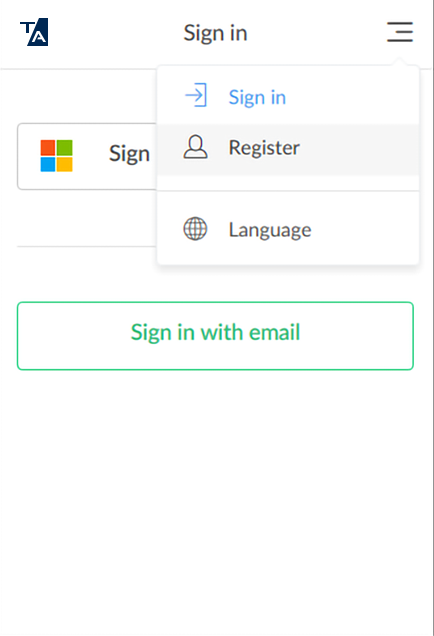
Self-registration
If self-registration is enabled, users can register themselves by their work email address.
User performs these steps:
- Open a web browser and enter the Printix Home (acme.printix.net).
-
On the sign-in page, select
Menu
 in the top right
corner.
in the top right
corner.
-
Select
Register
 .
.
-
Self-registration is also possible from the Printix Client sign-in page.
-
-
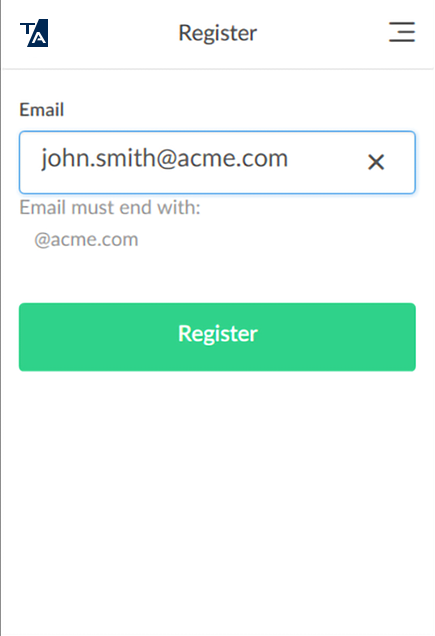
On the
Register page:
-
Enter Email.
-
-
Select
Register.
The user receives an email with the subject Welcome to Printix.
-
Open the email and select
Get started.
If the email does not arrive within a few minutes, check the spam/junk mail folder.
After successful registration, the user receives an email with the subject Get started with Printix and is prompted to download the Printix Client.
Invitation
Users with an email address can be invited by administrators.
Add user from Printix Administrator
Administrator performs these steps:
- Open the Printix Administrator .
-
Open the
Users
page.
-
Select
Add user
 .
.
- If required, change the Role of the user.
- Enter the user's email address.
-
Select
Add.
The user receives an email with the subject Welcome to Printix.
-
If the email does not arrive within a few minutes, ask the user to check the spam/junk mail folder.
-
On the Users page, the invited user is listed at the top of the page with a ? until registration is completed.
-
The invitation is valid for 72 hours.
-
Select
 and
Info to see when the invitation expires.
and
Info to see when the invitation expires.
-
The invited user must do the following depending on the invitation method:
-
If the invited user has a Microsoft work or school account, the user performs these steps:
-
Read the email with the subject Welcome to Printix and select the link to Download Printix Client.
-
In the Printix Client, select Sign in with Microsoft.
-
-
If the invited user has a Google Workspace account, the user performs these steps:
-
Read the email with the subject Welcome to Printix and select the link to Download Printix Client.
-
In the Printix Client, select Sign in with Google.
-
-
If the invited user has an Okta account, the user performs these steps:
-
Read the email with the subject Welcome to Printix and select the link to Download Printix Client.
-
In the Printix Client, select Sign in with Okta.
-
-
If the invited user has a OneLogin account, the user performs these steps:
-
Read the email with the subject Welcome to Printix and select the link to Download Printix Client.
-
In the Printix Client, select Sign in with OneLogin.
-
-
Other invited users perform these steps:
-
Read the email with the subject Welcome to Printix and select Get started to register.
-
After a successful registration, the user is prompted to Download Printix Client. If the role is system manager, the user is prompted to sign in to Printix Administrator.
-
The user also receives the email with the subject Get started with Printix with links to the Printix Client and the Printix App.
-
-