
How to add groups to a print queue
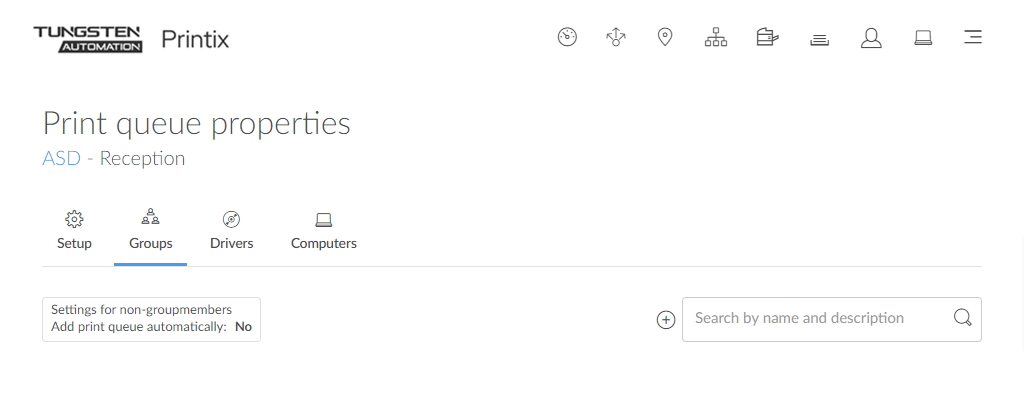
- Open the Print queue properties page.
-
Select the
Groups
 tab.
tab.
Only available if groups (Microsoft Entra or Google) are enabled.
-
Select
Add groups
 to add groups.
-
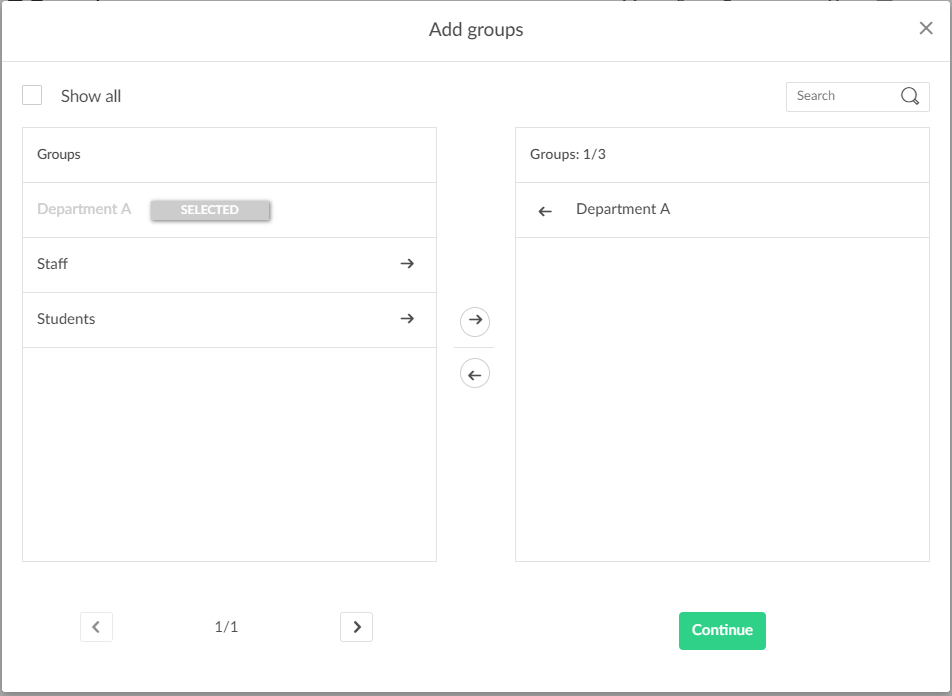
Select
Show all to show all groups, including those that have not been added to a print queue.
Depending on your organization, you may see a large number of groups, perhaps even 1000s.
-
Clear Show all to show only groups that have been added to print queues.
-
Select Search
 to search by group name.
The search is not case-sensitive.

If the group cannot be found, select Show all and select Resynchronize groups (dialog box will close) and repeat the Search.
-
- Select the groups to be added to the print queue.
-
Select
Continue.
-
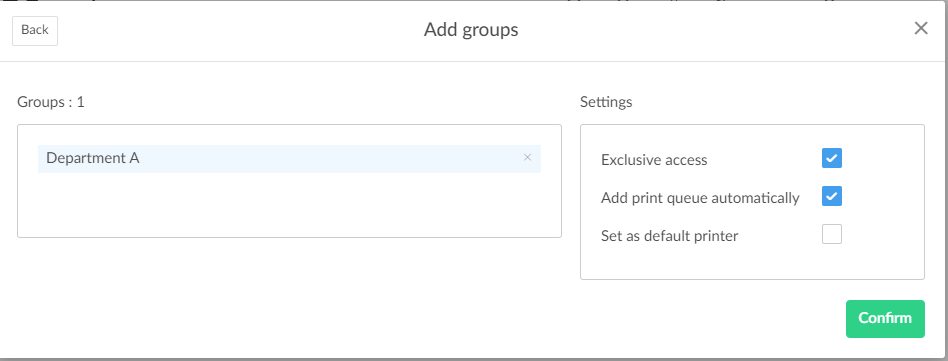
Select Back to go back to change the selection of groups.
-
Select Exclusive access if you want to give the group members exclusive access to the print queue.
-
Select Add print queue automatically if you want the print queue to be added automatically to the computers in the group. Users in the group will have the print queue added to the computer when they sign in.
-
Select Set as default printer if you want the print queue to become the default printer for the users and computers in the group.
-
If Set as default printer is selected for multiple print queues, it will be random which one will be set as default. Printix Client will override the user's selection of default printer every time the Printix Service is started and or it receives updates to its list of printers and their configuration.
-
If Exclusive access is selected for one group, then if you select Add print queue automatically for any other groups, those groups should also have Exclusive access selected.
-
- Select Confirm.