
How to deploy Printix Client for Mac with Addigy
-
Open the
Software
 page.
page.
-
Select
Printix Client for MAC to download it.
Take note of the version number of the downloaded file, because it will be needed later.
- Open Downloads, for example, from the Dock at the bottom of the screen.
-
Double-click
CLIENT_{home}_{id}.DMG.
After a few seconds, the Printix Client dialog box appears.
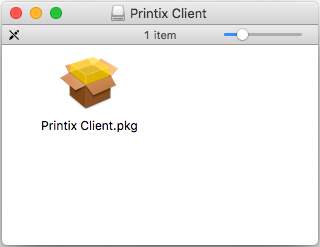
- Copy the cardboard box icon (Printix Client.pkg) to a temporary location.
- Extend the name of the copied package file to have a similar name as the DMG file (Printix Client_{home}_{id}.pkg).
- Log in to your Addigy environment and select Catalog, and then Software.
- On the Smart Software tab, select New.
- Enter a Software name and the Version you copied in step 2.
-
For the
Installation Files, upload and select the package file you renamed in step
6.
Follow the instructions on the file selection screens until you return to the Installation Files.
The file is selected if green text displays Apps found.
- Save the changes.
- Go to Policies and add a preferred policy from the catalog.
- Select Deploy.