How to deploy Printix Client for Mac with Jamf Pro
You can automatically deploy Printix Client for Mac with Jamf Pro.
These instructions apply to Jamf Pro version 10.25. It may be different in other versions, but the principle is the same.
-
Open the
Software
 page.
page.
- Select Printix Client to download it.
- Open Downloads, for example from the Dock at the bottom of the screen.
-
Double-click
CLIENT_{home}_{id}.DMG.
After a few seconds, the Printix Client dialog box appears.
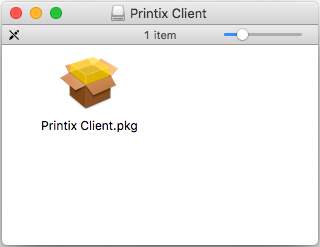
- Copy the cardboard box icon (Printix Client.pkg) to a temporary location.
- Extend the name of the copied package file to have a similar name as the DMG file (Printix Client_{home}_{id}.pkg).
- Open a new browser window and sign in to Jamf Pro.
- In Jamf Pro, select Computers.
- On the Computers page, select Management Settings. Under Computer Management, select Packages.
- Select New to add a new package.
-
Under
Filename, select
Upload, then select the package file you renamed in step
6 (Printix Client_{home}_{id}.pkg).

- Navigate to Computers, Policies and select New to add a new policy.
-
In the
Options tab, specify the following settings:
-
In Display name, type: Printix Client_{home}_{id}.
-
In Trigger, select Recurring Check-in.
-
In Execution frequency, select Once per computer.
-
- Select Packages and select Configure.
- Find the newly added Printix Client_{home}_{id}.pkg file and select Add to add it to the policy.
- On the Scope tab, set the appropriate inclusions and exclusions.
- Select Save.