
How to discover printers by hostname
By default, Printix discovers printers through the print queues installed on the computer and also broadcasts for printers based on network subnet information. By default, the discovered printers are registered in the Printix Cloud by their IP address instead of their hostname for the following reasons:
-
Reverse Domain Name System (DNS) lookup is not always working.
-
Because Printix also supports hostnames, you can open the Printer properties page at any time and modify the Printer address to be the printer's hostname instead of the IP address.
Discovering printers by hostname is relevant for organizations where printers do not have static IP addresses and their DNS is up-to-date with their printers' hostnames and IP addresses (achievable if their DHCP servers use DNS dynamic updates). The organization must have a process to add new print queues (referencing the printers by hostname) on Windows print servers first, before subsequently registering those print queues in the Printix Cloud when Discover printers is started on the relevant print server.
If your organization wants to discover printers by hostname only, perhaps because the printers' IP addresses are not static, submit a support request to have your Printix Home configured to discover printers by hostname.
Requirements
-
Printix Home is configured to discover printers by hostname. See also: How to enable discover printers by hostname.
-
Printix Client version for Windows is 1.4.0.80 or higher, version for Mac is 1.4.0.53 or higher.
-
Network must support ping of printers by hostname. This implies that the organization's Domain Name System (DNS) must be up-to-date with the printer's IP addresses and hostnames. Can be archived by having DHCP servers do DNS dynamic updates.
-
The recommended way of registering new print queues (printers) in Printix is to have the new print queues added on a particular Windows computer (print server) and then subsequently start the Discover printers from that particular computer. The particular Windows computer must have DiscoverPrintersByHostname set to 1.
-
The Printix Administrator offers a number of ways to discover printers, but going forward, it is recommended to only start Discover printers from the Computer properties page of the particular computers that have DiscoverPrintersByHostname set to 1.
-
Discover printers on the Computer properties page (recommended) only takes effect if the computer has DiscoverPrintersByHostname set to 1.
-
Discover printers on the Printers page only takes effect if the computer that receives the task has DiscoverPrintersByHostname set to 1.
-
Discover printers on the Sites page only takes effect if the computer that receives the task has DiscoverPrintersByHostname set to 1.
-
An entry will be written in History whenever a Discover printers request is rejected. It looks as follows: Computer COMPIX is not configured to discover printers by hostname.
-
How to enable discovering printers by hostname
- Submit a support request requesting to have your Printix Home configured to discover printers by hostname.
-
Create a semi-colon (;) separated CSV file with the printers' original address, network name, and new address.
The CSV file must have the following format:
address; network; new_address 192.168.1.10; Network1; domain.name1.com 192.168.1.11; Network1; domain.name2.com - Change the printers' network address from IP address to hostname with Printix Configurator.
-
When you have confirmation that changes have been made, you can proceed.
For each computer (typically a server) on which print queues are maintained and referenced by hostname, you must install the Printix Client and then add the Windows Registry setting DiscoverPrintersByHostname:
-
Press
Windows+R.
The Run dialog box appears.
-
Type
regedit, then select
OK.
Select Yes if prompted.
The Registry Editor appears.
- Browse to HKEY_LOCAL_MACHINE\SOFTWARE\printix.net\Printix Client\.
- Add the DWORD value name DiscoverPrintersByHostname, and give it the value 1.
Start discovery from a particular computer (print server)
-
Open the
Computers
 page.
page.
-
Select the computer (print server) and select
Modify.
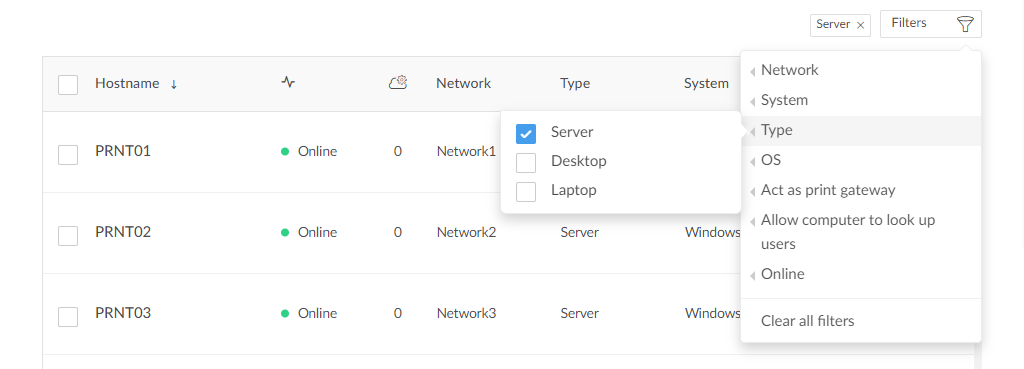
Optionally, Filter on Type and select Server.
-
On the
Computer properties page, scroll to the
Discover section.
Optionally, select an SNMP configuration.

- Select Discover printers.
- Select Confirm.
How to change the network address of multiple printers with Printix Configurator
This feature requires Printix Configurator version X or higher.
If you have already registered many printers and do not want to manually change their IP address to hostname on the Printer properties page, use Printix Configurator to update the printers:
- Open the Printix Configurator.
- Import printers from the Printix Cloud.
-
Import the updated address of the printers from a CSV file.
For this, you need to create a semi-colon (;) separated CSV file (see how to format the CSV file) with the printers' original address, network name, and new address. This will be used once to update the printers' IP address to their hostname.
- Upload the updated printers to the Printix Cloud.