
Microsoft Entra ID
On the Microsoft Entra ID tab, you can enable and configure Microsoft Entra authentication. You only need a user account in Microsoft Entra ID to configure Microsoft Entra integration.
See also:
Microsoft Entra directory
- Select Connect.
-
On the Microsoft sign-in page:
-
Enter your work or school account.
-
Enter your password.
-
- Select Sign in.
-
If prompted, select
Accept to grant permissions to Printix.
This is necessary for Printix to configure Microsoft Entra integration.
-
Select
OK if the connection to Microsoft Entra ID was successful.
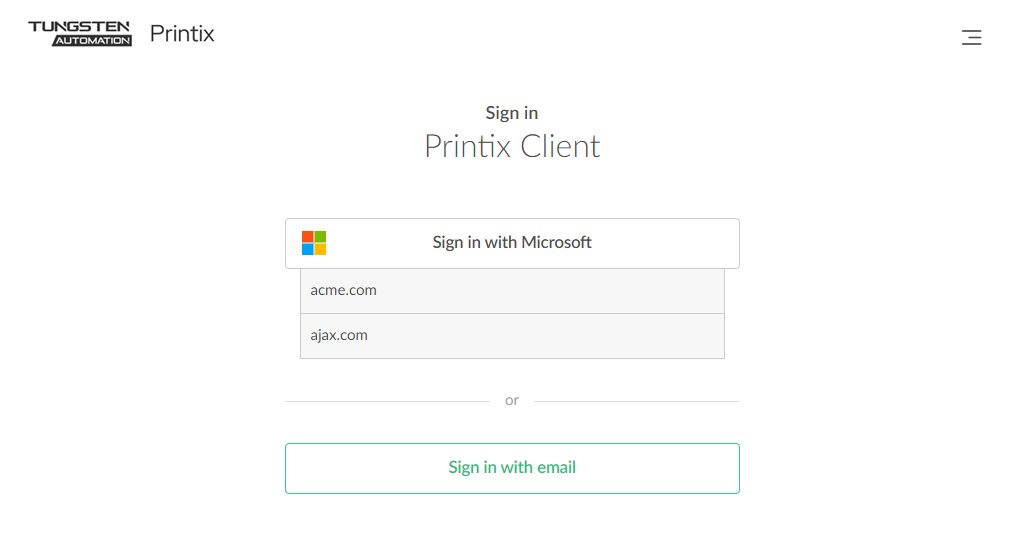
From now on, the sign-in page will show Sign in with Microsoft.
-
Optionally, to only allow global administrators to connect a
Printix
Home to your Microsoft Entra directory, select
Accept next to
Must be global administrator to connect other
Printix
Homes.
You must have the global administrator role in Microsoft Entra ID to do this.
- We recommend accepting Printix for all users. Select Accept next to Accept for all users.
- Optionally, synchronize groups. Select Accept next to Synchronize groups.
-
Optionally, select
Add
 to add another Microsoft Entra directory.
-
If more than one Microsoft Entra directories exist, sign-in to Printix Client is no longer automatic the first time on Microsoft Entra joined Windows 10 and 11 computers. The user must select a directory (acme.com or ajax.com) and then sign in, but only the first time.
-
Universal Print is supported for one, but not multiple Microsoft Entra directories.
-